A kitchen floor can make the whole room feel dated, even when the cabinets, walls, and countertops still look perfectly fine. The problem is that replacing a kitchen floor can quickly become an expensive project once you add materials, removal, disposal, and installation.
But you don’t always need to tear the old floor out.
If the existing surface is in reasonable condition, a little creativity can go a surprisingly long way. Paint can turn an ordinary vinyl floor into something completely different. Peel-and-stick tiles can add pattern without a complicated installation. And budget-friendly vinyl plank can give you the warm look of wood without the price or maintenance of traditional hardwood.
The trick is choosing an idea that works with the floor you already have and with the way your kitchen is used.
Below are nine inexpensive DIY kitchen flooring ideas to start with, from extremely low-cost makeovers to affordable new flooring options. Some are better for a quick visual update, while others make more sense when you want a floor that will hold up for years.
Before you begin, remember that cheap flooring is only a good deal if the surface underneath is suitable. The floor should be clean, reasonably flat, dry, and free from major damage. Always check the flooring or coating manufacturer’s installation requirements before putting a new surface over an existing one.

1. Paint an Existing Vinyl or Linoleum Floor
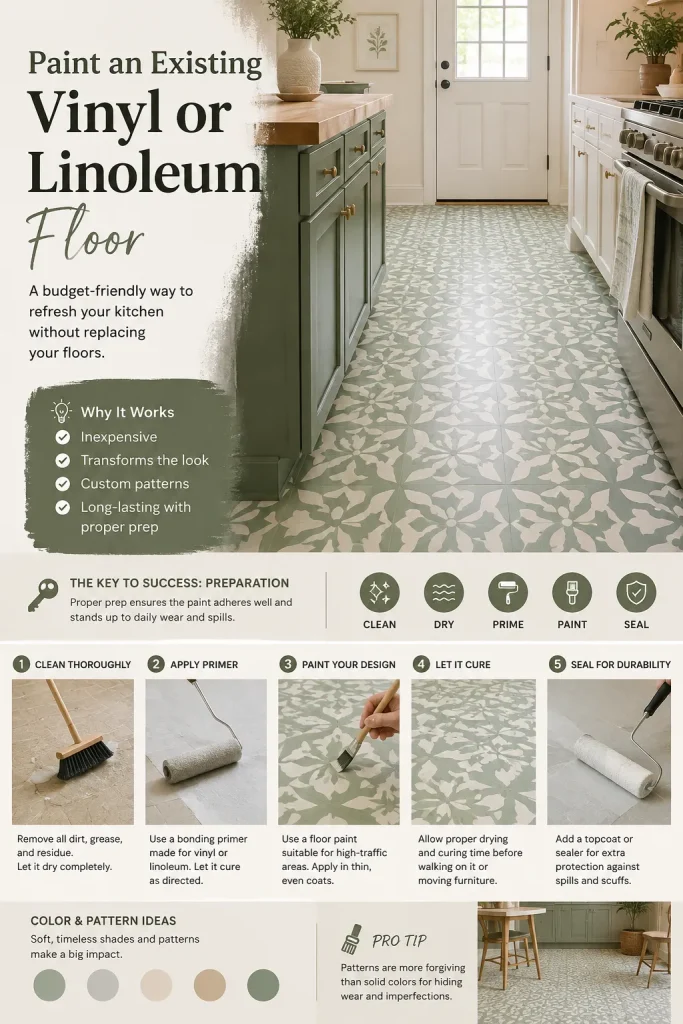
If your kitchen already has an old vinyl or linoleum floor that is still firmly attached and reasonably smooth, painting it can be one of the least expensive ways to change the room.
Instead of spending money on new flooring, you are essentially giving the existing floor a new finish.
A simple solid color can work, but patterns are often more forgiving and can make the result look much more intentional. Soft gray, warm white, muted green, beige, and other understated shades can give an old kitchen a completely different character.
The preparation matters more than the paint color. The floor needs to be thoroughly cleaned, and the surface must be suitable for the primer and floor coating you plan to use. Follow the product instructions for drying and curing times, especially in a kitchen where the floor will see spills and regular foot traffic.
Why it is a great idea
You are reusing the floor you already have, so the material cost can be much lower than a complete replacement. It is especially appealing when the existing pattern is ugly but the underlying floor is still in good condition.
Best for: Homeowners with a sound but dated vinyl or linoleum floor.
Budget: $7 Per sq. f.
DIY difficulty: Easy to medium
2. Stencil a Plain Kitchen Floor
A plain floor doesn’t have to stay plain.
Stenciling is one of the smartest ways to make an inexpensive floor look custom. With the right pattern, even a basic painted surface can resemble decorative cement tile or a much more expensive patterned floor.
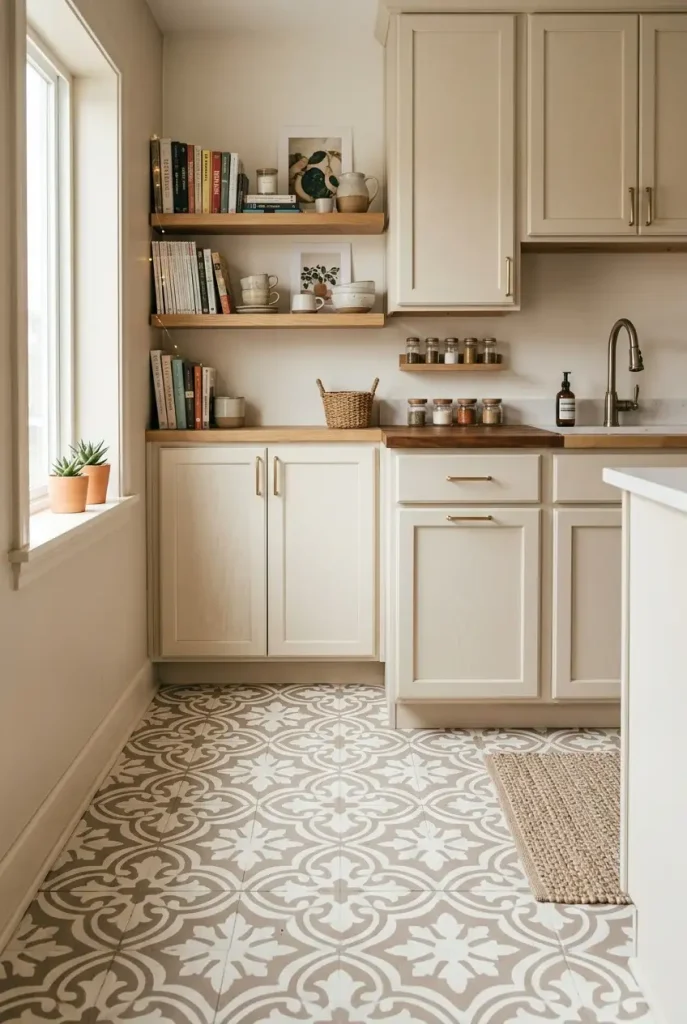
This idea works particularly well in smaller kitchens because you don’t need a huge amount of material to create a strong visual effect. A repeating geometric design can also draw attention away from small imperfections that would be more noticeable on a completely solid floor.
For a timeless look, try a warm white base with taupe or soft gray. If your kitchen already has neutral cabinets, muted sage or dusty blue can add personality without overwhelming the room.
The most important part is keeping the stencil aligned. Take your time with the first few sections rather than rushing through the entire floor.
Why it is a great idea
A stencil changes the appearance of the floor without requiring expensive patterned tile. You can also choose a design that matches the style of your kitchen instead of settling for whatever flooring pattern happens to be available.
Best for: Homeowners who want a designer-looking floor on a very small budget.
Budget: $5 Per sq. f.
DIY difficulty: Medium
3. Create a Soft Checkerboard Floor
Checkerboard flooring has a way of making a kitchen look finished without requiring an elaborate design.
The traditional black-and-white version is still recognizable, but softer combinations can feel warmer and more current. Think cream and taupe, warm white and sage, or beige and charcoal instead of stark black and white.
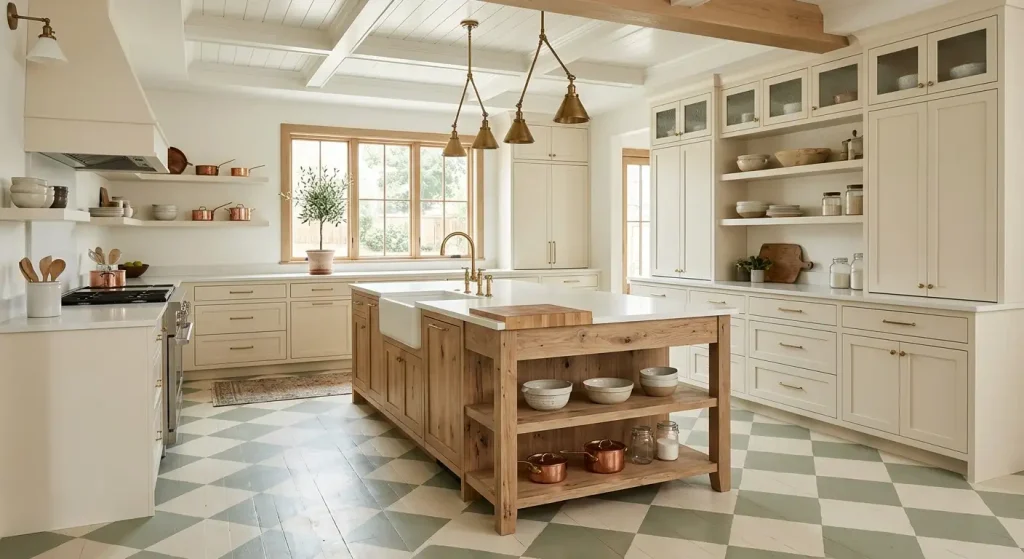
You can create the look with paint on a suitable existing floor or use inexpensive vinyl tiles. The best choice depends on the condition of the existing surface and the products you are using.
The size of the squares also changes the mood. Smaller squares can feel vintage and playful, while larger squares tend to look cleaner and more contemporary.
Why it is a great idea
The pattern does most of the decorating for you. Even inexpensive flooring materials can look deliberate and stylish when the colors and layout are carefully chosen.
Best for: Kitchens that need a strong visual update without complicated flooring materials.
Budget: $4-6 Per sq. f.
DIY difficulty: Easy to medium
4. Refresh a Concrete Kitchen Floor With Paint
If your kitchen has an exposed concrete floor, you may already have the foundation for a modern-looking finish.
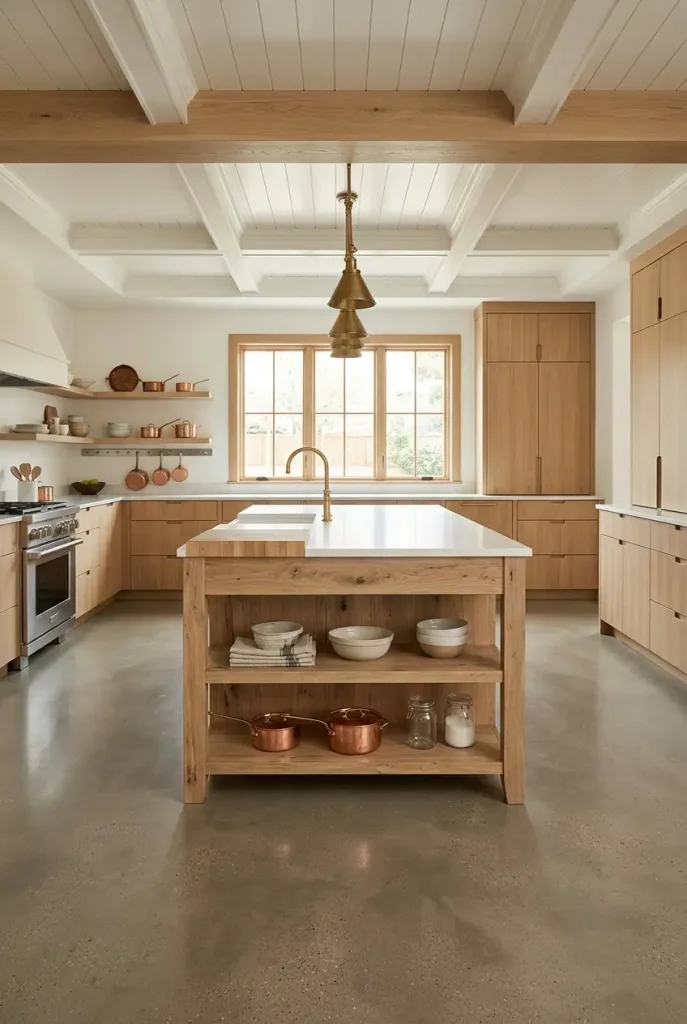
Instead of covering it with another material, you can turn the concrete into part of the design. A properly prepared concrete floor can be painted or coated in a color that works with the rest of the kitchen.
Warm gray, charcoal, off-white, and earthy tones can create a clean, understated appearance. You can also use a stencil or simple border if you want more visual interest.
Concrete does require more attention to preparation than some beginner-friendly flooring options. Cracks, contaminants, moisture, surface condition, and the compatibility of the coating system all need to be considered before you start.
Don’t treat ordinary wall paint as a substitute for a product designed for floors. Choose a system appropriate for the surface and the conditions in the kitchen, and follow its preparation and curing instructions.
Why it is a great idea
You can work with the floor that is already there instead of buying a completely new flooring material. When done well, a simple concrete finish can also suit modern, industrial, minimalist, and contemporary kitchens.
Best for: Homes with suitable existing concrete floors.
Budget: $4-$7
DIY difficulty: Medium
5. Give an Old Wood Floor a Budget Refresh
Before covering an old wood floor, take a closer look at what you already have.
A worn wood floor can sometimes be brought back to life with cleaning, repair, sanding, refinishing, or a fresh finish. In some kitchens, that may be a better use of your budget than covering the floor with an entirely new material.
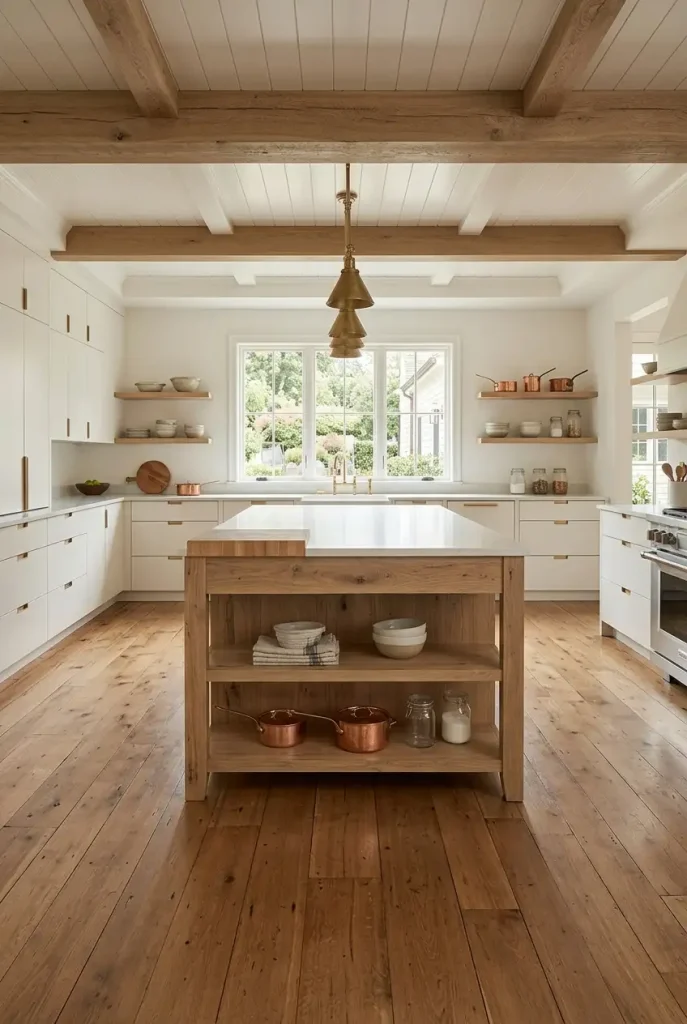
You don’t necessarily need to make the wood look brand new, either. Natural variation, small marks, and an aged appearance can add character when the floor is structurally sound.
If the wood needs more than a simple refresh, compare the cost and effort of refinishing it with the cost of installing a new floor. The cheapest choice is often the one that requires the least amount of new material.
Why it is a great idea
You’re not paying to replace something that may still have plenty of useful life left. A refreshed wood floor can also give a kitchen warmth that is difficult to reproduce with inexpensive printed flooring.
Best for: Kitchens with existing wood flooring that is worth saving.
Budget: $5–$9
DIY difficulty: Medium
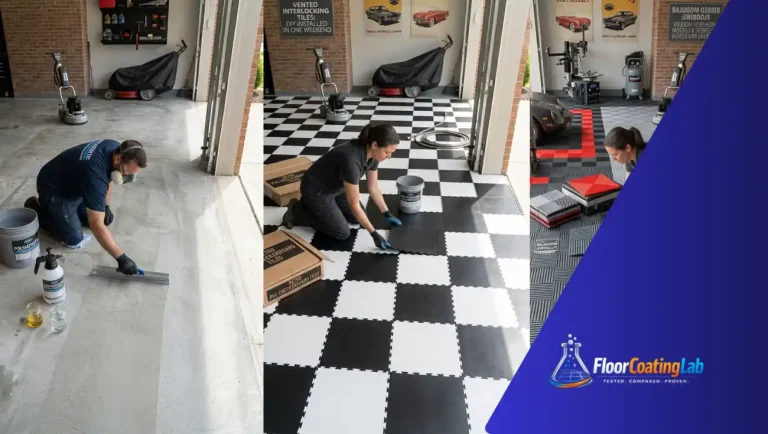
6. Peel-and-Stick Vinyl Floor Tiles
Peel-and-stick vinyl tiles remain one of the most approachable options for a homeowner who wants a visible change without complicated installation.
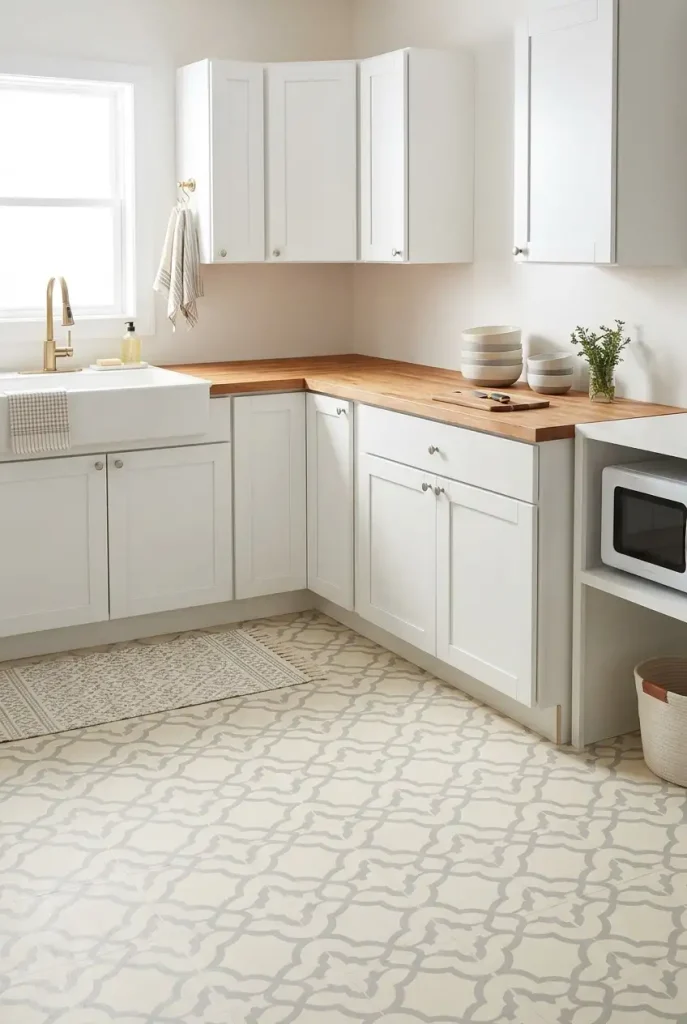
The appeal is obvious: you don’t need to mix mortar, grout, or deal with the same installation process as traditional tile. Many products are designed to be cut with relatively simple tools, making them accessible to DIY beginners.
The biggest catch is the floor underneath.
Peel-and-stick flooring needs a suitable surface for good adhesion. Dust, grease, loose material, uneven areas, or moisture problems can cause an inexpensive project to become an expensive redo. Spend time preparing the floor before opening the first package of tiles.
Design choice is another reason this option works so well. You can find products that imitate stone, ceramic tile, terrazzo, wood, and decorative patterns.
Why it is a great idea
It gives you a new visual surface without the complexity of a traditional tile installation. For a small kitchen, it can be a particularly practical way to create a noticeable transformation.
Best for: Beginners and homeowners who want a relatively simple flooring makeover.
Budget: $6-$9 Per Sf.
DIY difficulty: Easy
More Amazing Ideas
- 12 Breathtaking Garage Epoxy Floor Ideas
- Concrete Sealer vs Epoxy: Pros, Cons
- 9 Breathtaking Epoxy Flooring Ideas for a Modern Kitchen
- How to Clean Epoxy Coated Garage Floors?
- 11 Inspiring Garage Floor Ideas
7. Peel-and-Stick Vinyl Planks
If you love the appearance of wood but don’t want to pay for hardwood, peel-and-stick vinyl planks can offer a more approachable alternative.
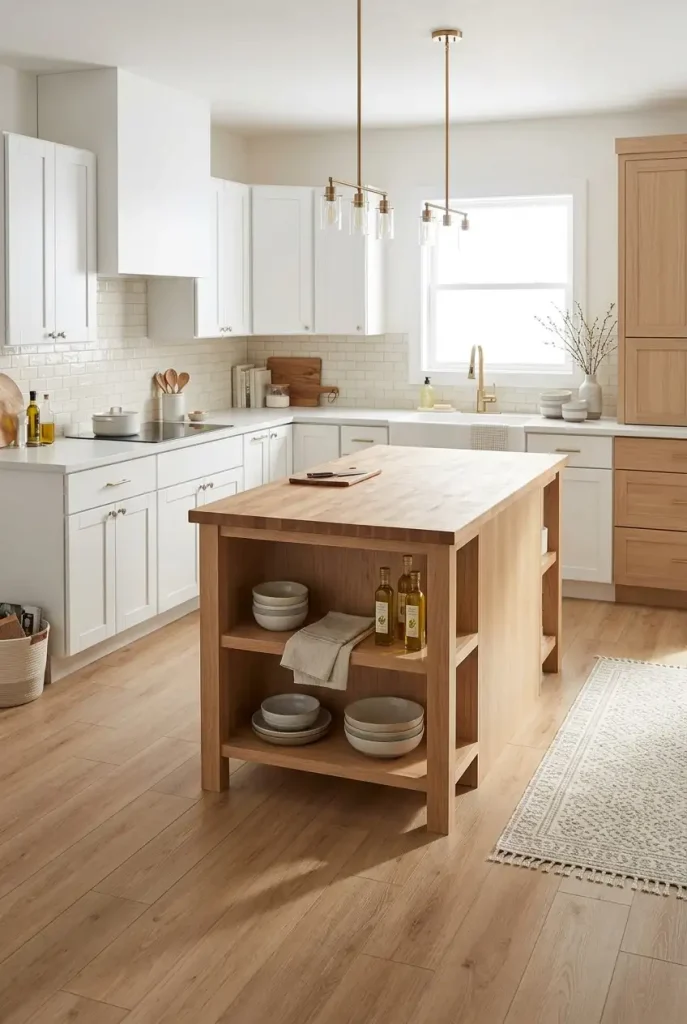
The key to making inexpensive wood-look flooring appear convincing is choosing a finish that doesn’t look overly artificial. Warm oak, natural maple, and understated wood tones tend to work better with today’s kitchens than highly orange or heavily distressed finishes.
You can also change the overall impression by choosing the direction of the planks carefully. Running planks along the length of a narrow kitchen can make the room feel more continuous, while a different layout can emphasize a particular architectural feature.
As with peel-and-stick tiles, preparation is crucial. Follow the flooring manufacturer’s requirements for the existing surface, adhesive, acclimation if applicable, and installation.
Why it is a great idea
You get the warmth of a wood-inspired floor without the installation process associated with traditional hardwood. It can be especially effective when paired with white, cream, or natural wood cabinets.
Best for: Homeowners who want a warm wood look on a limited budget.
Budget: $4–$7
DIY difficulty: Easy
8. Budget Click-Lock LVP
If you’re willing to spend a little more than you would on the cheapest peel-and-stick products, click-lock luxury vinyl plank can be a compelling middle ground.
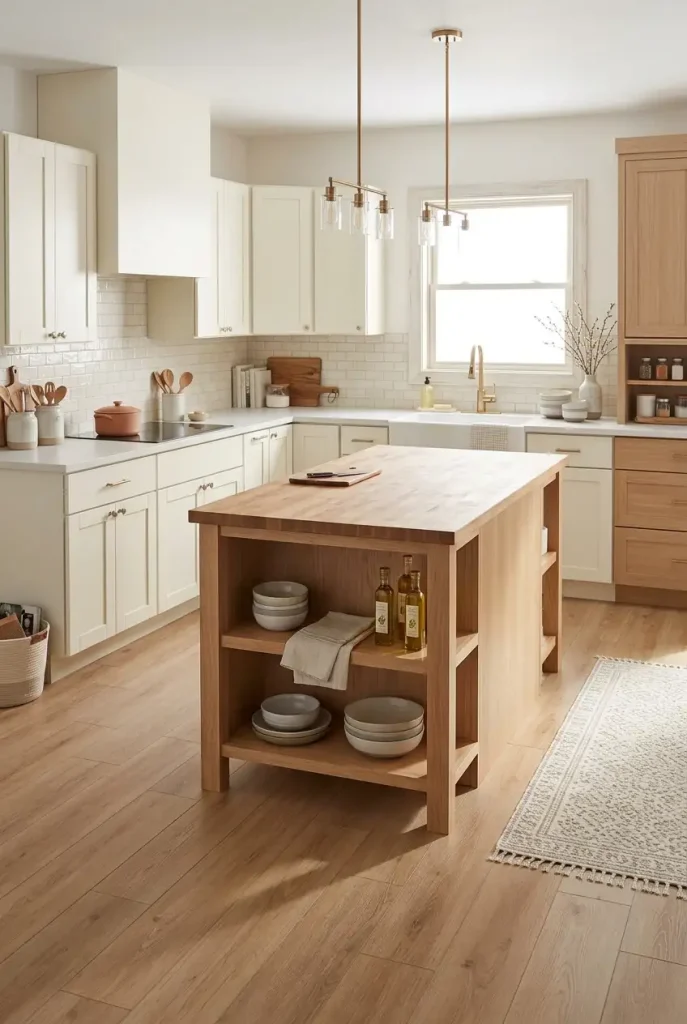
The planks connect together rather than being individually glued to the floor. For a homeowner comfortable with measuring, cutting, and following installation instructions, this can make a substantial flooring upgrade possible without hiring a professional installer.
LVP also gives you plenty of design choices. Warm oak, natural maple, walnut-inspired finishes, and subtle stone looks can all work in a kitchen.
But don’t choose a product simply because it is labeled “waterproof” or “luxury vinyl.” Check the manufacturer’s specifications for kitchen use, installation over existing flooring, subfloor requirements, expansion gaps, and moisture conditions.
Why it is a great idea
This is one of the better options when you want your inexpensive kitchen flooring project to feel like a genuine renovation rather than a temporary cosmetic fix.
Best for: Homeowners looking for a durable-looking DIY upgrade with a wood or stone appearance.
Budget: $3-$5 Per Sf.
DIY difficulty: Easy to medium
More Amazing Ideas
- 9 Pet Friendly Laminate Flooring Ideas
- 15 Stunning Flooring Ideas
- How Paint Acrylic Over Oil Based Paint – E-book
- Things To Consider When Tiling A New Floor
9. Affordable Sheet Vinyl
Sheet vinyl is sometimes overlooked because it doesn’t have the same trendy reputation as luxury vinyl plank, but it can make a lot of sense when keeping costs under control is the priority.
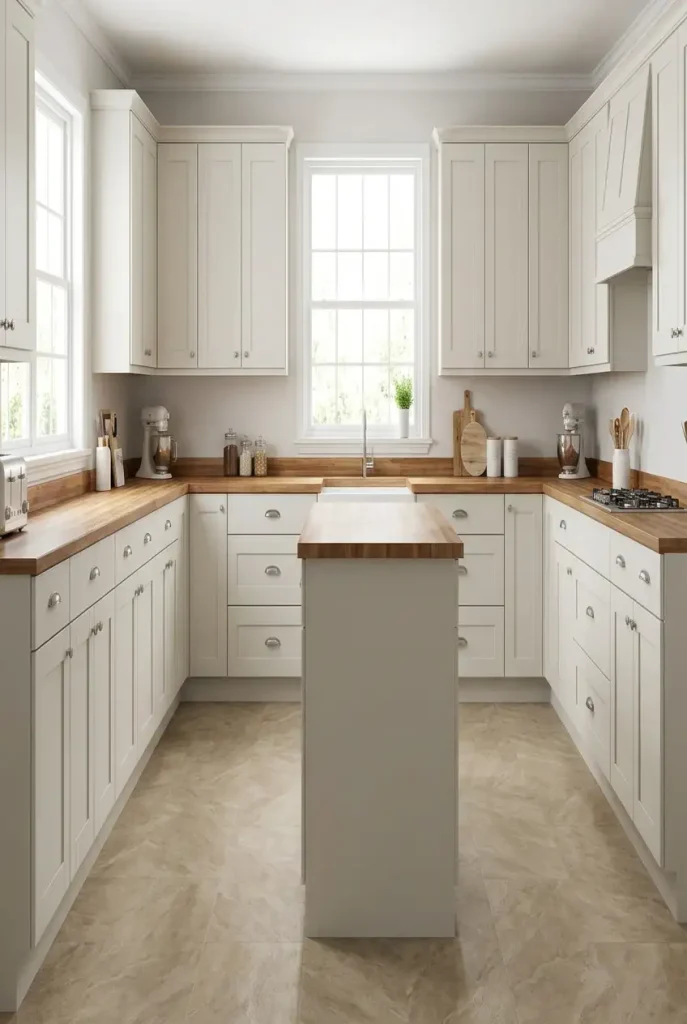
Unlike individual planks or tiles, sheet vinyl can create a largely continuous surface with fewer seams. That’s particularly useful in a kitchen where spills and everyday messes are part of normal life.
Today’s designs also go well beyond the old patterns many people remember. You can find wood looks, stone looks, subtle geometric designs, and other finishes that can work with both traditional and contemporary kitchens.
Installation can be more involved than simply sticking down individual tiles, particularly when you have to make precise cuts around cabinets and other fixed objects. If you’re inexperienced, take your time measuring and follow the manufacturer’s installation requirements.
Why it is a great idea
When you want an inexpensive new floor without filling the room with seams, sheet vinyl deserves a closer look. It can provide a clean, practical appearance without the cost of many higher-end flooring materials.
Best for: Homeowners prioritizing affordability, easy cleaning, and a continuous floor surface.
Budget: $3-$5
DIY difficulty: Medium
Conclusion
A kitchen floor makeover doesn’t have to start with demolition, a dumpster, or a large renovation budget.
Sometimes the smartest approach is to work with what you already have. A tired vinyl floor may only need paint and a stencil. A plain floor can become a checkerboard pattern. Peel-and-stick tiles can add a completely new look, while budget LVP or sheet vinyl can make sense when you want a more substantial upgrade.
The best choice depends on your existing floor, your budget, how much work you’re comfortable doing yourself, and how your kitchen is used every day.
If you’re trying to spend as little as possible, start by asking one simple question: Can I improve the floor I already have instead of replacing it?
That answer could save you more money than choosing the cheapest new flooring on the shelf.
And whatever option you choose, don’t let the word cheap convince you to skip preparation. A clean, suitable, properly prepared floor will give your DIY project a much better chance of looking good and lasting.
Save this guide before you start your kitchen makeover so you can come back to the ideas, compare your options, and choose the floor that fits your home and budget.