
You’ve likely heard it a dozen times, but it’s worth repeating: the secret to a long-lasting, showroom-quality floor isn’t the epoxy resin itself—it’s what you do before the material ever touches the concrete. If you skip, rush, or mismanage your epoxy flooring surface preparation, you are effectively sabotaging your project.
Whether you are dealing with a new pour or trying to breathe life into an aging slab, prep work is the structural foundation of your floor’s lifespan.
The short answer: Proper epoxy floor coating surface preparation is a multi-stage process requiring mechanical abrasion-usually diamond grinding or shot blasting-to create a Concrete Surface Profile (CSP) of 2 to 3. This opens the pores of the concrete, removes laitance (the weak, dusty layer on top), and eliminates surface contaminants so that the epoxy can form a true molecular and mechanical bond with the slab.
Why Preparation Is the Difference Between Success and Failure
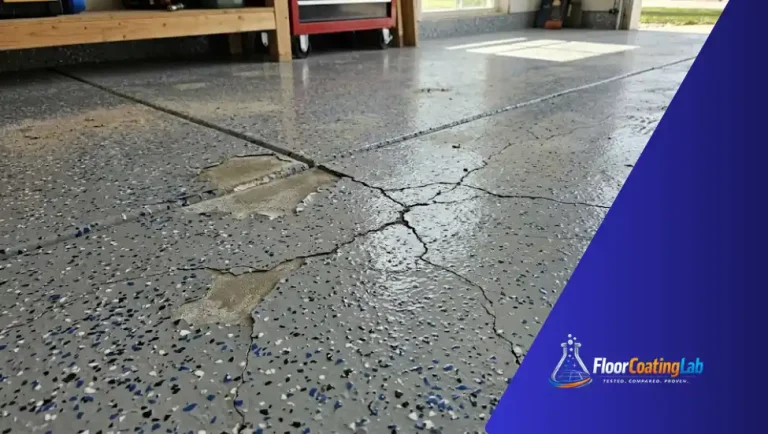
Epoxy does not simply “stick” to concrete; it anchors into it. Concrete is a porous, mineral-based material, but it is often “closed” at the surface due to curing compounds, sealers, or natural surface density. If these are not removed, the epoxy will sit on top, resulting in a bond failure—usually manifesting as peeling, blistering, or “hot tire pickup” (where your tires pull the coating right off the floor).
Surface Prep Method Comparison
Not all preparation is created equal. Understanding the difference between mechanical and chemical prep is vital for professional results.
| Method | Best Use Case | Aggression Level | Resulting Surface |
| Diamond Grinding | DIY/Small Commercial | High | Smooth, uniform CSP 2–3 |
| Shot Blasting | Large Industrial/Warehouses | Very High | Aggressive, textured CSP 4+ |
| Acid Etching | Light-duty residential only | Low | Minimal etching, chemical dependency |
| Pressure Washing | Initial cleaning only | N/A | Does not profile concrete |
The Expert 7-Step Surface Prep Protocol
To achieve a professional-grade finish, you must move beyond “cleaning” and into “profiling.”
Contaminant Removal (The Degrease Phase):
Start by removing all oils, greases, and tire rubber. Use a heavy-duty, alkaline-based degreaser. Scrub the surface and ensure no chemical residue remains, as this will prevent the epoxy from ever touching the concrete.
Moisture Vapor Transmission (MVT) Testing:
Never skip this. Tape a clear 2×2 foot sheet of plastic to the concrete for 24 hours. If there is moisture or darkening under the plastic, you have a hydrostatic pressure issue. Applying epoxy over this will result in massive blistering; you would need a moisture-mitigation primer first.
Mechanical Profiling (Grinding):
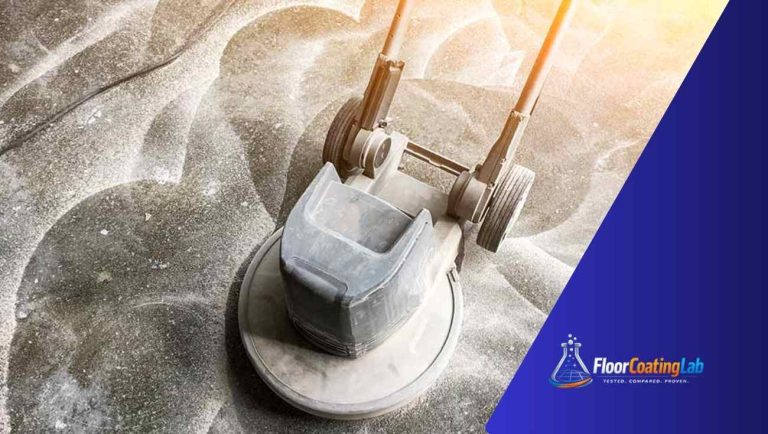
This is the core of the epoxy floor coating surface preparation. Rent a planetary diamond grinder. You want the concrete to look light gray and feel like 80-grit sandpaper. This creates the surface area necessary for the epoxy to “bite” into the slab.
Crack Repair and Patching:
Once the floor is ground, inspect it. Fill cracks with a high-strength epoxy crack filler, not silicone or standard hardware store caulk. Grind these patches flush so they are level with the floor.
Industrial Vacuuming:
Do not use a standard household vacuum. Use a high-CFM HEPA-filtered shop vacuum like DWV010 HEPA Dust Extractor with Automatic Filter Cleaning is incredibly fine; if it remains in the pores, it will create a “bond breaker” that causes the coating to fail from the bottom up.
The Solvent Wipe:
Before priming, perform a “white rag test.” Wipe the floor with acetone. If the rag comes up gray, you have dust remaining. Continue wiping until the rag is clean.
Primer Application:
A dedicated epoxy primer (often a lower viscosity resin) acts as the tie-layer. It penetrates deeper into the pores you just opened than the base coat can, ensuring maximum adhesion.
Related Article: What Kind of Sealer to Use on an Epoxy Garage Floor?
Understanding CSP and Surface Density
In the world of epoxy flooring surface preparation, the term CSP (Concrete Surface Profile) is the industry standard. For most garage-grade high-solids epoxy coatings, you are aiming for a CSP 2 or 3. If you do not create this profile, you are gambling with your materials. Never assume that the concrete you see is the concrete the epoxy needs to bond to; the “top skin” of your concrete is often the weakest part of the floor.
Frequently Asked Questions
Do I really need to grind the concrete for epoxy?
Yes. While some DIY kits suggest acid etching, mechanical grinding is the only way to ensure the removal of surface contaminants like oils, curing agents, and sealers. Grinding provides a consistent, deep-profile texture that maximizes the epoxy’s bond strength.
How do I know if my concrete is “porous” enough for epoxy?
Perform the “water drop test.” Pour a small amount of water onto the concrete. If the water beads up on the surface, the concrete is sealed and will not accept epoxy; it requires more aggressive grinding. If it soaks in quickly and darkens the concrete, the pores are open and ready.
What is the biggest mistake people make during surface prep?
The most common error is failing to remove dust after grinding. Even a thin layer of fine concrete dust acts as a separator, preventing the epoxy from making physical contact with the concrete, which leads to total coating failure within the first 6–12 months.
Is acid etching ever a viable option?
Acid etching is only acceptable for very specific, light-duty applications on bare, porous concrete. It is ineffective on aged concrete, previously sealed floors, or concrete that has had oil spills, as the acid cannot penetrate deep enough to remove those contaminants.

4 Comments
Comments are closed.