

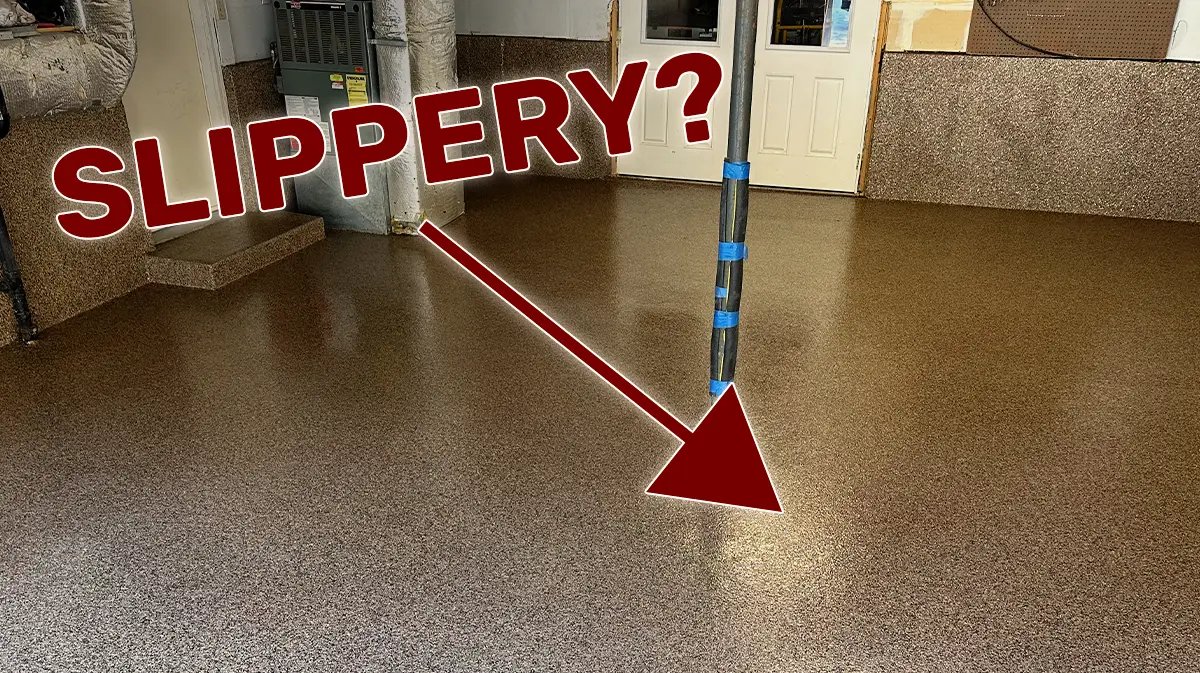
The fastest way to make an epoxy garage floor less slippery is a slip-resistant additive mixed into the topcoat: about 1 to 2 ounces per gallon of epoxy, or roughly one small handful of fine silica sand per 100 square feet. That gives you a textured surface without ruining the look of the floor.
The main keyword here is simple: how to make an epoxy garage floor less slippery comes down to adding grit before the final coat cures. This suits anyone with a glossy, sealed floor that gets dangerous when wet.
What you’ll need for the job
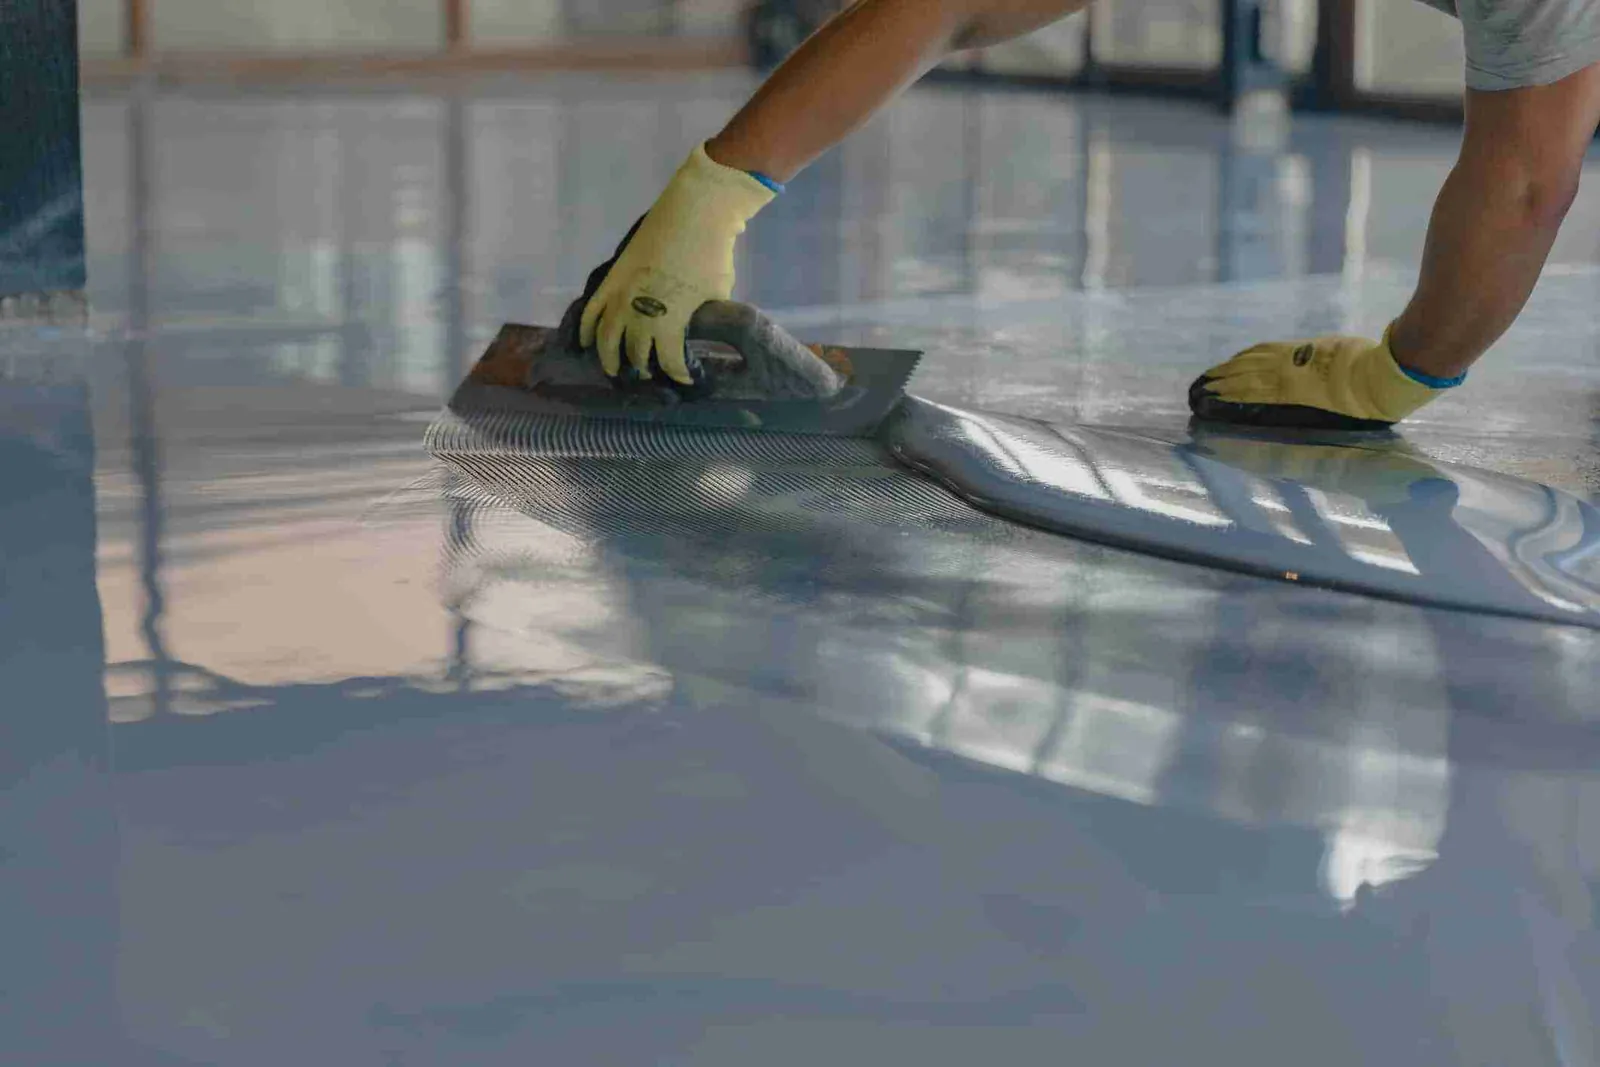
Gather everything before you open any cans. Epoxy starts curing once it’s mixed, so you don’t want to be hunting for tools while a batch sits and thickens.
- Slip-resistant additive — fine silica sand (also called silica flour), aluminum oxide, or a polymer grit made for epoxy. Aluminum oxide lasts longest in a garage.
- Touch-up epoxy or clear topcoat — enough to cover the whole floor in one coat, usually 1 gallon per 200–250 square feet per coat. Check your product’s own coverage chart.
- A drill mixer and a clean 5-gallon bucket — for blending grit into the resin without lumps.
- A 9-inch roller with a 3/8-inch nap cover, plus a brush for edges.
- Spiked shoes — so you can walk on the wet floor to spread grit evenly.
- A stiff broom and a shop vacuum — the floor must be dust-free before you coat.
- Nitrile gloves, safety glasses, and a respirator rated for organic vapors.
One substitution works fine: polymer grit instead of silica sand, and it’s easier to mix. One doesn’t: playground or builder’s sand. If your floor needs grinding or a full recoat and you’re not sure about the prep, a licensed flooring contractor handles that part properly.
Step-by-step: making your epoxy garage floor less slippery
- Clean the floor completely. Sweep, then vacuum every corner. Wipe up oil with a degreaser and let it dry for at least 24 hours. Grit won’t bond to dust or grease — it just sits there and rubs off.
-
Scuff the glossy surface. If the floor is already sealed and shiny, sand it lightly with 120-grit paper or use a floor buffer with a scuff pad. A glossy surface gives the new coat nothing to grab. Careful: don’t skip this on a cured floor. A topcoat over a slick surface peels in sheets within a season.
-
Mix the epoxy exactly as the label says. Combine resin and hardener for the full time listed — usually 2 to 3 minutes with a drill mixer at low speed. Short mixing leaves soft spots that never harden.
-
Add the grit to the mixed epoxy. Stir in 1 to 2 ounces of additive per gallon for a light texture, or up to 4 ounces per gallon for a heavy, industrial feel. Mix for 30 seconds until there are no dry clumps. Tip: for a broadcast finish instead, roll a plain coat first, then scatter grit by hand while the epoxy is still wet. You’ll get more even texture this way.
-
Cut in the edges first. Brush a 3-inch band along the walls and around any posts. Do this before rolling so the roller doesn’t dry out while you’re on your knees.
- Roll the floor in sections. Work in 4-by-4-foot areas, rolling in one direction, then back-rolling at a right angle to spread it evenly. Keep a wet edge so you don’t get lap marks.
-
Let it cure fully before you park on it. Foot traffic is usually fine in 12 to 24 hours. Full cure for vehicle traffic is typically 3 to 7 days, but that depends on temperature and humidity — check your product’s technical data sheet for the real number. Careful: cold weather slows the cure a lot. Below 60°F, add a day or two to every stage.
-
Test it before you trust it. Once cured, wet a small area and walk on it in the shoes you actually wear. If it still feels slick, add a second thin coat with grit.
How the job changes with your situation

The time and cost swing a lot depending on what state your floor is in and how much texture you want. Here’s how the main cases compare.
| Your situation | Time | What’s different | What to watch |
|---|---|---|---|
| Light texture on a sound, clean floor | 1 day + cure | One topcoat with grit | Even spreading; no bare patches |
| Heavy, industrial grip | 1–2 days + cure | More grit, often a broadcast layer | Grit settling into clumps |
| Floor needs sanding or grinding first | 2–3 days + cure | Extra prep step before coating | Dust left behind kills the bond |
| Cold garage (under 60°F) | Add 1–2 days | Slower cure at every stage | Sticky spots that never harden |
| Full recoat over an old failing floor | 3–4 days + cure | Old coating must come off first | Peeling edges if prep is rushed |
Starting with a light texture and adding more later is safer than dumping in too much grit on the first try.
How to tell you got it right
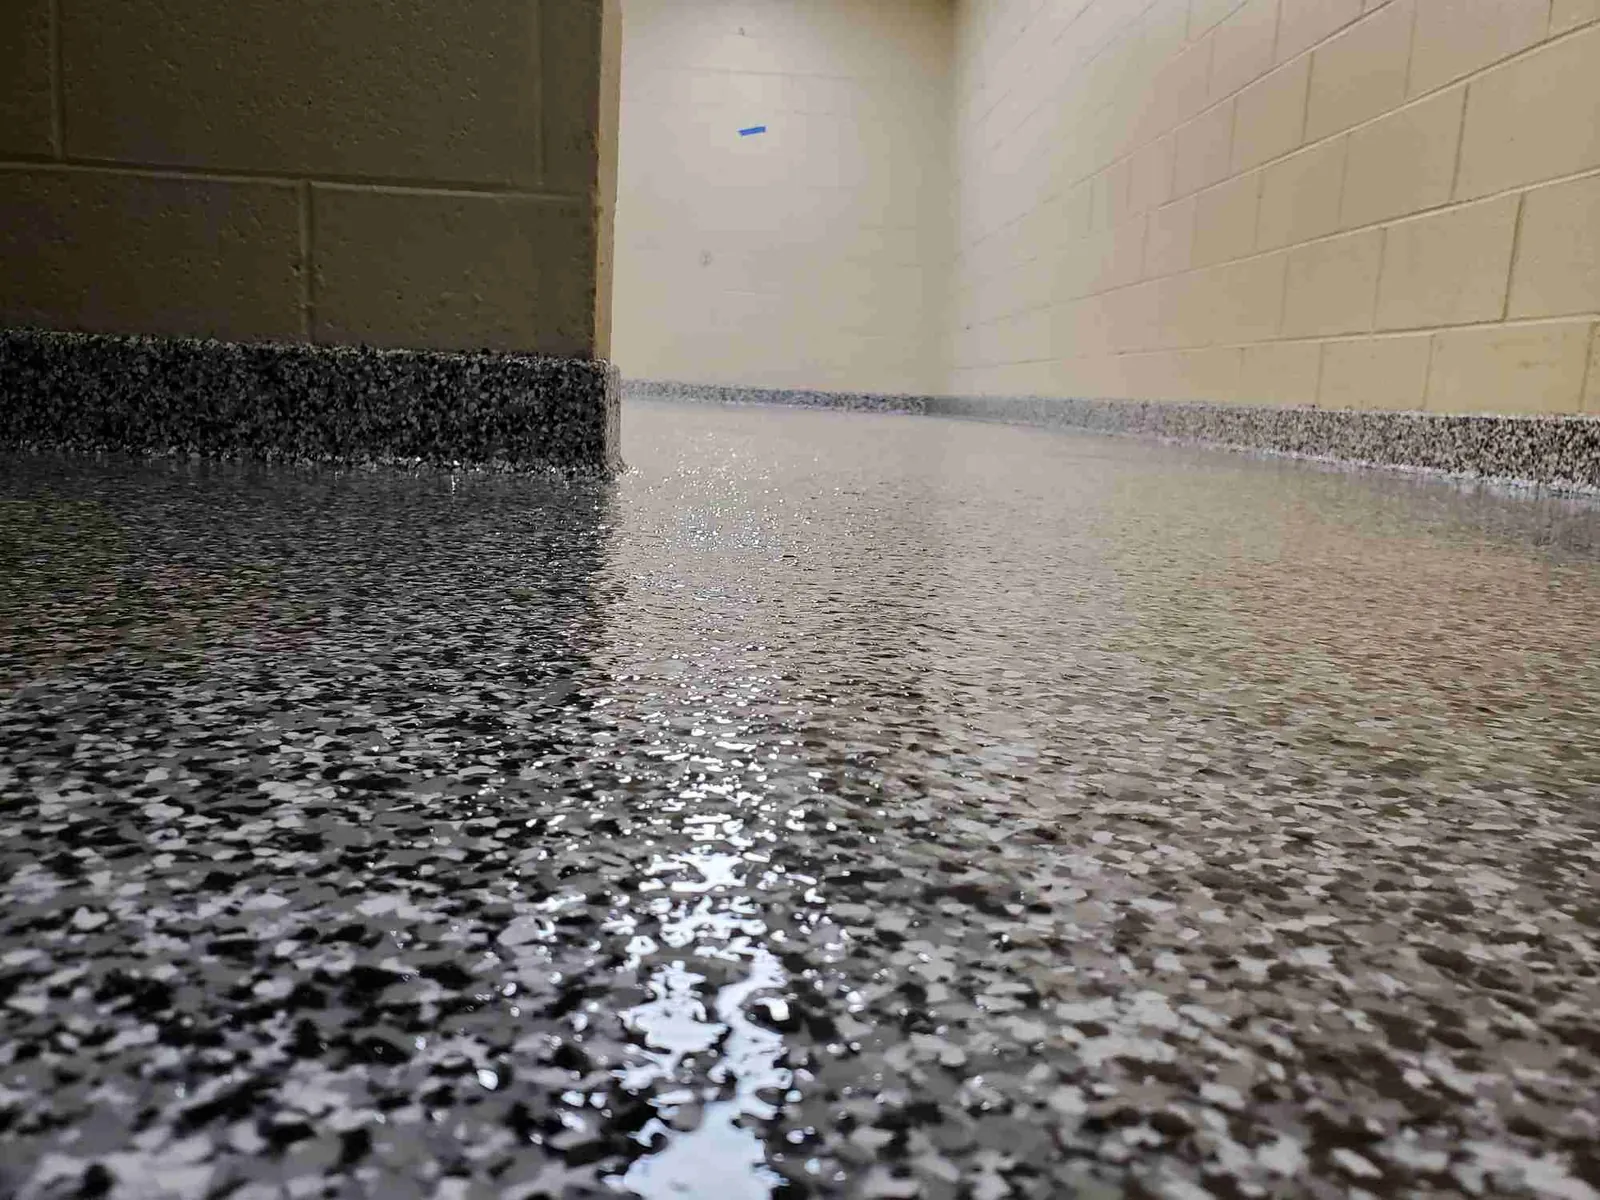
A good result feels like medium-grit sandpaper under your hand — noticeably textured, but not sharp or painful to kneel on. Water beads and spreads instead of forming slick puddles, and a wet shoe grips instead of sliding.
A poor result looks patchy. Some spots feel rough, others feel glassy, and you can see where the grit clumped or sank. You get a few seconds, not minutes, before it drops.
Three things prevent it: mix the grit in small batches instead of one big bucket, stir again right before each pour, and broadcast by hand if you want the most even coverage. If you’re coating a large floor, work in sections you can finish in 20 minutes.
The rules, and what to do after
There’s no single federal rule for garage floor texture, but the Americans with Disabilities Act requires accessible surfaces to be stable, firm, and slip resistant, and OSHA’s advisory guidance suggests a static coefficient of friction of 0.6 or higher on level surfaces, a number many flooring makers aim for. Check the U.S. Access Board’s guide to surface friction if you want the exact wording.
After the job, pull up your painter’s tape, wipe the edges, and keep the garage empty until the cure time on your product sheet has passed.
Grip life depends on traffic and grit type. Aluminum oxide holds up for years; fine sand wears faster under hot tires. When it wears, a light scuff and fresh grit topcoat restore it.
Other ways to handle a slick floor
Use anti-slip mats or tiles
Snap-together PVC tiles or rubber mats give instant grip with no mixing, no fumes, and no cure time. You can install them in an afternoon and pull them up if you move. They cost more per square foot than a grit topcoat, and water can get trapped underneath.
Hire a pro for a broadcast finish
A flooring contractor can grind the floor, apply a base coat, and broadcast grit evenly across the whole slab. The trade-off is cost — often several times a DIY topcoat — and you’ll wait for their schedule.
Add grit to a clear sealer only
If your floor is bare concrete with no epoxy, a clear acrylic or polyurethane sealer with grit mixed in is cheaper and faster than full epoxy. It won’t last as long under tires, and it needs recoating more often.
Frequently asked questions
Can I just sprinkle sand on my existing epoxy floor?
No, not on a cured floor. Dry sand won’t bond to a hard, glossy surface — it’ll just sweep away. You need a fresh coat of epoxy or sealer to lock the grit in place. Sanding the surface first helps the new coat stick.
How much grit do I add per gallon?
About 1 to 2 ounces per gallon for a light texture, and up to 4 ounces per gallon for heavy grip. That assumes a standard 1-gallon batch of mixed epoxy. For a broadcast finish, you scatter grit by hand instead, roughly one handful per 4 square feet.
How long before I can park on it?
Usually 3 to 7 days for full vehicle traffic, assuming temperatures stay above 60°F. Foot traffic is fine in 12 to 24 hours. Cold or humid weather stretches both numbers. Your product’s technical data sheet has the exact figure for your brand.
Is a textured epoxy floor safe for kids and pets?
Yes, once it’s fully cured. The grit is embedded in the cured resin, so it can’t come loose and get eaten or inhaled. Keep kids and pets off the floor until the cure time passes, because uncured epoxy gives off fumes and stays tacky.
What happens if I add too much grit?
The floor gets rough enough to hurt bare feet and trap dirt you can’t sweep out. Too much grit can also stop the epoxy from forming a solid film, which leads to peeling. If you overshoot, you’ll need to sand it down and recoat.
Why is my epoxy floor still slippery after adding grit?
Usually the grit sank before the epoxy set, or you didn’t mix enough in. Stir the grit in right before each pour and re-stir often. If the coat is already cured and still slick, a second thin grit coat on top will fix it.
Do I need to etch the concrete first?
Only if you’re coating bare concrete. Etching or grinding opens the pores so the epoxy bonds. If you’re just adding a grit topcoat over an existing epoxy floor, light sanding is enough — no acid needed.
Conclusion
A slippery garage floor is a real hazard, but the fix is cheap and you can do it in a weekend. Mix grit into your topcoat, spread it evenly, and let it cure fully before you drive on it. Start light, test it wet, and add more only if you need it.


