
Picture this: you walk downstairs. Instead of a dark, dusty concrete cave, you step onto a bright, showroom-quality floor. Sounds amazing, right? A great floor coating does not just cover ugly concrete. It completely transforms your space! If you want the most reliable basement floor coating instruction, you are in the perfect place.
Ever wonder why so many DIY floors peel up like a cheap sticker? The secret is all in the prep work. We are going to walk through this together. We will make sure your floor looks great and lasts for years. According to a surprising fact from the American Society of Home Inspectors, roughly 60% of U.S. homes have wet basements. That means you have to get this right!
Let’s dive into the foundation of any great DIY basement epoxy flooring project.
Step 1: Pre-Installation Basement Assessment
Before you open a single can of product, you must test your room. Basements sit underground. This makes them very different from a sunny driveway or an open garage.
The Basement Floor Moisture Test
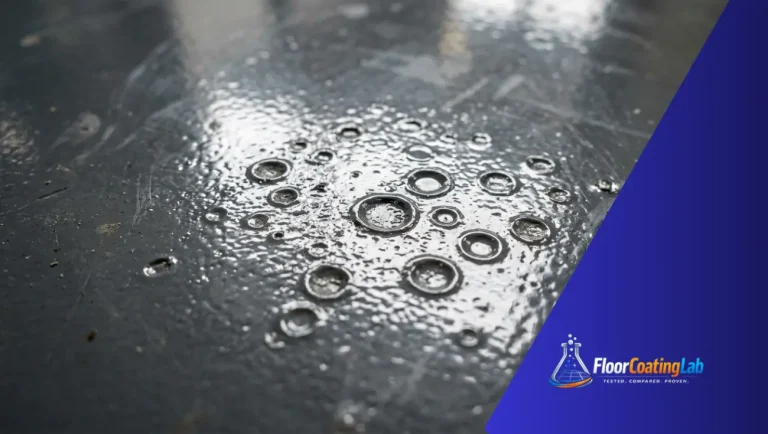
Concrete acts just like a giant sponge. It constantly pulls water up from the dirt below. Experts call this hydrostatic pressure. If you trap that water under a solid coating, the pressure will push your new floor right off the concrete!
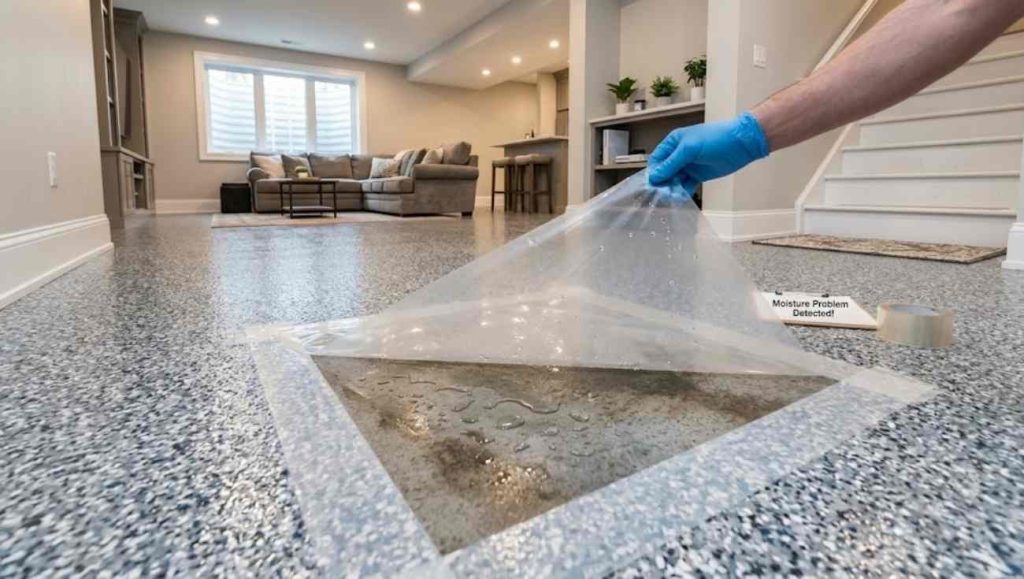
How do you check for this? You can buy a cheap calcium chloride test kit at the hardware store. Or, you can use a simple plastic sheet trick. Tape a 2-foot by 2-foot square of clear plastic to your floor. Wait 24 hours. Do you see water drops under the plastic? Is the concrete dark? If you say yes, you have a moisture problem. You will need a special moisture barrier primer later.
Temperature and Humidity Control
Coatings hate humidity. If the air is too wet, the coating will cure wrong. It might stay sticky forever. I always tell people to run a dehumidifier for a few days before starting. Get the room dry. Check the label on your product for the right room temperature, and keep your basement near that number.
Step 2: Heavy-Duty Concrete Floor Surface Preparation
I have a strong personal opinion on this next part. Proper concrete floor surface preparation is the most important step in the entire job. If you skip this, your project will fail. Period.
Cleaning & Degreasing
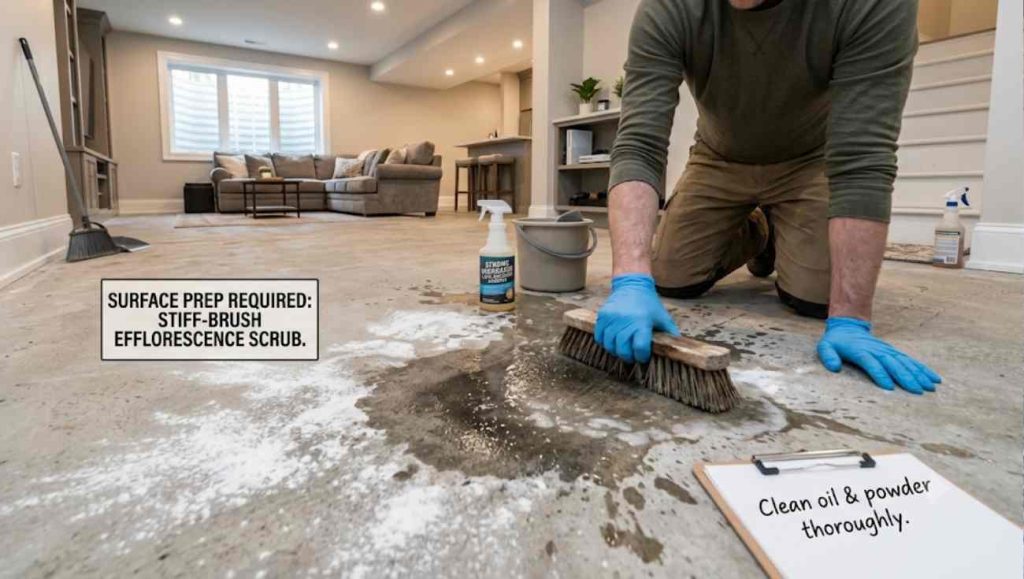
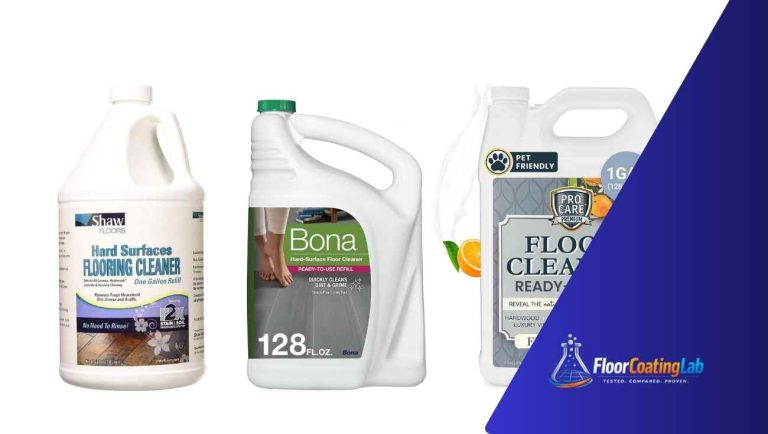
First, sweep the floor. Next, you need a strong degreaser. Scrub away all oil spots, dirt, and paint spills. Do you see white, chalky powder on the concrete? That is called efflorescence. It is dried salt from ground water. You must scrub it away with a stiff brush and water. Rinse the floor really well and let it dry.
Profiling the Concrete (Opening the Pores)
Your concrete might look flat, but it needs to feel like rough sandpaper. The coating needs open pores so it can bite into the floor. You have two main ways to do this.
Comparing Concrete Profiling Methods
| Method | What is it? | Pros | Cons |
| Concrete Acid Etching Process | Pouring a weak acid on the floor to eat away the top layer. | Cheap, easy to buy, no special tools needed. | Very messy, involves harsh chemicals, adds water to the basement. |
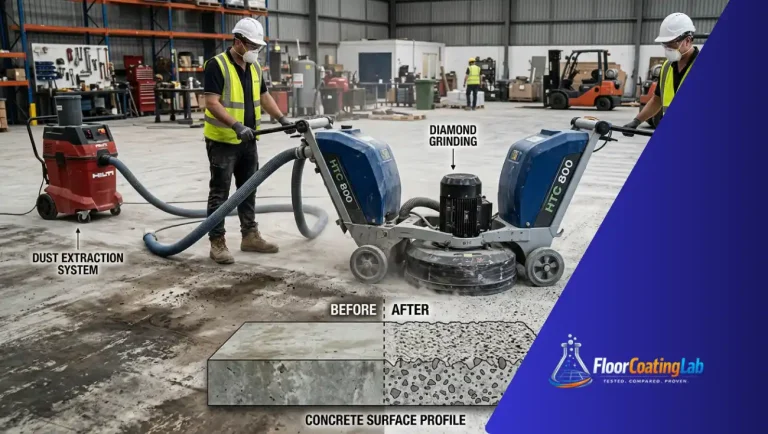
| Diamond Grinding Concrete Floor | Pushing a heavy machine with diamond blades over the floor. | Opens pores perfectly, keeps the floor dry, highly professional. | You must rent a machine, creates a lot of dust. |
Which one is better? Honestly, rent the grinder! The grinder opens the pores perfectly without flooding your basement with water. It costs a little money to rent, but it saves you from a peeling floor later.
Fixing Concrete Cracks Before Coating
You cannot just paint over cracks and holes. The liquid coating will sink right into them, and they will show up on your shiny new floor.
Get a good two-part epoxy patch or polyurea filler. Use a putty knife. Push the filler deep into every crack, divot, and hole. Overfill the cracks just a tiny bit. Once the patch dries rock-hard, use a hand grinder to smooth it out. Your floor should feel totally flat.
Step 3: Selecting the Right System for Basements
Are you standing in the hardware store feeling totally lost? I do not blame you! Picking the right liquid is tough. A lot of people ask me about the polyaspartic vs epoxy basement floor debate. Let’s make it super simple.
Polyaspartic vs. Epoxy in Basements
| Feature | Standard Epoxy | Polyaspartic |
| Working Time | 30-45 minutes (Relaxed pace) | 10-15 minutes (Very fast!) |
| Smell (VOCs) | Usually low odor | Can be very strong |
| Best Use | Thick base coats and primers | Scratch-resistant clear topcoats |
For a DIY basement, I highly recommend using epoxy for your primer and base coat. It gives you plenty of time to work without panicking. Then, use a clear polyaspartic for your shiny topcoat. It is a bulletproof combination!
Step 4: Applying Primer to Concrete Floor
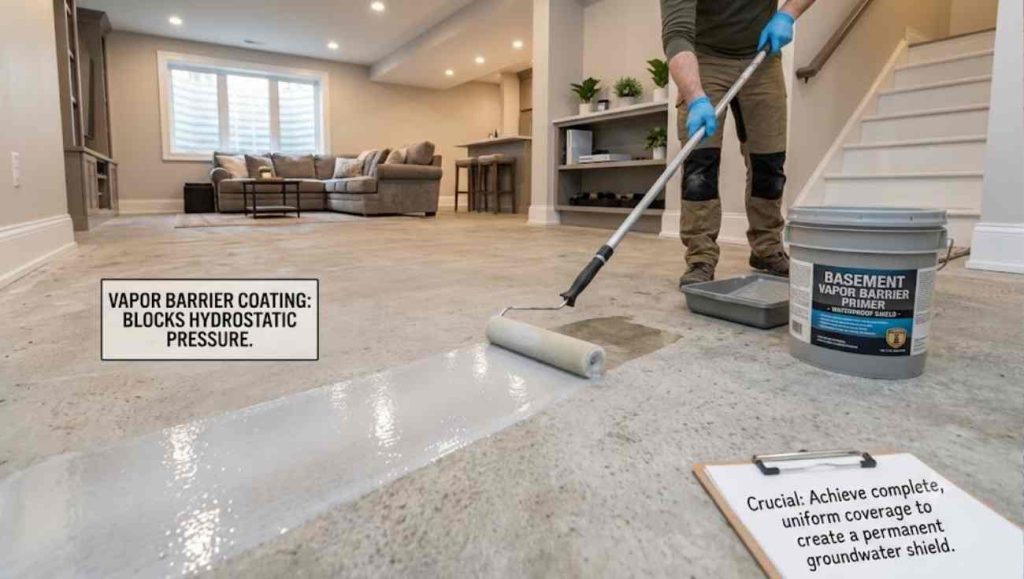
Do you remember that plastic sheet moisture test we did in Phase 1? If your concrete showed any signs of dampness, you must not skip this next step. You need a dedicated basement floor vapor barrier coating.
Why is this so important? This special primer acts like a waterproof shield. It blocks groundwater from pushing up and popping your beautiful floor off the ground.
Here is the easiest way to apply the primer:
- Cut in the edges: Use a cheap chip brush to paint the liquid around your walls and stairs.
- Pour it out: Dump the mixed primer directly onto the floor in a long ribbon.
- Squeegee and Roll: Use a flat rubber squeegee to spread the liquid thin. Then, run a paint roller over it to smooth out all the lines.
Related Article: 12 Best 3D Epoxy Floor Design Ideas
Step 5: The Base Coat and Broadcasting
Now comes the really fun part! This is where your ugly gray concrete finally gets some color.
Mixing the Product Meticulously
Before you mix anything, check the “pot life” on your can. Pot life is just a fancy word for how long the liquid stays wet in the bucket. Once you mix part A and part B together, a chemical clock starts ticking.
If you leave it in the bucket too long, it will get blazing hot and turn into a solid rock! Never mix more than you can roll out in 30 minutes.
Rolling the Color and Throwing Flakes
You will apply your colored base coat exactly like the primer. Pour it, squeegee it, and back-roll it flat. But now, you get to add awesome texture and style!
Grab a handful of decorative color flakes. Toss them high into the air like you are feeding chickens. Do not throw them straight down like bowling balls! Let them rain down softly into the wet coating. Cover the floor completely until you cannot see the base color anymore. I personally love this full-flake look because it hides dirt perfectly!
The Next Morning: Scrape and Vacuum
Let the floor dry completely overnight. The next morning, your floor will feel rough, stiff, and spiky.
Take a flat metal floor scraper and push it over the whole floor. This easily knocks down any sharp flakes sticking straight up. Finally, grab your heavy-duty shop vacuum and suck up all the loose, dusty pieces. Your floor is now ready for its final shield!
Step 6: The Clear Protective Topcoat
You are almost done! Right now, your color flakes look great, but they are unprotected. You need a clear topcoat to seal everything in. A clear polyaspartic topcoat acts like a tough layer of armor against scratches, dropping tools, and moving heavy furniture.
Mix your clear coat just like the base layers. Pour it out, spread it with a squeegee, and roll it smooth.
Do you want to know a pro secret? Add anti-slip additives to your clear coat bucket before you roll it! Basements can get damp. A glossy floor gets very slippery when wet. Mixing in a little aluminum oxide grit gives your shoes something to grip. Nobody wants an indoor ice skating rink!
Step 7: Curing Time and Ventilation
Your floor looks wet and shiny, but you cannot walk on it yet. Managing proper epoxy curing time is super important.
Basements do not have great airflow. Smells and fumes can build up fast. Open your basement windows. Put a box fan in the window to blow the smelly air outside. This keeps your house smelling fresh and helps the floor dry faster.
General Return-to-Service Timeline
| Time Passed | What Can I Do? |
| 24 Hours | Light foot traffic (walking in socks). |
| 48 to 72 Hours | Normal foot traffic and moving light boxes. |
| 7 Days | Full cure! Move heavy furniture and pool tables back in. |
Always double-check the back of your specific product label, as times can change based on your room temperature!
3 Critical Mistakes to Avoid During DIY Basement Epoxy Flooring
- Ignoring the Dew Point: If your concrete is colder than the air, water will sweat onto the floor. Coatings will not stick to a sweating floor!
- Mixing Too Much at Once: Never mix a giant 5-gallon bucket if you are working alone. The liquid will flash cure and harden in the bucket before you can pour it out.
- Skipping the Grinder: Painting over smooth, un-profiled concrete is a guaranteed failure. Always grind or etch the floor first.
Frequently Asked Questions (FAQ)
Can I coat my basement floor if it has previously been painted?
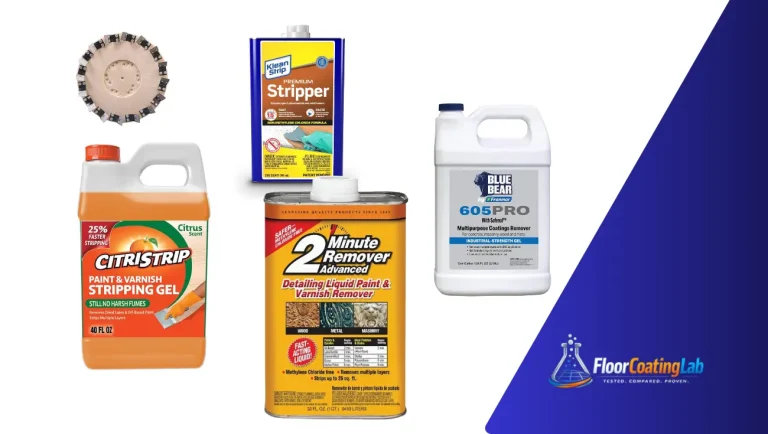
Yes, but you must remove the old paint first. You cannot rely on old paint to hold down a heavy new coating. Use a diamond grinder to strip it back to bare concrete.
How do I stop hydrostatic pressure from lifting my coating?
You must apply a high-quality moisture vapor barrier primer before your colored base coat. This special primer permanently blocks underground water pressure.
Is a polyaspartic coating safe to apply in an unventilated basement?
Polyaspartic coatings often have a very strong smell. You must set up fans and open windows to blow the fumes outside. If you have zero windows, stick to a low-odor, 100% solids epoxy instead.
Conclusion
We made it to the end! Giving your basement a showroom finish is a big job. But if you follow this basement floor coating instruction, you can do it. Remember, the secret is all in the preparation. Test for moisture, grind the concrete open, and respect the chemical pot life.
Does this still sound like a little too much work for a weekend? You do not have to do it alone! Reach out to the pros at Floor Coating Lab today. Let our experts handle the heavy grinding and give you a lifetime-guaranteed floor you will absolutely love!

2 Comments
Comments are closed.