
Safely remove masonry paint using a chemical gel stripper, cover with peel paper to draw out layers, then scrape and low-pressure rinse. Neutralize pH after.
Removing paint from a porous surface is completely different from stripping paint off wood or metal. If you use the wrong tools, you can easily end up with permanently damaged brickwork or crumbling mortar.
According to market research by Fact.MR, architectural renovation continues to drive huge demand for safe paint removal solutions. Choosing the right strategy keeps your home structurally safe while saving you tons of frustration. Let’s break down everything you need to know before you start scraping!
The direct way on how to remove masonry paint safely is by using a specialized chemical paint stripper (like a solvent gel or alkaline stripper), covering it with laminated paper to draw out the paint, and gently rinsing it with low water pressure. Never use intense pressure washing or high-powered sandblasting on soft brick!
Know Your Substrate: Why the Surface Matters
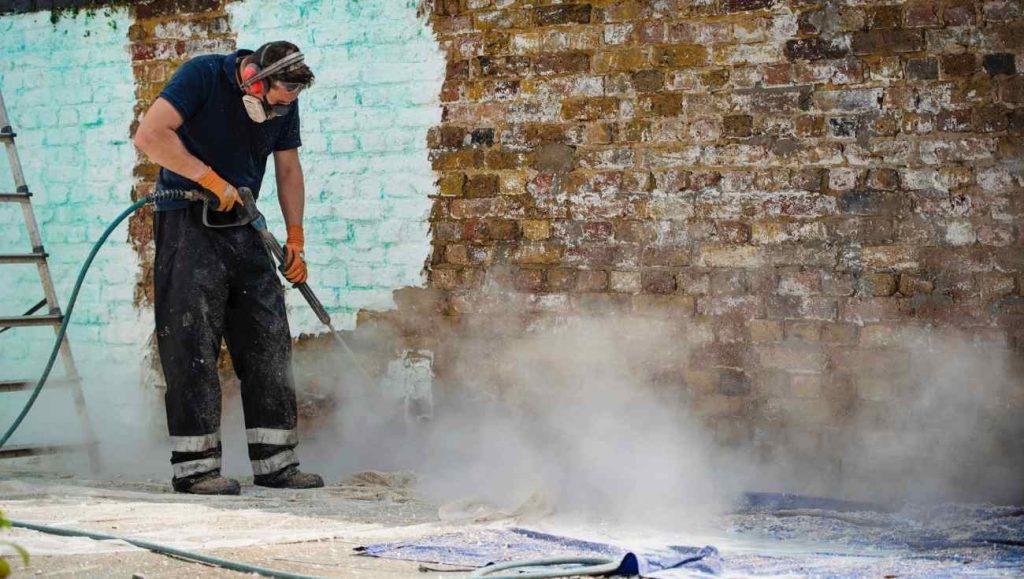
Did you know that not all masonry is created equal? Before applying any chemical products, you must identify what kind of surface is underneath that paint layer. Masonry materials absorb moisture and paint differently depending on their density and age.
Here is a quick look at common masonry types and their risk levels:
| Substrate Type | Surface Porosity | Risk of Damage | Best Removal Approach |
| Historic Clay Brick | Extremely High | High (Spalling / Crumbling) | Gentle solvent gel + peelaway paper sheets |
| Poured Concrete Floor / Wall | Moderate | Low | Heavy-duty chemical paint stripper or mechanical grinding |
| Concrete Blocks (Cinder Block) | High | Moderate | Thick paste stripper + stiff nylon brush |
| Lime Render / Plaster | Very High | Extreme | Soft steam or specialized low-alkaline wash |
| Natural Stone & Granite | Low to Moderate | Moderate (Acid Staining) | Non-acidic, pH-neutral paste stripper |
Soft Clay Brick vs. Poured Concrete
If your building features old handmade brick, treat it with extreme care. Older bricks have a hard outer face and a soft interior. If you blast away that hard outer skin, you invite water damage and severe spalling, which causes the brick to flake apart during winter freeze cycles.
On the other hand, poured concrete garage floors or basement walls can handle stronger mechanical methods or heavier chemicals.
Lime Render vs. Cement Mortar
Is your brick pointed with historic lime render or modern cement? Lime render needs to breathe. Caustic chemicals can linger inside soft mortar joints and break them down over time. Always check your mortar joints before picking a stripping product.
Identify the Coating Type Before You Strip
What kind of paint are you fighting against? Identifying the coating helps you choose the right chemical formula on the first try so you do not waste time or money.
- Standard Latex & Acrylic Paint: These are common water-based coatings. They usually peel off easily once treated with a bio-based or solvent-based chemical paint stripper.
- Elastomeric Coatings: These coatings are thick, rubbery, and waterproof. They stretch rather than snap. You need extended-contact strippers that can penetrate deep layers without drying out.
- Oil-Based & Historic Lead Paint: Older homes often have multiple layers of tough oil paint. If your home was built before 1978, test for lead before scraping!
- Mineral & Silicate Paints: These coatings form a chemical bond with the masonry substrate. They are incredibly stubborn and require specialized softening agents.
Related Article: Why Is My Epoxy Cracking? 5 Causes & Permanent Fixes
Protective Equipment & Site Setup for Masonry Paint Removal
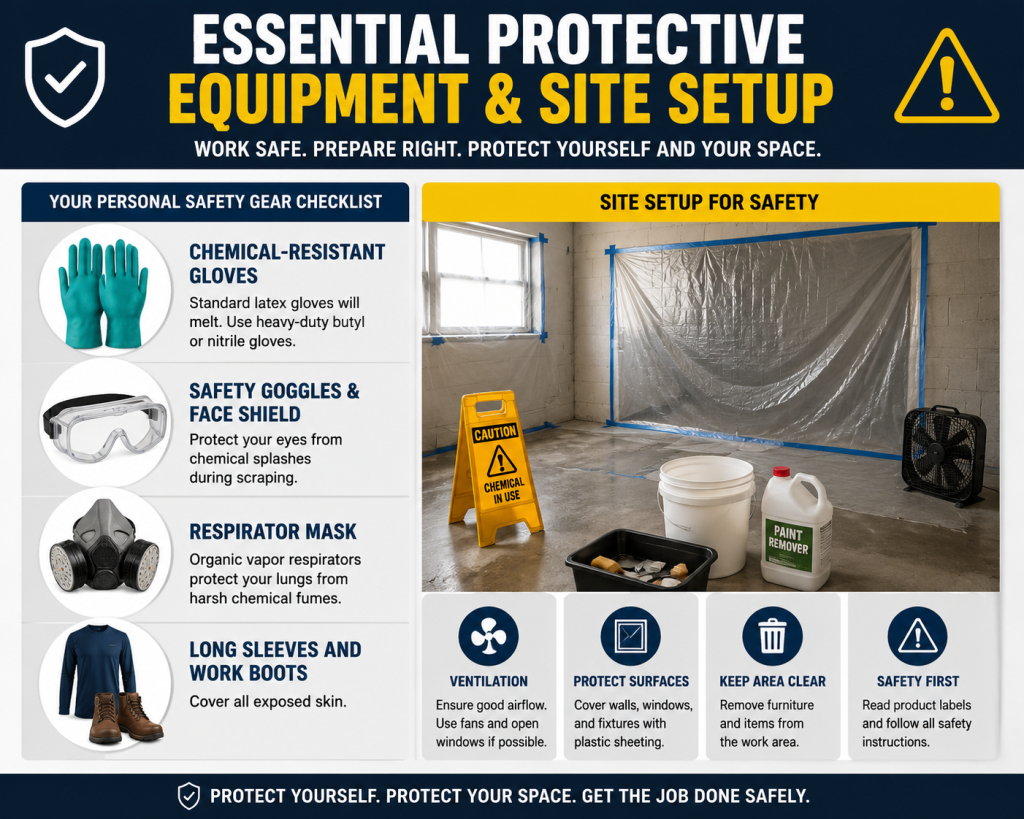
Working with heavy-duty paint removers isn’t a job for shorts and flip-flops! Chemical splatters can burn your skin or injure your eyes quickly.
Your Personal Safety Gear Checklist
- Chemical-Resistant Gloves: Standard latex gloves will melt. Use heavy-duty butyl or nitrile gloves.
- Safety Goggles & Face Shield: Protect your eyes from chemical splashes during scraping.
- Respirator Mask: Organic vapor respirators protect your lungs from harsh chemical fumes.
- Long Sleeves and Work Boots: Cover all exposed skin.
Protecting the Surrounding Area
Before dipping a brush into your stripper, wrap up your workspace.
- Lay down thick plastic drop cloths over sidewalks, driveways, and soil.
- Cover nearby plants and bushes with canvas tarps.
- Tape off adjacent windows, metal trim, and wooden door frames.
- Catch all paint sludge in plastic buckets for proper disposal. Never rinse chemical runoff directly into storm drains or garden beds!
My Personal Take: I used to think a high-powered pressure washer could solve any paint removal job in minutes. Boy, was I wrong! I ended up gouging a soft brick wall so badly that water started seeping into the basement, causing white powdery efflorescence salts to bloom all over the surface. Take it from me: patience and gentle chemicals win the race every single time!
Step-by-Step Masonry Paint Removing: Chemical, Mechanical, & Blasting Methods
Now that your workspace is safe and you know your surface, let’s talk execution! Depending on the scale of your project and substrate hardness, you have three primary pathways: chemical stripping, gentle mechanical scraping, or media blasting.
Method 1: The Chemical Paste & Peel System (Best for Brick & Render)
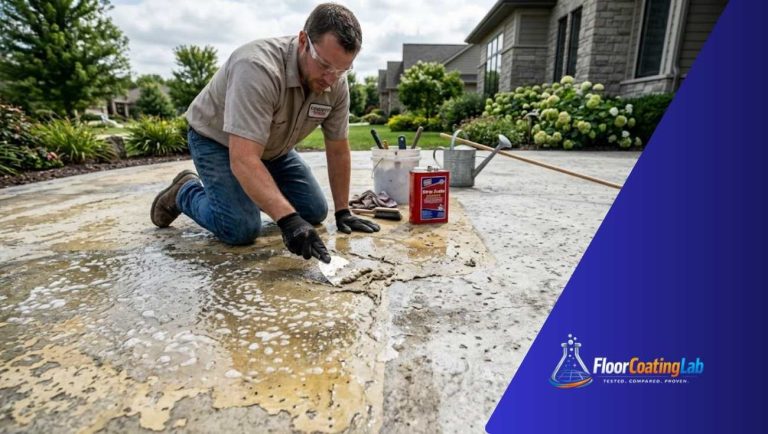
Chemical paste systems are the gold standard for porous masonry. Products like Dumond Peel Away or Keim STS 7M use heavy paste formulas paired with laminated paper to pull paint straight out of deep pores.
1. Perform a Small Patch Test: 10 minutes + dwell time.
Pick a small, hidden corner of your wall. Apply your solvent gel or alkaline stripper, cover it with paper, and wait. Check it every few hours to see how many layers soften and determine your optimal dwell time (usually 2 to 24 hours).
2. Apply a Thick Layer of Stripper: 15-30 minutes.
Use a trowel or thick natural-bristle brush to apply a thick (1/8 inch to 1/4 inch) coat of paste onto the surface. Fill every crevice and mortar joint completely.
3. Apply Laminated Peel Sheets:10 minutes.
Press laminated paper sheets firmly over the wet paste. Tap gently to smooth out air bubbles. This keeps the stripper moist so it can break down deep paint layers without evaporating.
4. Peel and Scrape Away Paint Sludge:Variable dwell time.
Slide a flat, non-gouging putty knife under the paper edge. Peel the paper back slowly; the softened paint paste should lift away attached to the sheet. Scrape off any remaining soft sludge straight into a sealable disposal container.
5. Detail Brush Deep Crevices:15-30 minutes.
Dip a stiff-bristled nylon or brass wire brush into warm water. Scrub the textured crevices and mortar lines to clear lingering paint residue.
Method 2: Mechanical Scraping & Low-Pressure Rinsing
If you are dealing with flat concrete slabs or garage floors, mechanical tools can speed up the job.
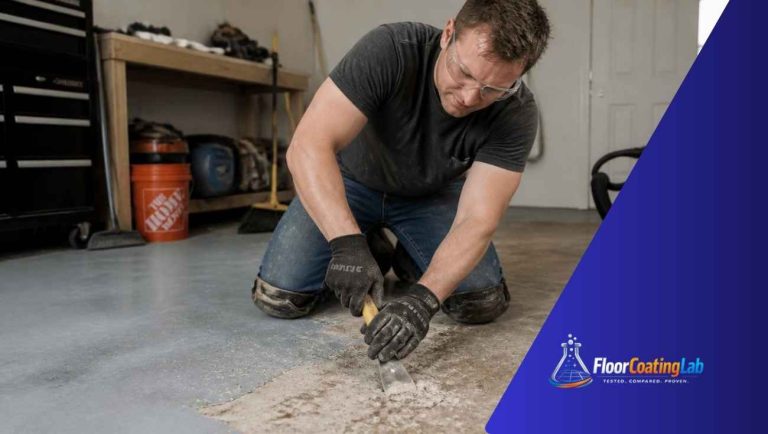
- Wire Wheels & Needle Scalers: Excellent for spot-treating stubborn patches on dense concrete floors. Avoid using them on soft clay brick, as they will leave circular gouge marks!
- Low-Pressure Rinsing: Keep pressure washer settings under 500–800 PSI with a wide fan nozzle (40-degree tip). Hold the wand at least 18 inches away from the surface to rinse without chipping the mortar.
Method 3: Soda Blasting & Media Blasting (For Large Properties)
For large exterior projects, traditional sandblasting is usually too harsh. Instead, consider soda blasting.
Soda blasting uses compressed air to spray sodium bicarbonate (baking soda) granules against the wall. The particles shatter on impact, stripping away paint layers without heating up or eroding the underlying stone. It is eco-friendly, water-soluble, and gentle on delicate historic surfaces.
Related Article: The 7 Best Floor Coating Removers You Can Trust
Post-Removal Protocol: Neutralization, Repairs, & Troubleshooting
Removing the paint is only half the battle! What you do right after stripping dictates whether your new floor coating or mineral paint stays intact or fails within months.
Why You Must Neutralize After Alkaline Stripping
Alkaline strippers (like sodium hydroxide or potassium hydroxide) raise the surface pH of your wall to highly basic levels (pH 12–14). If you do not lower the pH back to neutral (pH 7), any new paint, sealer, or epoxy floor coating will lose adhesion and peel off quickly.
- Wash with Water: Rinse away all remaining chemical sludge.
- Apply Acid Neutralizer: Spray a mild acid neutralizer (like citric acid or specialized manufacturer washes) over the wet wall.
- Test with pH Paper: Press wet pH litmus paper against the damp wall. Keep rinsing and neutralizing until the pH reads between 6.5 and 7.5.
Fixing Mortar Joints & Dealing with Efflorescence
Once the wall dries, you might notice white powdery crusts forming. This is efflorescence—salt crystals left behind as trapped moisture evaporates out of porous brick. Brush off the dry salts with a stiff nylon brush (never wet it, or the salts will dissolve back inside!).
If chemical stripping washed out loose mortar, repoint those mortar joints using matching lime or cement mortar before applying fresh sealers or floor coatings.
5 Common Mistakes to Avoid
- Sandblasting Soft Brick: Destroys the hard exterior face of historic brick, leading to crumbling and structural damage.
- Skipping the pH Neutralizing Step: High pH levels cause new paint coats and epoxy primers to fail within weeks.
- Using High Pressure Water Up Close: High PSI water blows out mortar joints and forces moisture deep inside wall cavities.
- Stripping in Direct Sunlight: Direct heat dries out chemical pastes before they can soften paint layers. Work in shaded areas or on overcast days!
- Rinsing Chemicals into Storm Drains: Chemical sludge pollutes waterways. Always collect sludge and dispose of it according to local hazardous waste rules.
Frequently Asked Questions
Can you remove masonry paint with a heat gun?
Using a heat gun on masonry is generally not recommended. Extreme heat can crack delicate stone or brick, and if the old coating contains lead, heating it releases dangerous toxic fumes.
How do I get old paint out of deep brick texture?
Apply a generous paste stripper, cover it with laminated peel paper, and let it sit overnight. The paper keeps the paste wet so it can dissolve paint deep inside the texture. Scrub remaining bits with a stiff nylon brush and warm water.
What is the safest way to clean historic brick?
The safest method is using pH-neutral or mild solvent-based paste strippers combined with laminated paper sheets and low-pressure warm water rinses. Avoid abrasive sandblasting completely!
Why is white powder appearing on my brick after paint removal?
That white powder is efflorescence, caused by mineral salts migrating out of the wet brick as it dries. Let the wall dry completely and brush off the powder using a dry stiff-bristled nylon brush.
Do I need to neutralize the wall if I use a solvent stripper?
Solvent-based strippers usually do not alter surface pH as drastically as caustic alkaline strippers. However, you should still rinse the wall with water and mild detergent to clean off lingering solvent residues before applying new coatings.
Conclusion & Next Steps
Removing masonry paint takes patience, but taking a careful approach preserves the structural integrity and timeless beauty of your brick, stone, or concrete surfaces.
By choosing a dedicated chemical paste stripper, using protective paper covers, and neutralizing the substrate’s pH, you set yourself up for long-term success—whether you leave the original brick bare or prepare the concrete for a fresh epoxy floor coating!
Are you preparing to strip a basement wall, a brick entryway, or a garage floor? Take time to test a small patch area first. Do you have a tricky paint removal situation? Drop your questions in the comments below, and let’s troubleshoot your project together!

One Comment
Comments are closed.