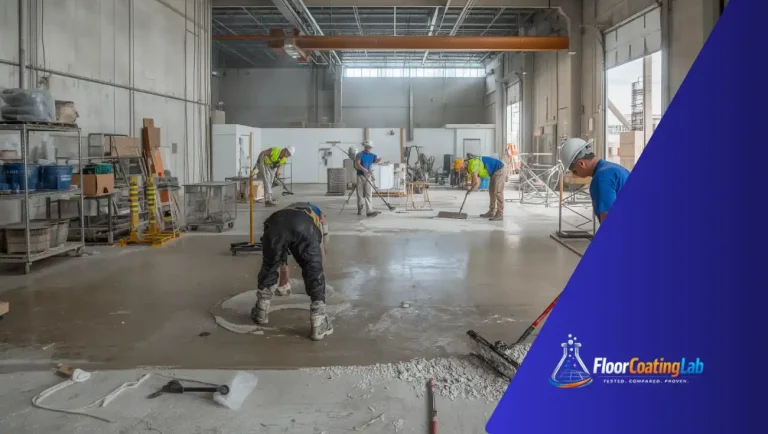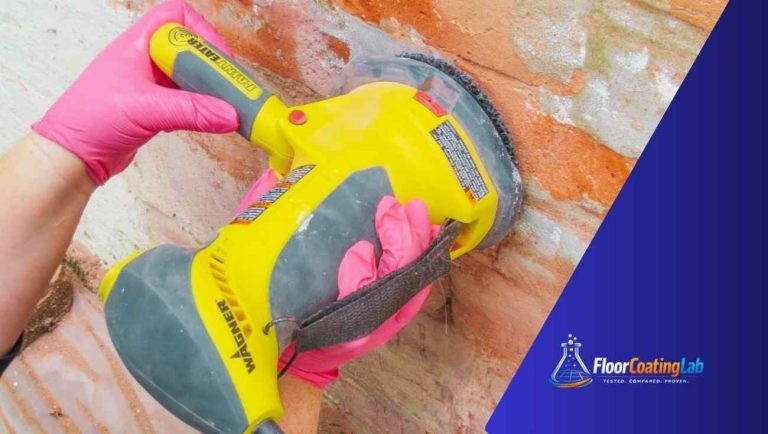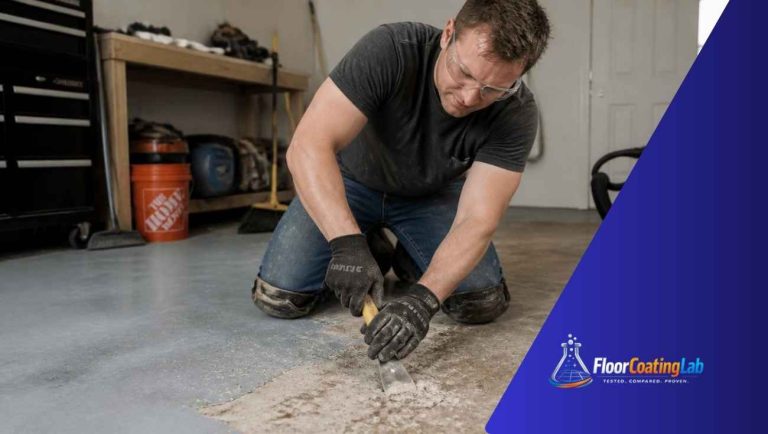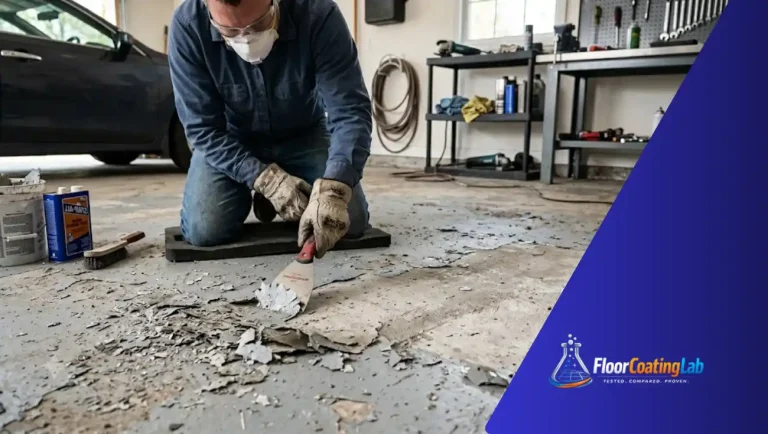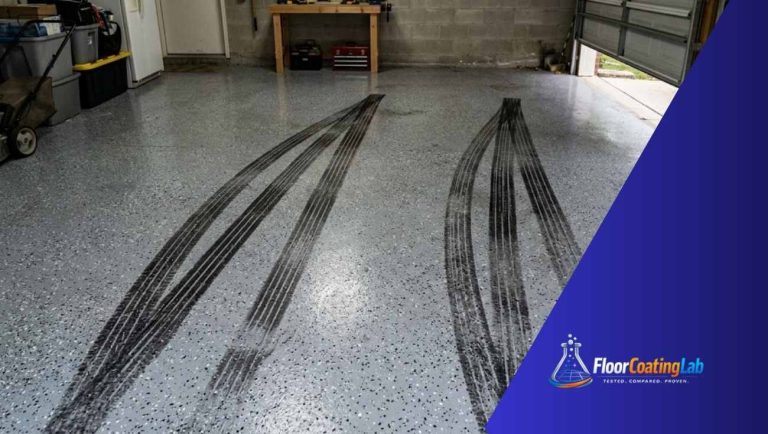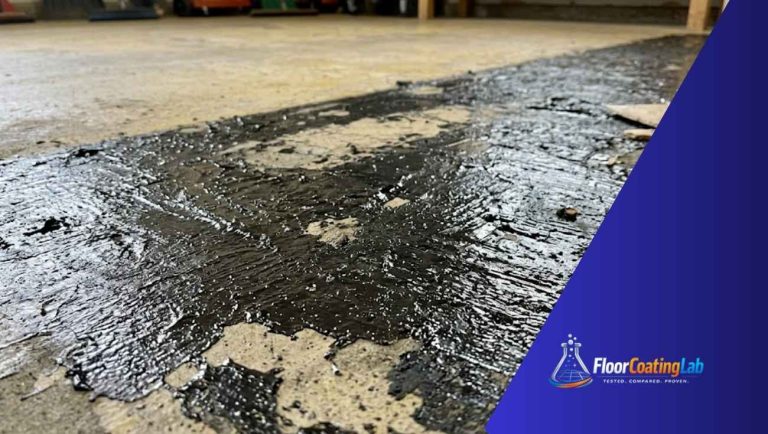
Polyaspartic floor removal involves eliminating durable coatings used for protective, fast-curing floor finishes in commercial and industrial spaces.
Polyaspartic floor coatings are popular in garages, warehouses, and commercial spaces. They look great, resist stains, and handle heavy use. But what if you want to remove a polyaspartic floor? Maybe you want a new look, need repairs, or the coating is damaged. Removing polyaspartic floors can be tricky, especially for beginners. This guide explains the process in simple steps, with tips, tools, and important things to know before you start.
What Is Polyaspartic Flooring?
Polyaspartic flooring is a type of resin coating. It’s similar to epoxy but cures much faster and is more durable. Many people choose polyaspartic floors because they:
- Resist chemicals and stains
- Are UV stable (don’t yellow in sunlight)
- Have a shiny, attractive finish
- Can be installed quickly (sometimes in one day)
However, the same qualities that make them strong also make removal harder.
Why Remove Polyaspartic Floors?
There are a few common reasons people decide to remove these floors:
- Damage: Deep cracks, chips, or peeling make repairs necessary.
- Change of Style: You want a different color, finish, or material.
- Poor Installation: Bubbles, uneven spots, or poor adhesion from the original job.
- Surface Preparation for New Floor: Need a blank surface for tiles, carpet, or another coating.
Removing a polyaspartic floor isn’t always simple. Knowing what to expect helps you avoid surprises.
How Polyaspartic Differs From Epoxy Or Paint
Many people confuse polyaspartic with epoxy or even thick paints. Here’s a quick comparison to help you understand why removal is different:
| Type | Durability | Cure Time | Removal Difficulty |
|---|---|---|---|
| Polyaspartic | Very high | 1-2 hours | Hard |
| Epoxy | High | 6-24 hours | Medium |
| Concrete Paint | Low | 1-2 hours | Easy |
Polyaspartic coatings bond tightly to concrete. Standard paint removers or scrapers won’t work well. You need the right tools and methods.
Tools And Equipment Needed
Before you start, gather the right tools. Trying to use the wrong equipment can make the job much harder.
Essential Tools
- Floor grinder: The most effective tool, often rented from hardware stores.
- Diamond grinding pads: For tough coatings like polyaspartic.
- Heavy-duty scraper: For edges and small areas.
- Vacuum (HEPA filter preferred): To collect dust.
- Pry bar and hammer: For stubborn corners.
- Personal protective equipment (PPE): Gloves, goggles, dust mask or respirator, ear protection.
Optional But Helpful
- Chemical stripper (specifically for polyurea/polyaspartic): Sometimes used, but not always effective.
- Shop vac: For general cleanup.
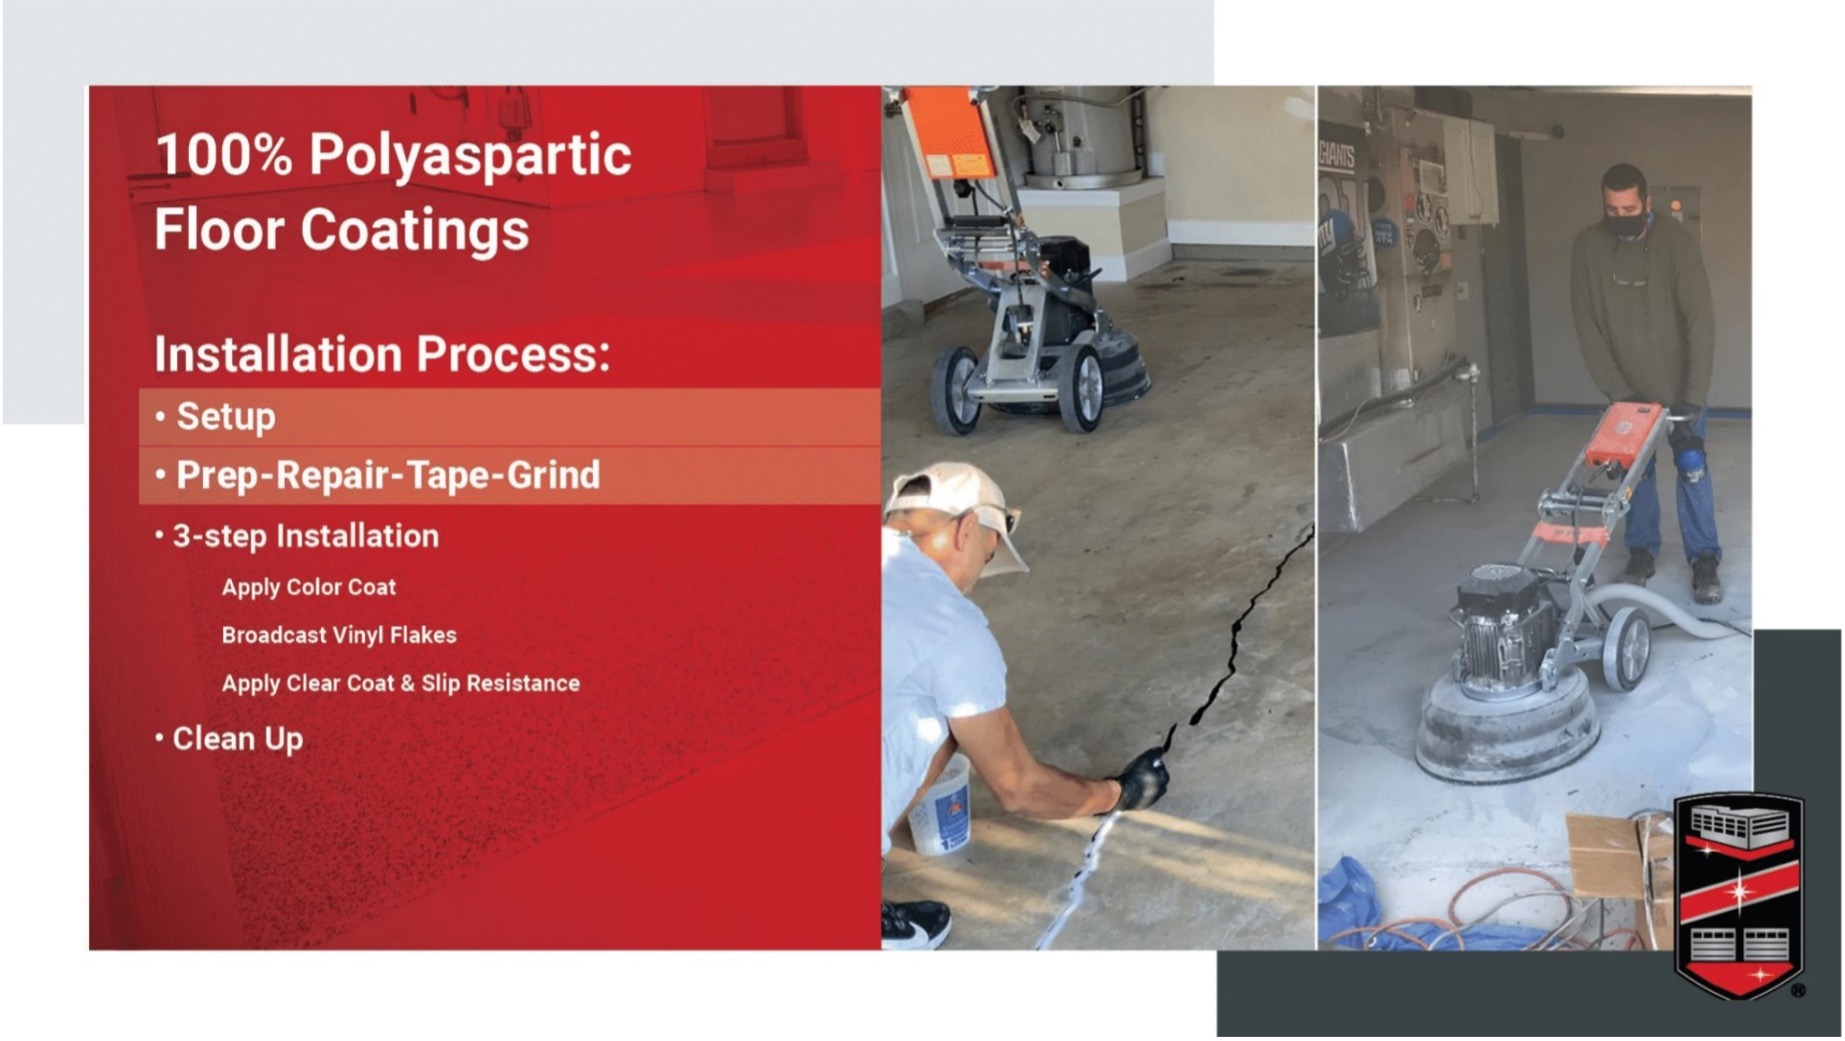
Most beginners find that renting a floor grinder is the best choice. Hand scrapers take too much time and energy.
Credit: floorshieldcoatings.com
Step-by-step Polyaspartic Floor Removal
Removing a polyaspartic floor is a process. Here’s how to do it safely and effectively:
1. Prepare The Area
Clear the room of furniture, tools, and other items. Cover vents and doorways with plastic to keep dust contained. Wear your PPE—polyaspartic dust can be harmful if inhaled.
2. Test A Small Area
Before starting the whole floor, use your grinder or scraper on a small section. This helps you see how thick the coating is and how well your tools work. Sometimes, old floors have multiple layers.
3. Use A Floor Grinder
The main work is done with a floor grinder. Here’s how:
- Start at the far corner and work backward toward the exit.
- Move the grinder slowly and evenly.
- Don’t press down too hard; let the machine do the work.
- Overlap your passes to avoid missing spots.
Diamond pads are best for polyaspartic coatings. They cut through the tough layer without damaging the concrete underneath (if used carefully).
4. Handle Edges And Corners
Grinders often can’t reach right up to the wall. Use a hand scraper or an angle grinder for these areas. Work slowly and wear gloves.
5. Check For Leftover Coating
After grinding, look for any shiny or thick spots. These are likely missed areas. Go over them again with the grinder or scraper.
6. Clean Up Thoroughly
Vacuum the dust with a HEPA filter vacuum. Polyaspartic dust is fine and can be harmful. Sweep, then vacuum again for best results.
7. Inspect The Concrete
Once the coating is gone, check the concrete for cracks or damage. Now is the best time to repair any problems before adding a new floor.
Common Mistakes Beginners Make
Removing a polyaspartic floor is physical work, and mistakes can cost time or money. Here are some errors to avoid:
- Skipping PPE: The dust can irritate your lungs and eyes.
- Not renting a grinder: Hand tools take much longer and may not work.
- Using the wrong grinding pads: Cheap or soft pads won’t last.
- Grinding too deeply: Can damage or gouge the concrete.
- Not containing dust: Failing to seal off the area spreads mess throughout your home.
Pros And Cons Of Diy Removal
Should you do it yourself or hire a pro? Here’s a quick look at both options:
| DIY Removal | Professional Removal |
|---|---|
| CheaperFlexible timingGood learning experience | FasterLess physical effortExpert results |
| Physically demandingNeed to rent toolsPossible mistakes | More expensive ($3–$7 per sq. ft.)Must schedule in advance |
If your floor is over 300 square feet or has many layers, hiring a pro may be worth the cost.
How Long Does Removal Take?
The time needed depends on several factors:
- Floor size: A single garage (about 400 sq. Ft.) usually takes 4–8 hours for one person with a grinder.
- Coating thickness: Older or multi-layered floors take longer.
- Experience level: Beginners may need extra time for setup and cleanup.
Allow a full day for most garage-sized projects. Larger commercial spaces can take several days.
Costs To Expect
DIY removal is cheaper but still involves some costs:
- Floor grinder rental: $75–$150 per day
- Diamond pads: $30–$100 (may need a few)
- PPE: $20–$50
- Vacuum rental (if needed): $30–$60 per day
Professional removal usually costs $3–$7 per square foot. Always get a few quotes and ask what’s included.
Two Overlooked Details Most Beginners Miss
Even the most detailed guides often skip these points:
- Moisture testing after removal: Before installing a new floor, check the concrete’s moisture level. Leftover moisture can ruin new coatings or tiles.
- Checking for hidden repairs: Polyaspartic coatings can hide cracks or patches in the concrete. Removing the coating may reveal repairs that need attention before continuing.
Don’t skip these steps—they can prevent costly problems later.
Credit: xtremepolishingsystems.com
Can You Reuse Or Refinish The Concrete?
After removal, many people wonder if the bare concrete can be left as-is or needs further work. Most of the time, you can:
- Polish the concrete for a shiny finish
- Seal it with a clear product for protection
- Install tile, carpet, or another coating
However, if the grinding went too deep, you may need to patch or level the surface.
Safety Tips For Polyaspartic Floor Removal
Safety should never be an afterthought. Here’s how to protect yourself and your space:
- Always wear a respirator—a basic dust mask is not enough.
- Use ear protection—grinders are loud.
- Protect your eyes with goggles.
- Wear gloves to prevent cuts or scrapes.
- Keep children and pets away from the work area.
- Open windows and use fans if possible, but avoid blowing dust into other rooms.
Disposal Of Old Coating And Dust
Polyaspartic dust is not usually hazardous, but it’s best to dispose of it carefully:
- Collect dust in sealed bags.
- Take large amounts of coating waste to a local landfill or hazardous waste facility.
- Check local rules—some areas have special requirements for construction debris.
When To Call A Professional
Sometimes, DIY isn’t the best option. Call a pro if:
- The floor is very large or has unusual features (drains, slopes, etc.)
- You find asbestos or lead paint (older buildings)
- The coating is extra thick or layered
- You don’t have time or physical ability for heavy work
Professional contractors have industrial grinders and safety equipment. They can finish the job quickly and safely.
Frequently Asked Questions
What Makes Polyaspartic Floor Removal Different From Epoxy?
Polyaspartic coatings are usually harder and more flexible than epoxy. They bond tighter to concrete, making removal more difficult. Standard scrapers or chemical removers often don’t work well, so diamond grinding is usually necessary.
Can I Use A Chemical Stripper To Remove Polyaspartic Floors?
Most chemical strippers don’t work on polyaspartic coatings. These products are designed for paint or epoxy. Specialized strippers may help soften the coating, but grinding is almost always needed for full removal.
How Much Dust Does The Process Create?
Grinding a polyaspartic floor creates a lot of fine dust. Always use a vacuum with a HEPA filter and seal off other rooms. Wearing a respirator and goggles is important for safety.
Will Removing The Floor Damage The Concrete?
If you use the right grinder and pads and work carefully, concrete damage is minimal. Pressing too hard or using the wrong tools can cause gouges or uneven spots. Always test a small area first to adjust your technique.
Where Can I Find More Information About Polyaspartic Coatings?
You can learn more from the official Wikipedia page on Polyaspartic coatings for in-depth details about their chemistry and uses.
Removing a polyaspartic floor is a big job, but with the right knowledge and tools, even beginners can handle it. Take your time, follow safety steps, and don’t hesitate to get help if the project feels overwhelming. With patience and the right preparation, you’ll have a clean, ready-to-use surface for whatever comes next.
Polyaspartic floor coatings are popular in garages, warehouses, and commercial spaces. They look great, resist stains, and handle heavy use. But what if you want to remove a polyaspartic floor? Maybe you want a new look, need repairs, or the coating is damaged. Removing polyaspartic floors can be tricky, especially for beginners. This guide explains the process in simple steps, with tips, tools, and important things to know before you start.
What Is Polyaspartic Flooring?
Polyaspartic flooring is a type of resin coating. It’s similar to epoxy but cures much faster and is more durable. Many people choose polyaspartic floors because they:
- Resist chemicals and stains
- Are UV stable (don’t yellow in sunlight)
- Have a shiny, attractive finish
- Can be installed quickly (sometimes in one day)
However, the same qualities that make them strong also make removal harder.
Why Remove Polyaspartic Floors?
There are a few common reasons people decide to remove these floors:
- Damage: Deep cracks, chips, or peeling make repairs necessary.
- Change of Style: You want a different color, finish, or material.
- Poor Installation: Bubbles, uneven spots, or poor adhesion from the original job.
- Surface Preparation for New Floor: Need a blank surface for tiles, carpet, or another coating.
Removing a polyaspartic floor isn’t always simple. Knowing what to expect helps you avoid surprises.
How Polyaspartic Differs From Epoxy Or Paint
Many people confuse polyaspartic with epoxy or even thick paints. Here’s a quick comparison to help you understand why removal is different:
| Type | Durability | Cure Time | Removal Difficulty |
|---|---|---|---|
| Polyaspartic | Very high | 1-2 hours | Hard |
| Epoxy | High | 6-24 hours | Medium |
| Concrete Paint | Low | 1-2 hours | Easy |
Polyaspartic coatings bond tightly to concrete. Standard paint removers or scrapers won’t work well. You need the right tools and methods.
Tools And Equipment Needed
Before you start, gather the right tools. Trying to use the wrong equipment can make the job much harder.
Essential Tools
- Floor grinder: The most effective tool, often rented from hardware stores.
- Diamond grinding pads: For tough coatings like polyaspartic.
- Heavy-duty scraper: For edges and small areas.
- Vacuum (HEPA filter preferred): To collect dust.
- Pry bar and hammer: For stubborn corners.
- Personal protective equipment (PPE): Gloves, goggles, dust mask or respirator, ear protection.
Optional But Helpful
- Chemical stripper (specifically for polyurea/polyaspartic): Sometimes used, but not always effective.
- Shop vac: For general cleanup.
Most beginners find that renting a floor grinder is the best choice. Hand scrapers take too much time and energy.
Credit: floorshieldcoatings.com
Step-by-step Polyaspartic Floor Removal
Removing a polyaspartic floor is a process. Here’s how to do it safely and effectively:
1. Prepare The Area
Clear the room of furniture, tools, and other items. Cover vents and doorways with plastic to keep dust contained. Wear your PPE—polyaspartic dust can be harmful if inhaled.
2. Test A Small Area
Before starting the whole floor, use your grinder or scraper on a small section. This helps you see how thick the coating is and how well your tools work. Sometimes, old floors have multiple layers.
3. Use A Floor Grinder
The main work is done with a floor grinder. Here’s how:
- Start at the far corner and work backward toward the exit.
- Move the grinder slowly and evenly.
- Don’t press down too hard; let the machine do the work.
- Overlap your passes to avoid missing spots.
Diamond pads are best for polyaspartic coatings. They cut through the tough layer without damaging the concrete underneath (if used carefully).
4. Handle Edges And Corners
Grinders often can’t reach right up to the wall. Use a hand scraper or an angle grinder for these areas. Work slowly and wear gloves.
5. Check For Leftover Coating
After grinding, look for any shiny or thick spots. These are likely missed areas. Go over them again with the grinder or scraper.
6. Clean Up Thoroughly
Vacuum the dust with a HEPA filter vacuum. Polyaspartic dust is fine and can be harmful. Sweep, then vacuum again for best results.
7. Inspect The Concrete
Once the coating is gone, check the concrete for cracks or damage. Now is the best time to repair any problems before adding a new floor.
Common Mistakes Beginners Make
Removing a polyaspartic floor is physical work, and mistakes can cost time or money. Here are some errors to avoid:
- Skipping PPE: The dust can irritate your lungs and eyes.
- Not renting a grinder: Hand tools take much longer and may not work.
- Using the wrong grinding pads: Cheap or soft pads won’t last.
- Grinding too deeply: Can damage or gouge the concrete.
- Not containing dust: Failing to seal off the area spreads mess throughout your home.
Pros And Cons Of Diy Removal
Should you do it yourself or hire a pro? Here’s a quick look at both options:
| DIY Removal | Professional Removal |
|---|---|
| CheaperFlexible timingGood learning experience | FasterLess physical effortExpert results |
| Physically demandingNeed to rent toolsPossible mistakes | More expensive ($3–$7 per sq. ft.)Must schedule in advance |
If your floor is over 300 square feet or has many layers, hiring a pro may be worth the cost.
How Long Does Removal Take?
The time needed depends on several factors:
- Floor size: A single garage (about 400 sq. Ft.) usually takes 4–8 hours for one person with a grinder.
- Coating thickness: Older or multi-layered floors take longer.
- Experience level: Beginners may need extra time for setup and cleanup.
Allow a full day for most garage-sized projects. Larger commercial spaces can take several days.
Costs To Expect
DIY removal is cheaper but still involves some costs:
- Floor grinder rental: $75–$150 per day
- Diamond pads: $30–$100 (may need a few)
- PPE: $20–$50
- Vacuum rental (if needed): $30–$60 per day
Professional removal usually costs $3–$7 per square foot. Always get a few quotes and ask what’s included.
Two Overlooked Details Most Beginners Miss
Even the most detailed guides often skip these points:
- Moisture testing after removal: Before installing a new floor, check the concrete’s moisture level. Leftover moisture can ruin new coatings or tiles.
- Checking for hidden repairs: Polyaspartic coatings can hide cracks or patches in the concrete. Removing the coating may reveal repairs that need attention before continuing.
Don’t skip these steps—they can prevent costly problems later.
Credit: xtremepolishingsystems.com
Can You Reuse Or Refinish The Concrete?
After removal, many people wonder if the bare concrete can be left as-is or needs further work. Most of the time, you can:
- Polish the concrete for a shiny finish
- Seal it with a clear product for protection
- Install tile, carpet, or another coating
However, if the grinding went too deep, you may need to patch or level the surface.
Safety Tips For Polyaspartic Floor Removal
Safety should never be an afterthought. Here’s how to protect yourself and your space:
- Always wear a respirator—a basic dust mask is not enough.
- Use ear protection—grinders are loud.
- Protect your eyes with goggles.
- Wear gloves to prevent cuts or scrapes.
- Keep children and pets away from the work area.
- Open windows and use fans if possible, but avoid blowing dust into other rooms.
Disposal Of Old Coating And Dust
Polyaspartic dust is not usually hazardous, but it’s best to dispose of it carefully:
- Collect dust in sealed bags.
- Take large amounts of coating waste to a local landfill or hazardous waste facility.
- Check local rules—some areas have special requirements for construction debris.
When To Call A Professional
Sometimes, DIY isn’t the best option. Call a pro if:
- The floor is very large or has unusual features (drains, slopes, etc.)
- You find asbestos or lead paint (older buildings)
- The coating is extra thick or layered
- You don’t have time or physical ability for heavy work
Professional contractors have industrial grinders and safety equipment. They can finish the job quickly and safely.
Frequently Asked Questions
What Makes Polyaspartic Floor Removal Different From Epoxy?
Polyaspartic coatings are usually harder and more flexible than epoxy. They bond tighter to concrete, making removal more difficult. Standard scrapers or chemical removers often don’t work well, so diamond grinding is usually necessary.
Can I Use A Chemical Stripper To Remove Polyaspartic Floors?
Most chemical strippers don’t work on polyaspartic coatings. These products are designed for paint or epoxy. Specialized strippers may help soften the coating, but grinding is almost always needed for full removal.
How Much Dust Does The Process Create?
Grinding a polyaspartic floor creates a lot of fine dust. Always use a vacuum with a HEPA filter and seal off other rooms. Wearing a respirator and goggles is important for safety.
Will Removing The Floor Damage The Concrete?
If you use the right grinder and pads and work carefully, concrete damage is minimal. Pressing too hard or using the wrong tools can cause gouges or uneven spots. Always test a small area first to adjust your technique.
Where Can I Find More Information About Polyaspartic Coatings?
You can learn more from the official Wikipedia page on Polyaspartic coatings for in-depth details about their chemistry and uses.
Removing a polyaspartic floor is a big job, but with the right knowledge and tools, even beginners can handle it. Take your time, follow safety steps, and don’t hesitate to get help if the project feels overwhelming. With patience and the right preparation, you’ll have a clean, ready-to-use surface for whatever comes next.