Remove VCT glue from concrete by testing for asbestos first. Use a PCD cup wheel grinder for hard glue or soy mastic remover for low-dust chemical softening.
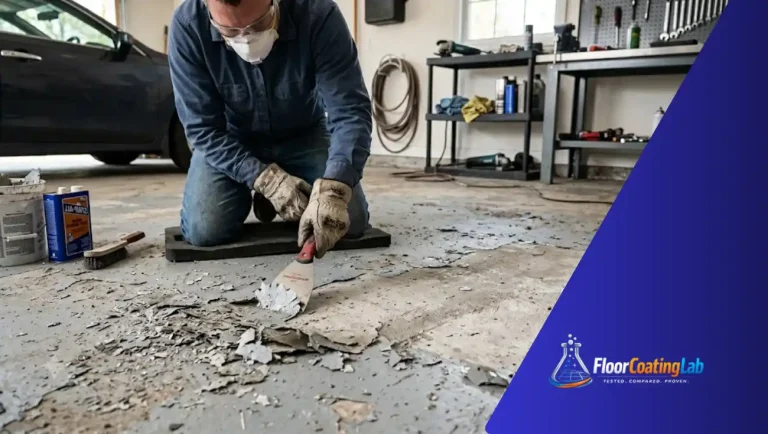
Have you ever ripped up old vinyl composition tiles only to find a sticky, dark, or gummy mess underneath? You are not alone! Pulling up old floor tile is actually the easy part. The real challenge is figuring out how to remove vct glue from concrete without throwing out your back, ruining your concrete slab, or inhaling dangerous fumes.
Whether your end goal is to lay down a fresh coat of garage epoxy, install trendy polyaspartic flooring, or just enjoy clean bare concrete, this guide walks you through every step of the process.
Step 1: Pre-Removal Concrete Slab Inspection
Before buying fancy power tools or pouring chemicals across your floor, stop and inspect what you have. Not all tile glues behave the same way!
(High Asbestos Risk <1986)
Test First or Use Wet/Chemical Methods
(Modern Acrylic)
or Soy-Based Removers
Identifying Your Adhesive Type
Take a close look at the color and texture of the glue left on the slab:
- Clear Thin-Spread Glue: Looks light yellow, tan, or almost clear. This is modern acrylic or latex adhesive. It often remains rubbery or tacky even after years underwater or underground.
- Black Cutback Adhesive: Looks dark brown or pitch black. This is an asphalt-based mastic commonly used before 1986. It sets hard, brittle, and notoriously stubborn.
Asbestos Risk and Compliance
Here is a big warning: black cutback adhesive frequently contains chrysotile asbestos. Dry-grinding or sanding asbestos releases microscopic fibers into the air. Inhaling them causes severe respiratory illnesses down the road.
⚠️ Critical Safety Note: According to OSHA regulations (29 CFR 1926.1101), vinyl flooring and mastics installed prior to 1981 should be presumed to contain asbestos until proven otherwise. Never sand or dry-grind vintage black adhesive!
Before starting, pick up an asbestos testing kit at your local hardware store or online. Scrape a small sample into the vial and mail it to a certified lab. It costs around $30 to $50, but peace of mind is priceless. If the test comes back positive, hire a licensed abatement contractor or stick strictly to wet chemical removal methods allowed under local home improvement regulations.
Step 2: Equipment & Material Selection Matrix

If your test comes back negative for asbestos, it is time to choose your weapons! Using the wrong tool wastes your whole weekend.
Tool & Method Comparison
| Method | Best For Glue Type | Speed | Dust Level | Substrate Damage Risk |
| PCD Cup Wheel Grinder | Thick, hard black or clear glue | Very Fast | High (Requires Vac) | Medium |
| Soy-Based Stripper | Thin-spread yellow or clear glue | Medium | None (Creates Slurry) | Zero |
| Stand-Up Floor Scraper | Soft, thick, or gummy ridges | Slow | Very Low | Low |
| Hot Water Soak | Water-soluble latex glue | Slow | None | Zero |
Mechanical Removal Gear
Mechanical tools make fast work of large rooms:
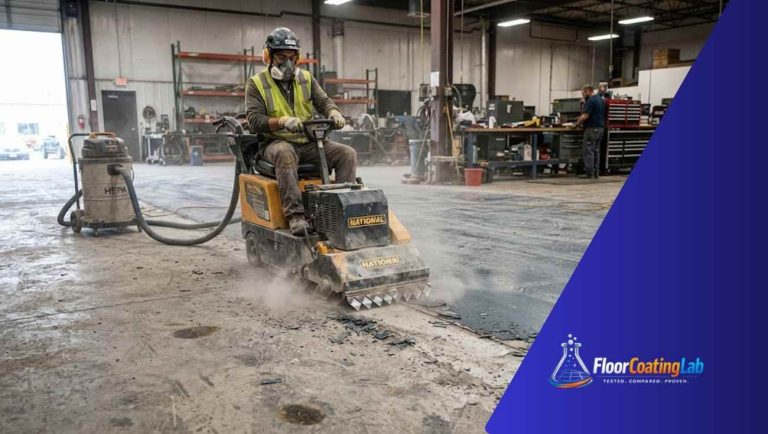
- PCD Cup Wheel: Standard diamond grinding wheels heat up adhesive, causing it to melt and glaze over the diamond segments. A PCD cup wheel uses polycrystalline diamond teeth that physically slice and shred the glue right off the concrete floor without gumming up.
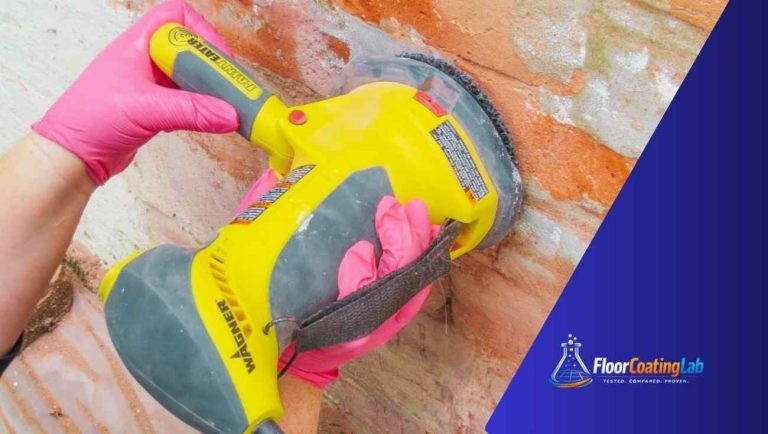
- Stand-Up Floor Scraper: A long-handled blade lets you leverage your body weight to pop off thick ridges before grinding.
Chemical Removal Products
Chemicals break down glue without generating clouds of airborne dust:
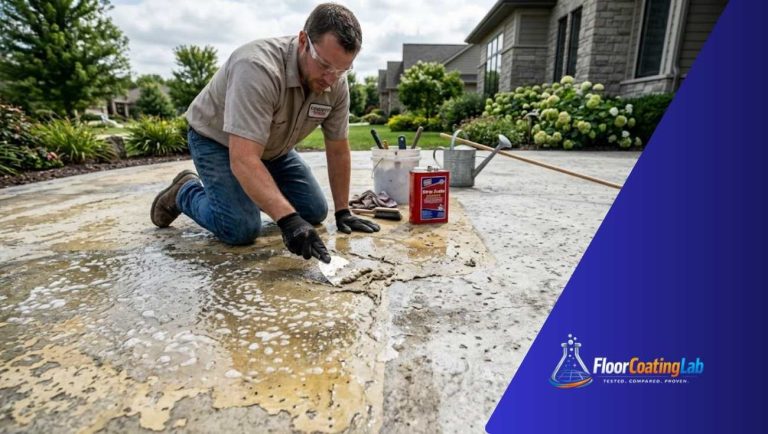
- Soy-Based Mastic Remover: Derived from soybean oil, a soy based mastic remover vs solvent strippers approach offers low odor, low VOCs, and non-toxic operation. It breaks hard glue down into an easily scraped sludge.
- Solvent Strippers: Citrus and strong chemical solvents work rapidly, but watch out! High-VOC solvents can leave oily residues that lead to concrete floor stripper solvent entrapment inside porous slabs, causing new epoxy or polyaspartic coatings to bubble and peel later.
Personal Protective Equipment (PPE)
Do not skimp on basic safety gear:
- HEPA Vacuum: Standard shop vacs blow microscopic dust back into your room. Always attach an industrial dust extractor equipped with a true HEPA filter to your grinder.
- Respirator: Wear an N95 mask for concrete dust, or a half-face respirator with organic vapor cartridges if working with chemical solvents.
Related Article: Concrete Sealer vs Epoxy: Pros, Cons, Cost
Step 3: Step-by-Step Execution Methods
Depending on your budget, equipment access, and adhesive type, choose one of these three proven methods:
(Eco / Budget)
Method 1: Mechanical Removal (Grinding & Scraping)
If you plan on prepping concrete slab for epoxy after vct removal, mechanical grinding is the fastest route because it leaves behind a textured concrete profile ideal for coating adhesion.
- Perform Initial Knockdown: Walk the room with a long-handled floor scraper. Drive the blade low to slice off high glue ridges and leftover tile bits.
- Set Up Dust Containment: Hook your angle grinder or floor machine up to a HEPA vacuum. Seal off doorways with plastic sheeting.
- Grind with PCD Tooling: Move the grinder in smooth, overlapping circular patterns. Let the pcd cup wheel concrete grinding for tile glue do the cutting—don’t force or gouge the tool into the slab. or
- Vacuum Thoroughly: Clean the concrete surface twice using a brush attachment on your HEPA vacuum.
Method 2: Chemical Softening (Soy-Based Mastic Removers)
Chemical stripping is best suited for tight indoor spaces where heavy dust isn’t an option.
- Apply the Stripper: Pour the soy-based remover liberally onto the bare floor. Spread it evenly using a cheap broom or squeegee until the glue is completely submerged.
- Allow Dwell Time: Let the chemical soak for 1 to 2 hours (or overnight for thick black mastic). You’ll notice the glue softening into a dark liquid slurry.
- Scrape and Scoop: Scoop up the liquified sludge using a flat-bladed squeegee and dustpan. Deposit waste into heavy-duty plastic bags following local disposal codes.
- Degrease and Neutralize: Thoroughly scrub the concrete with an industrial degreaser and hot water to remove oily soy residues.
Method 3: Thermal & Water Re-Emulsification
Did you know many modern yellow adhesives are water-sensitive? Heat and moisture can bring them back to life without chemicals!
- Lay Towels Down: Cover sticky sections of the floor with old rag towels or burlap.
- Saturate with Hot Water: Carefully pour hot or boiling soapy water over the towels until soaked.
- Dwell and Scrape: Wait 20 to 30 minutes. Pull back the towels and scrape the softened glue up with a putty knife or handheld scraper.
Step 4: Post-Removal Cleanup & Substrate Preparation
Getting the glue off is only half the battle. If you want your new floor coating to last, you must verify the concrete is clean and open.
Epoxy or Polyaspartic
Degrease or Etch Required
If you used chemical strippers, any remaining film will act as a bond-breaker for new adhesives, tile, or epoxy. Wash the entire slab using a stiff-bristle broom, an industrial degreaser, and clean water. Vacuum up the rinse water immediately using a wet-dry shop vac.
The Water Drop Porosity Test
Are you unsure if your slab is clean enough for paint or epoxy? Perform a simple water drop porosity test concrete floor check:
- Sprinkle a few drops of clean water onto three or four spots across the bare concrete.
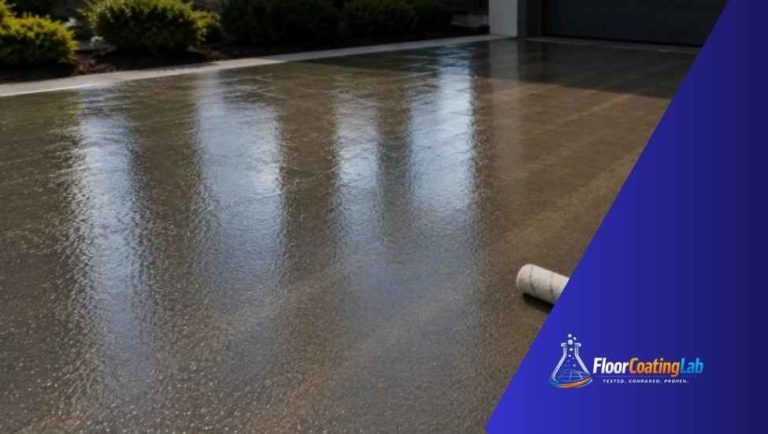
- If water absorbs within 60 seconds turning the concrete dark, your slab’s pores are open and ready for new coatings.
- If water beads up on top, glue residue or solvent oils are still clogging the pores. You must scrub or light-grind the floor again.
Frequently Asked Questions
Can I paint or pour epoxy directly over old VCT adhesive?
No. Paint and epoxy require a clean, porous concrete profile to bond correctly. Coating directly over sticky or oily VCT glue leads to peeling and bubble formation within months.
What is the safest way for removing carpet and tile glue from concrete?
Chemical removal using non-toxic soy-based removers or hot water soaking is the safest DIY path because it eliminates dangerous airborne silica dust and airborne asbestos fibers.
Will vinegar remove VCT glue from concrete?
Vinegar is a mild acid that can help break down light water-based carpet glues, but it is generally too weak to dissolve heavy-duty VCT thin-spread adhesives or black asphalt mastics.
Conclusion
Removing sticky VCT glue from a concrete slab might feel overwhelming at first, but taking a systematic approach makes all the difference. Start by inspecting your adhesive and testing vintage black mastics for asbestos.
Once cleared, select the right method-whether that’s ripping through thick glue using a PCD cup wheel grinder or soaking modern adhesives with an eco-friendly soy stripper. Finish up with a thorough degreasing wash and a quick water-drop porosity check to ensure your concrete is prepped and ready for its brand-new finish!