
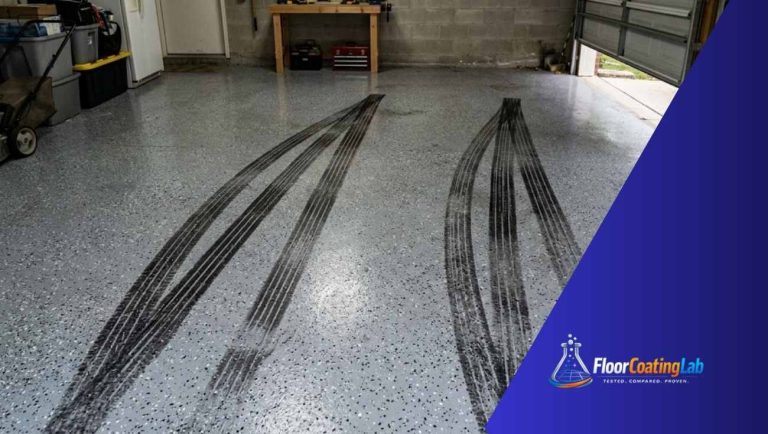
You spent hard-earned money or grueling weekend hours rolling out a glossy finish. But fast-forward a few years: the edges are lifting, tire heat has turned spots into a sticky mess, or an ugly yellow hue has taken over your garage. Suddenly, that beautiful showroom look has transformed into a flaking nightmare.
So, how do you handle stubborn floor coating removal without permanently scarring the underlying concrete or knocking yourself out with toxic chemical fumes? If you are staring down a peeling mess, knowing how to remove garage floor coating safely is the only way to save your slab.
The short answer: To achieve flawless floor coating removal, you must match your tool to the coating’s structural thickness. Thin sealers and failing garage floor coatings yield quickly to specialized chemical rinses like basic coatings dissolver floor polish remover or eco-friendly soy-based paint strippers paired with a heavy floor scraper.
Thick, commercial-grade industrial surfaces require an aggressive mechanical floor coating removal tool—such as a concrete grinder utilizing 16/30-grit metal-bond diamond segments or Polycrystalline Diamond (PCD) tools—to fully shred the resin’s mechanical bond.
Don’t grab a cheap wire wheel or rush blindly into a rented concrete grinder without a plan. Using the wrong approach will scar your slab, leave behind chemical residues that cause future coatings to instantly fail, or waste days of exhausting physical labor. In this tactical guide, you will learn the exact steps to strip any garage surface down to raw, pristine concrete.
Choosing Your Floor Coating Removal Tool
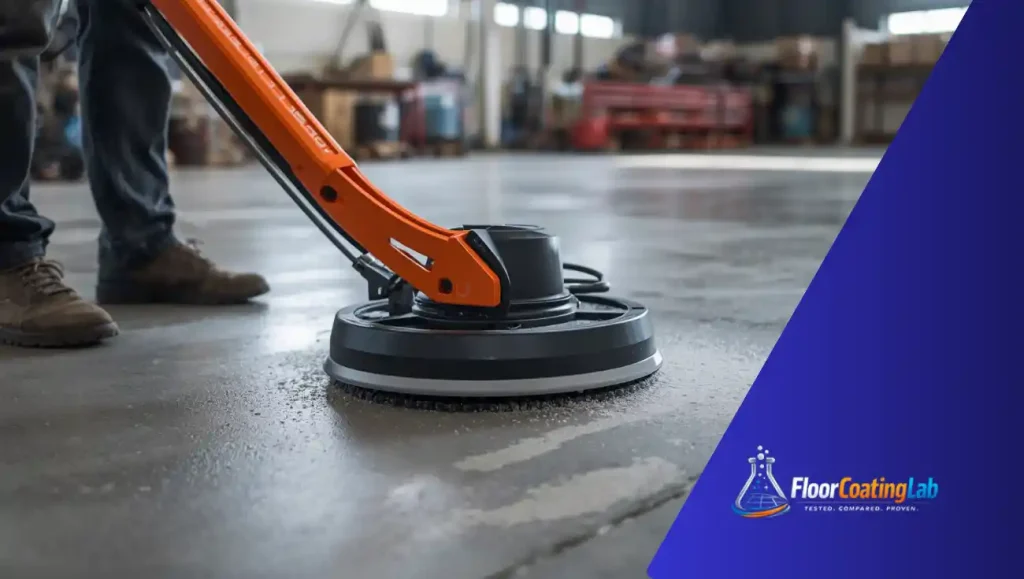
Before renting heavy machinery or splashing chemicals across your garage floor, look at how the primary removal methods stack up based on coating type, cost, and physical effort.
| Removal Method | Best For | Tooling Required | Cost Factor | Labor Intensity |
| Chemical Stripping | Failing DIY epoxy paint, thin urethane sealers, acrylic layers. | Soy-based stripper (Eco-Prep), commercial floor scraper, stiff scrub brush. | Moderate ($60–$150 in chemicals) | High (Requires intense manual scraping and washing) |
| Chemical Rinsing (Dissolver) | Soft wax buildup, thin water-based topcoats, acrylic floor polish. | Basic coatings dissolver floor polish remover, low-speed floor buffer, wet-dry vacuum. | Low ($30–$60) | Medium (Mainly machine-guided scrubbing) |
| Mechanical Grinding | Industrial 100% solids epoxy, commercial polyaspartic, thick quartz coatings. | Walk-behind planetary concrete grinder, 16/30-grit diamond segments, HEPA vacuum. | High ($150–$300 machine rental) | Low to Medium (The heavy machine does the work) |
| Scrape & Blast (PCD) | Ultra-thick elastomeric membranes, failing rubberized coatings, thick mastic. | Grinder equipped with PCD (Polycrystalline Diamond) segments. | High ($200+ rental fees) | Medium (Requires steady control of heavy machinery) |
Step-by-Step: How to Remove Epoxy Coating From Garage Floor (Chemical Method)
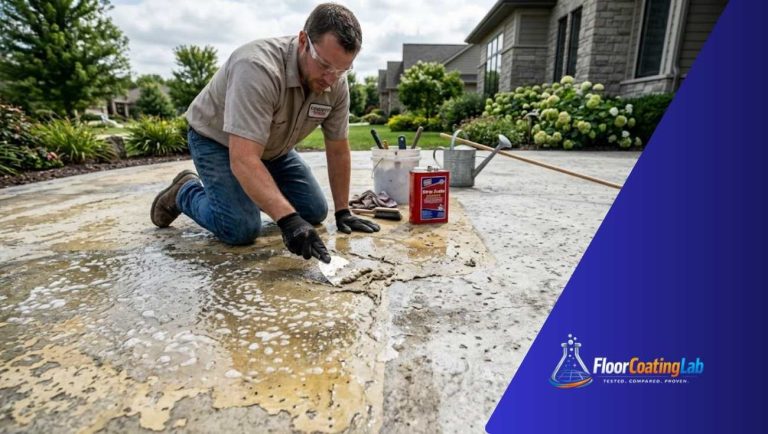
If you are dealing with a standard, water-based DIY kit that is lifting, chemical stripping allows you to clear the slab without throwing clouds of dangerous concrete dust into the air. Follow these steps to master how to remove epoxy coating from garage floor slabs cleanly.
Step 1: Prep the Space and Ensure Ventilation
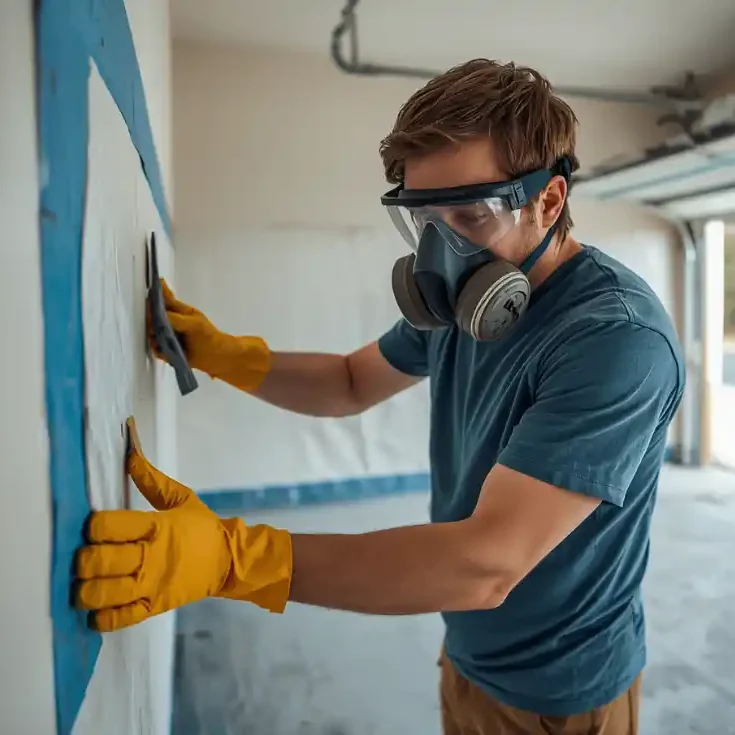
Clear every tool chest, vehicle, and storage bin entirely out of the garage.
Put on solvent-resistant rubber gloves, heavy-duty safety goggles, and an organic vapor respirator mask. Even eco-friendly soy strippers emit dense vapors when breaking down tight polymers. Tape off the bottom of drywall structures with heavy plastic sheeting.
Step 2: Apply the Heavy-Duty Chemical Stripper

Pour your professional-grade concrete coating stripper directly onto the surface. Use a solvent-safe roller to spread it evenly into a thick, uniform layer (roughly 1/8-inch thick).
Do not roll it out thin like paint; the chemical needs a dense pool to active-soak into the resin. Let it sit undisturbed for 2 to 6 hours. The stripper is working when you see the old surface wrinkle, bubble, and lift.
Step 3: Scrape the Sludge and Scrub the Concrete
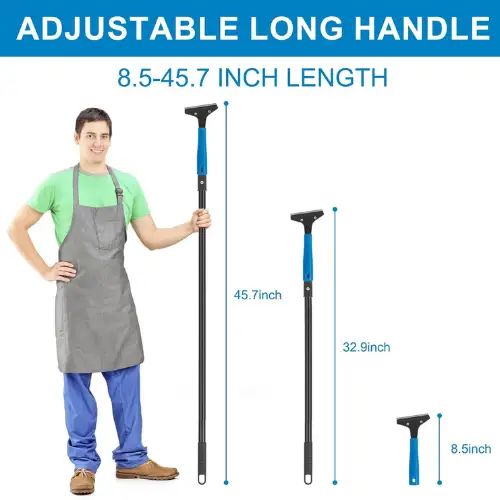
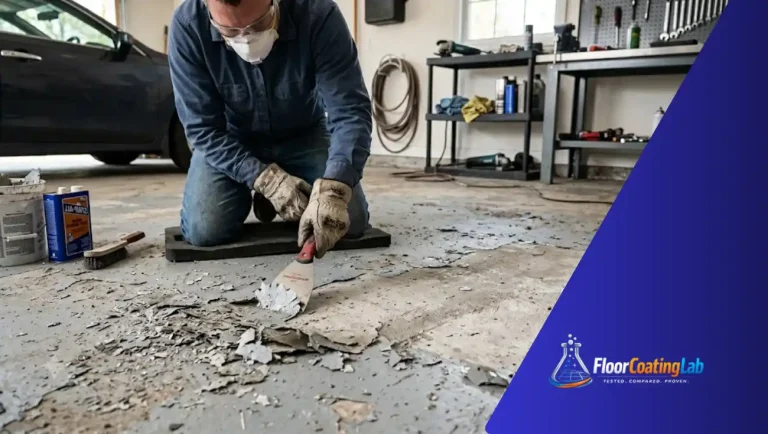
Once the coating has completely softened into a paste, use a long-handled floor coating removal tool (a heavy floor scraper with a fresh steel blade) to push the gooey residue into piles. Scoop the sludge into plastic disposal buckets according to your local environmental guidelines.
After scraping the bulk material, apply a mixture of hot water and heavy-duty degreaser, then scrub the bare concrete aggressively with a stiff-bristled nylon deck brush to clean out the concrete pores.
Step-by-Step: How to Remove Epoxy Floor Coating (Mechanical Grinding)
When dealing with high-build industrial surfaces, chemical strippers will merely soften the top millimeter, leaving you with an expensive, gummy mess. Mechanical grinding is the gold standard for heavy-duty epoxy floor coating removal because it simultaneously opens up the concrete pores for your next application.
Step 1: Mount the Correct Diamond Grits
Rent a walk-behind planetary concrete grinder from a local rental yard. To execute clean epoxy floor coating removal, request 16-grit or 30-grit diamond segments. These coarse diamonds act like microscopic claws, tearing through the resin barrier and grinding down into the concrete to establish an open CSP 2 or 3 (Concrete Surface Profile).
Step 2: Connect a Dedicated Dust Extractor
Never grind concrete dry without a professional, OSHA-compliant dust extractor featuring a certified HEPA filter and an automatic pulse-cleaning system. Concrete dust contains crystalline silica, which can cause permanent lung damage if inhaled. Hook the vacuum shadow directly to the grinder port before turning on the machine to ensure a clean, safe workspace.
Step 3: Grind in a Systematic Grid Pattern
Start the grinder with the head slightly lifted, then lower it gently onto the floor. Walk slowly in a straight line from one wall to the other, keeping the machine moving consistently. Moving too fast leaves coating patches behind; staying still digs a deep, permanent trench into your concrete slab. Grind the floor in a cross-hatch pattern (north-to-south, then east-to-west) until you see completely uniform, white, raw concrete.
Common Traps That Cause Floor Coating Projects to Fail
Many homeowners and novice contractors rush through floor coating removal, only to watch their expensive new coating bubble and peel within a few weeks. Avoid these three common traps:
- Leaving Chemical Stripper Residue Behind: Chemical strippers leave an invisible, oily surfactant layer inside the concrete pores. If you apply a fresh epoxy over this film, it destroys intercoat adhesion. You must scrub the floor with a clean water rinse and a neutralizing degreaser until the water no longer bubbles or shows a soapy film.
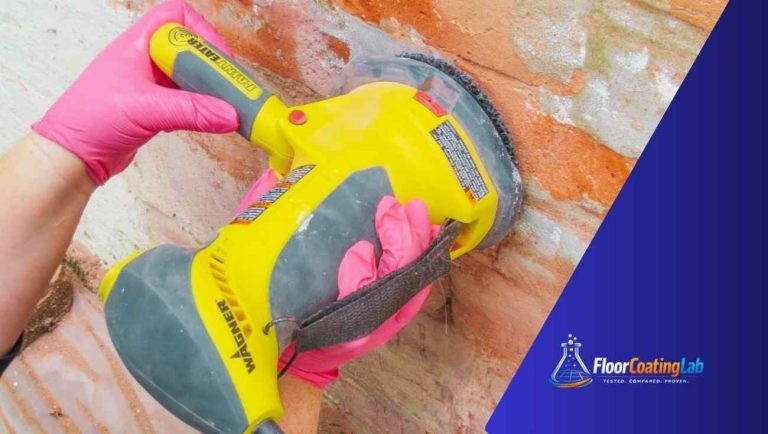
- Grinding with Swirl Marks: Using a handheld angle grinder without a steady hand or proper dust shroud creates deep, uneven gouges. These marks telegraph straight through your next coat, ruining the final aesthetics. Use walk-behind floor machines for open areas and save small hand tools strictly for edges.
- Ignoring the Concrete Moisture Test: Stripping old flooring often introduces substantial water to the slab. Never coat a floor right after washing it. Tape a 2×2 foot square of clear plastic wrap to the bare concrete for 24 hours. If moisture droplets form under the plastic, your slab is too wet and will pop the next coating off. Let it dry for a full 48 to 72 hours.
Related Article: Fish Eyes in Epoxy: Why They Happen and How to Fix Them
FAQs About Floor Coating Removal
Can I use basic coatings dissolver floor polish remover on epoxy?
No. A basic coatings dissolver floor polish remover is specifically engineered to emulsify soft acrylic floor polish, wax buildups, and light maintenance sealers. It completely lacks the aggressive chemical profile required to break down cross-linked epoxy floor coating chains. To strip real epoxy resin, you must use a dedicated methylene chloride-free paint stripper or mechanical diamond grinding tools.
How do I know if my garage floor has a sealer or a full epoxy?
Pour a cup of water onto a clean section of the floor. If the water beads up cleanly like a freshly waxed car, your floor has a topical sealer or epoxy coating. If the water quickly soaks into the concrete and turns it dark, the surface is completely porous, meaning any previous sealer has already worn away or failed.
Can I rent an epoxy floor coating removal tool at a local hardware store?
Yes. Most commercial tool rental centers offer walk-behind floor buffers equipped with diamabrush coating removal discs or dedicated planetary concrete grinders. Be sure to specify the exact thickness of your coating so the rental technicians can equip your machine with the correct diamond segments or scraping blocks.
May find this video helpful
Conclusion: Don’t Just Strip It-Prep It for the Future
At the end of the day, successful floor coating removal isn’t just about getting the old, flaking junk off your concrete—it’s about resetting the canvas. Skipping steps, leaving chemical films behind, or ignoring the profile of your concrete will guarantee that whatever new floor system you apply will meet the exact same peeling fate.
Take your time, choose the right method for your coating’s thickness, and never compromise on pore-opening mechanical prep or rigorous chemical rinsing.
Treating your concrete slab with patience and utilizing the right specialized tooling, you transform a ruined garage surface back into a pristine, white, highly adhesive substrate that is ready to anchor a flawless finish for decades to come. Now, grab your gear, pick your strategy, and go reclaim your floor!

2 Comments
Comments are closed.