
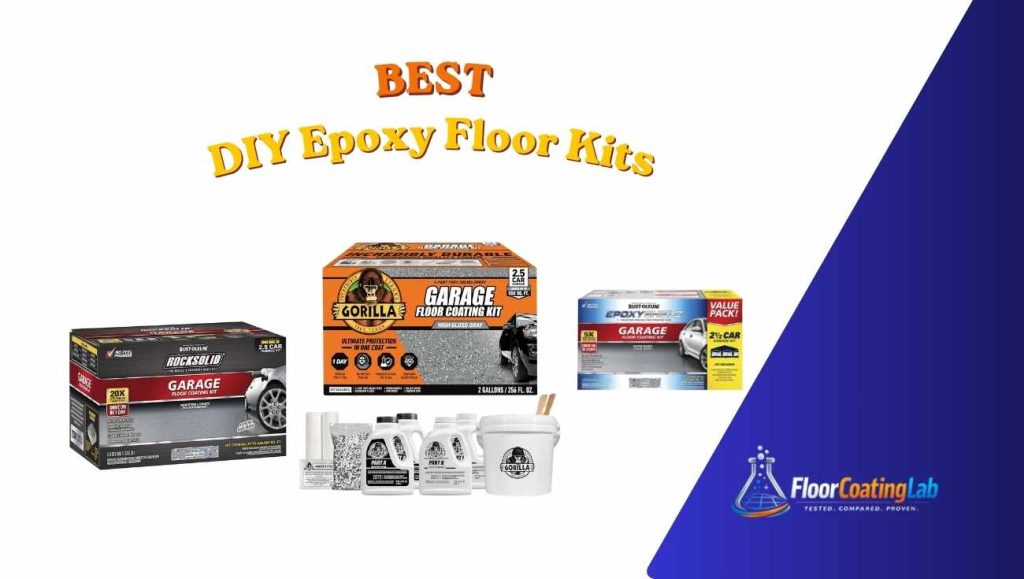
Find the perfect DIY epoxy floor kit for your needs. Our guide covers the best products, application tips, and how to achieve a showroom look.
A dingy, stained concrete garage floor can drag down your entire home. Applying a DIY epoxy floor kit is one of the most transformative weekend projects a homeowner can tackle. It seals bare concrete, stops dusty tracking into the house, and creates a glossy, showroom-ready look.
The retail market is flooded with boxes making wild promises. Many “cheap” options are nothing more than glorified latex paint that will peel up the first time you park a warm vehicle on them. To find the options that actually hold up, we evaluated the top-selling floor kits based on their solids content, real-world coverage, and ease of application.
The Best DIY Epoxy Floor Kits at a Glance
| Product | Formula Type | Real Coverage | Cost |
| Rust-Oleum RockSolid | Polycuramine (96% Solids) | 375–425 sq. ft. | Check Latest Price |
| ArmorPoxy ArmorClad | 100% Solids Commercial Epoxy | 500–600 sq. ft. | Check Latest Price |
| Rust-Oleum EpoxyShield | Water-Based Epoxy (55% Solids) | 350–400 sq. ft. | Check Latest Price |
| Gorilla Epoxy Garage Kit | 100% Solids Epoxy | 450–500 sq. ft. | Check Latest Price |
| MPC-100 Industrial Epoxy | 100% Solids Premium Resin | 450–500 sq. ft. | Check Latest Price |
| KILZ Epoxy Acrylic Paint | 1-Part Acrylic-Epoxy Blend | 300–400 sq. ft. | Check Latest Price |
| Epoxy-Coat Full Kit | Cycloaliphatic 100% Solids | 500 sq. ft. | Check latest Price |
| Colored Epoxies Clear Resin | Clear 100% Solids Topcoat | 600–700 sq. ft. | Check Latest Price |
1. Rust-Oleum RockSolid Polycuramine Kit
Best Overall Garage Floor Kit

- Our Rating: 4.8 / 5
- Formula: Polycuramine (96% Solids)
- Cure Time: 8–10 hours for foot traffic; 24 hours for vehicles
Rust-Oleum RockSolid is the undisputed king of the retail market. It uses a proprietary polycuramine blend that is engineered to be 20 times stronger than standard water-based epoxies. Because it boasts a 96% solids content, almost no material evaporates as it dries. What you roll onto the floor stays on the floor, leaving a thick, high-gloss shell.
It features a convenient burst-pouch mixing design. You simply roll and squeeze the plastic pouch to mix the two parts together, cut a corner, and pour it directly onto the concrete. The formula is beautifully self-leveling, meaning it naturally flows out to erase roller marks and small dips.
The Reality Check: The box claims it covers 500 square feet (a standard 2.5-car garage). In reality, real-world concrete porosity sucks this material up fast. Expect closer to 375 to 425 square feet of coverage. If you have a true 2-car garage, buy two single-car kits to ensure you do not run out mid-project.
2. ArmorPoxy ArmorClad Garage Kit
Best Heavy-Duty Industrial Upgrade
- Our Rating: 4.9 / 5
- Formula: 100% Solids Commercial-Grade Epoxy
- Cure Time: 24 hours for foot traffic; 72 hours for vehicles
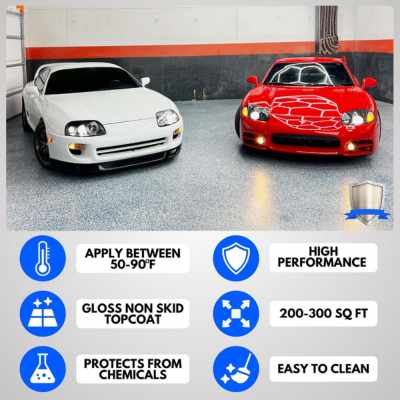
If you treat your garage like a true industrial workshop, hot rod restoration bay, or home gym, budget retail kits will eventually fail you. The ArmorPoxy ArmorClad system is a heavy-duty, commercial-grade setup packaged for DIY execution. Unlike thin box store paints, this kit uses a 100% solids epoxy base topped with an ultra-hard glaze coat.
The film thickness of this kit is roughly 10 times thicker than entry-level options. It offers complete resistance to dropped tools, floor jacks, and aggressive chemicals like brake fluid and road salts. The kit comes completely stocked with preparation crystals, decorative vinyl flakes, and professional application tools.
The Reality Check: This is a multi-step, multi-day commitment. It is significantly more expensive upfront than big-box alternatives, and the thick resin requires meticulous surface preparation—ideally mechanical diamond grinding rather than a simple acid splash.
3. Rust-Oleum EpoxyShield Kit
Best Budget-Friendly Pick
- Our Rating: 4.3 / 5
- Formula: Water-Based 2-Part Epoxy (55% Solids)
- Cure Time: 24 hours for foot traffic; 3 days for vehicles
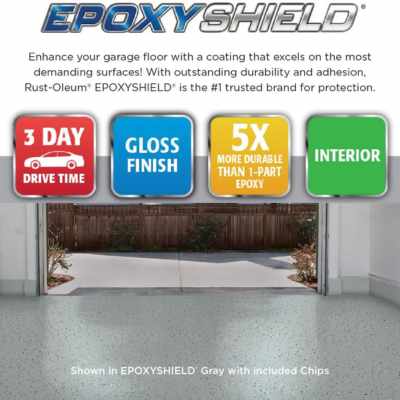
Rust-Oleum EpoxyShield has been a staple product for homeowners for decades. At roughly half the cost of premium polycuramine or 100% solids kits, it offers a true two-part chemical cross-linking bond that outlasts any single-can paint. It seals porous concrete, wipes clean easily, and brightens up dark basements or workspaces.
Because it is water-based, it has very low odor and cleans up easily with soap and water if you accidentally spill it on your skin or baseboards. The kit includes a concrete etching solution, decorative flakes, and clear instructions that make it incredibly approachable for absolute beginners.
The Reality Check: With a 55% solids content, nearly half of the wet film thickness evaporates into the air as water during the curing process. This leaves behind a thin layer (around 2 to 3 mils dry). Over 3 to 5 years, high-traffic tire tracks will begin to show wear, and it remains susceptible to hot tire delamination if the concrete prep wasn’t absolutely flawless.
4. Gorilla Epoxy Garage Floor Coating Kit
Best Mid-Tier Heavy Duty Kit

- Our Rating: 4.6 / 5
- Formula: 100% Solids Epoxy Resin
- Cure Time: 24 hours for foot traffic; 72 hours for vehicles
The Gorilla DIY Epoxy kit bridges the gap between thin, water-based DIY finishes and overly expensive professional setups. It delivers a 100% solids formula that yields an incredibly tough, impact-resistant shield over bare concrete.
This kit stands out for its deep-wicking adhesion properties. It grips tightly inside the open pores of etched concrete, preventing moisture from pushing the coating off from underneath. It is completely immune to hot tire pickup and holds up remarkably well against heavy toolbox wheels and rolling floor jacks.
The Reality Check: Once you mix Part A and Part B together, you enter a race against the clock known as “pot life.” You have roughly 25 to 30 minutes to roll this material out before it begins to harden directly inside your paint bucket. You must plan your layout and cut-in lines before mixing.
5. MPC-100 Industrial Epoxy Coating
Best Self-Leveling Finish

- Our Rating: 4.5 / 5
- Formula: 2-Part 100% Solids Epoxy
- Cure Time: 24 hours for foot traffic; 4–5 days for vehicles
Master Protective Coatings (MPC-100) is a favorite among professional contractors that is easily accessible on Amazon for ambitious DIYers. This is an incredibly pure, high-build resin system that contains zero solvents or water.
The standout feature of MPC-100 is its glass-like self-leveling capability. It flows out seamlessly across the floor, completely filling in minor pits, spiderweb cracks, and rough, spalled concrete textures. The result is a smooth, mirror-flat surface that looks like a high-end commercial auto showroom.
The Reality Check: It does not hide concrete prep errors. If you leave dust, oil spots, or moisture on the floor, a 100% solids epoxy like this will form large air bubbles or fisheyes. It also requires a separate purchase of flakes or non-slip aggregates if you don’t want a slippery floor when wet.
6. KILZ Epoxy Acrylic Garage Floor Paint
Easiest DIY Application
- Our Rating: 4. / 5
- Formula: 1-Part Acrylic Epoxy Blend
- Cure Time: 2 hours to touch; 4 hours for recoat; 7 days for tires
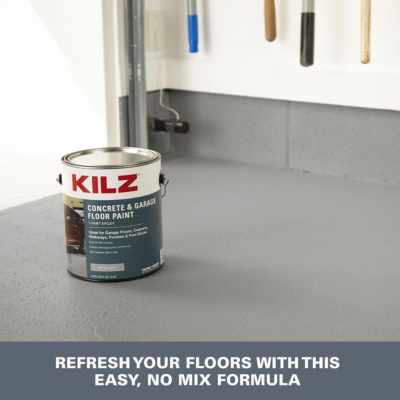
If the thought of mixing chemical resins, managing pot life, and racing against a ticking clock scares you, KILZ Epoxy Acrylic Paint is an excellent alternative. This is a one-part system, meaning it comes pre-mixed in a single can. You open it, stir it, and roll it out exactly like standard wall paint.
It dries exceptionally fast, allowing you to walk across the floor or apply a second coat in just a few hours. It provides a clean, uniform satin finish that instantly freshens up dirty utility rooms, workshop areas, or low-traffic home basements.
The Reality Check: Do not mistake this for a true chemical-curing epoxy. This is an acrylic paint with a small splash of epoxy resin added for marketing purposes. It hardens solely by air drying. It lacks the cross-linked density to fight off hot car tires, meaning it will likely peel under a daily driver within a year. Save this product for light-duty walk-in storage rooms.
7. Epoxy-Coat Full Kit
Best Complete Tool Package

- Our Rating: 4.5 / 5
- Formula: 100% Solids Cycloaliphatic Epoxy
- Cure Time: 12 hours for foot traffic; 48 hours for vehicles
Many DIYers get frustrated because a kit provides the liquid coatings but forces them to make three separate trips to the hardware store for prep gear and application tools. The Epoxy-Coat Full Kit solves this problem by including absolutely everything needed for the job inside one box.
Along with a premium, high-build, 100% solids cycloaliphatic epoxy resin, you get a mechanical mixer paddle, a professional squeegee, a heavy-duty roller cover, protective gloves, and a generous supply of decorative flakes. The cycloaliphatic formulation provides enhanced resistance to yellowing under exposure to sunlight.
The Reality Check: Because the material is thick and professional-grade, rolling it out smoothly takes a bit of upper-body strength. It is a sticky, heavy resin that cannot be stretched thin like water-based alternatives without leaving ugly dry spots.
8. Colored Epoxies Clear Resin Coating
Best Protective Topcoat Upgrade

- Our Rating: 4.4 / 5
- Formula: Clear 100% Solids Epoxy
- Cure Time: 10–12 hours for foot traffic; 72 hours for vehicles
Colored Epoxies offers a crystal-clear, high-build resin system designed to serve as the ultimate protective armor layer. While it can be used directly over bare concrete to preserve a rustic, industrial look, its true power shines when used as a secondary topcoat over decorative vinyl flakes.
Locking down loose color flakes with a clear coat completely changes the texture and lifespan of a floor. It creates a smooth, easily wipeable surface that stops dirt from getting trapped between the chips. It is highly resistant to yellowing, UV rays, and water pooling.
The Reality Check: This is a standalone clear liquid product. It does not include color base coats, concrete cleaning acids, or decorative flakes. It should be purchased as a premium add-on to fortify an existing budget base coat.
What to Look for When Buying a DIY Floor Kit
When shopping for flooring kit, ignore the flashy pictures on the front of the box. Look directly at these technical specifications instead:
Two-Part vs. One-Part Systems
- 2-Part Kits: These consist of a separate resin and hardener that must be mixed together to spark a chemical reaction. They cure into an incredibly dense, rock-hard plastic shell. Always choose a 2-part kit for garages and areas where vehicles will park.
- 1-Part Paint: These require no mixing and dry like regular wall paint. They are easy to apply but lack real structural strength. Use these only for light-duty basement storage or utility closets.
Understanding Solids Content
The solids percentage tells you exactly how much material will remain on your floor after it cures:
$$\text{Wet Film Thickness} \times \text{Solids Percentage} = \text{Dry Film Thickness}$$
- 100% Solids: Every drop you roll onto the floor stays there. It leaves a thick, glassy, incredibly durable shield that completely hides minor imperfections.
- 50% to 60% Solids: The remaining 40% to 50% of the liquid inside the bucket is water or solvent that evaporates into the air as it dries. The resulting coating is much thinner and more prone to scratching over time.
Helpful video
The Golden Rules of DIY Floor Coating Success
No matter how expensive or premium your chosen kit is, a floor coating will fail if you take shortcuts during installation. Keep these rules in mind:
1. Concrete Prep is Everything
Epoxy cannot stick to smooth, oily, or sealed concrete. You must clean oil stains thoroughly with a heavy-duty degreaser. When using a concrete etching solution, ensure the acid fizzes actively to open up the pores of the concrete. When dry, the concrete should feel rough, like medium-grit sandpaper.
2. Run a Concrete Moisture Test
Groundwater can push upward through a concrete slab, creating enough hydrostatic pressure to pop an epoxy coating right off the surface.
The DIY Test: Tape a 2×2 foot square of clear plastic sheeting flat to your bare garage floor using duct tape on all edges. Leave it for 24 hours. If moisture droplets form underneath the plastic or the concrete looks dark and damp when you peel it away, your floor has a moisture issue that must be addressed with a dedicated vapor barrier primer before coating.
3. Factor in Real-World Coverage Rates
Always buy roughly 20% to 30% more material than the box estimate suggests. Rough, porous concrete surfaces absorb liquids quickly, and running out of epoxy halfway through rolling out a floor can permanently ruin the visual uniformity of your project.
4 comments
Comments are closed.