
Learn everything about skim coat floor prep, when to use it, how it compares to self-leveling compounds, and how it helps create a durable, professional floor coating.
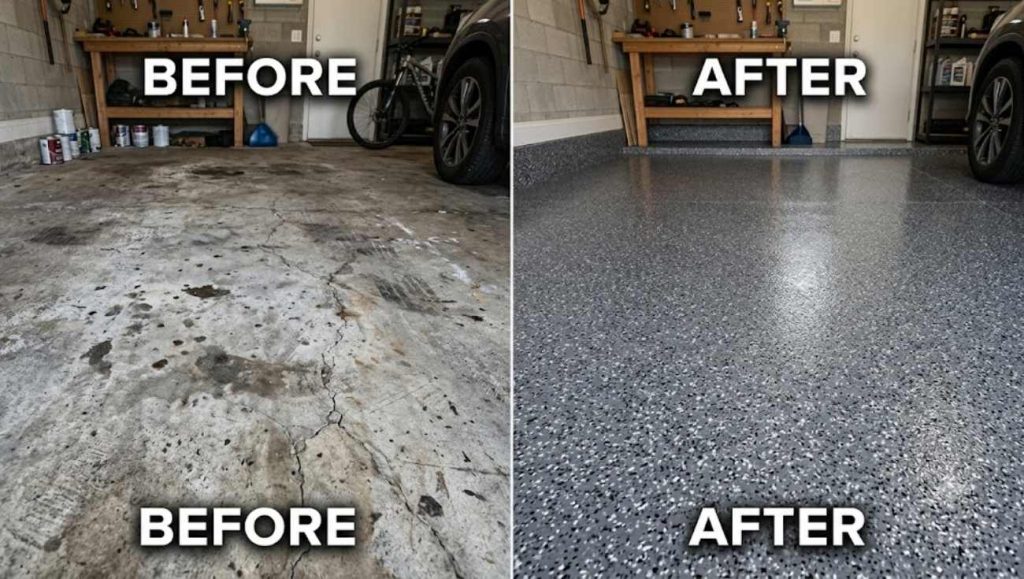
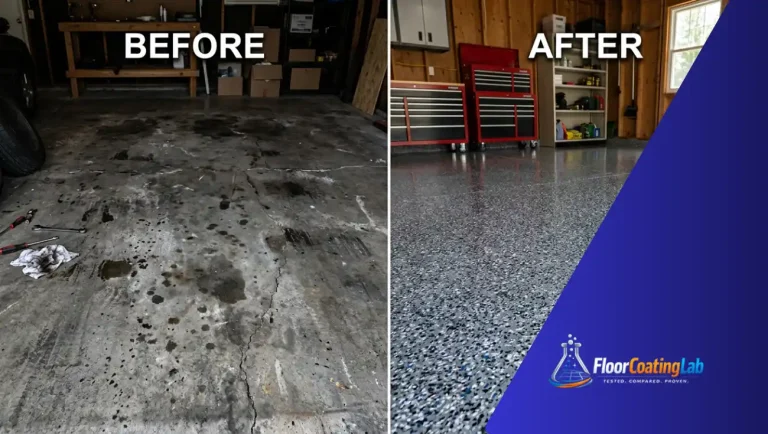
You spend an entire weekend coating your garage floor. It looks fantastic—for about six months. Then tiny cracks appear. A few months later, the coating begins peeling near the garage door.
Frustrating, right?
In many cases, the coating isn’t the problem at all. The real culprit is what happened—or didn’t happen-before the coating was applied.
That’s where skim coat floor prep comes in.
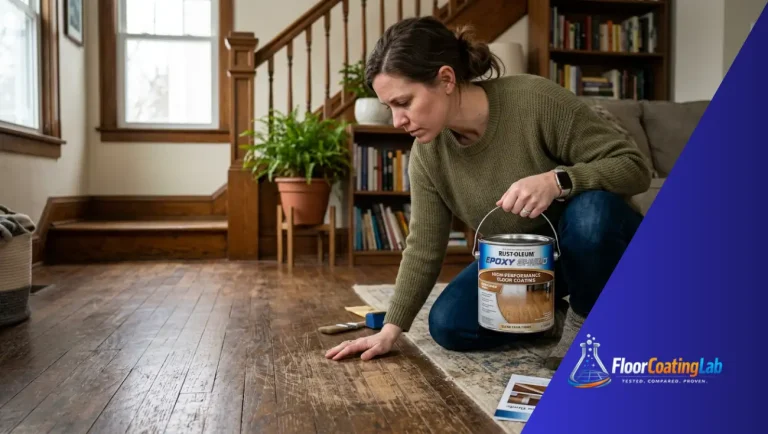
Think of it like painting a wall. You wouldn’t paint over chipped drywall without smoothing it first. Concrete works the same way. A smooth, clean, and properly prepared surface gives epoxy, polyaspartic, paint, tile, or vinyl flooring the best chance to bond for years instead of months.
Many homeowners jump straight to the “fun part” of installing a floor coating. Personally, I’d rather spend an extra afternoon preparing the floor than deal with peeling coatings a year later. It’s one of those jobs that isn’t exciting, but it makes all the difference.
According to concrete resurfacing specialists, skim coats are designed to correct minor surface imperfections while creating a uniform substrate for overlays, coatings, and finished flooring-not to repair structural damage.
Quick Answer
A skim coat is a thin layer of cement-based resurfacing material applied over concrete to smooth shallow imperfections before installing floor coatings or finished flooring. It improves the surface for better adhesion but is not intended to strengthen damaged concrete or replace structural repairs.
Why More Homeowners Are Using Skim Coats Before Floor Coatings
Concrete rarely stays perfect forever.
Years of vehicle traffic, moisture, dropped tools, old carpet glue, paint, and everyday wear slowly change the surface. Even if the slab still feels solid, the top layer may be rough enough to interfere with coating performance.
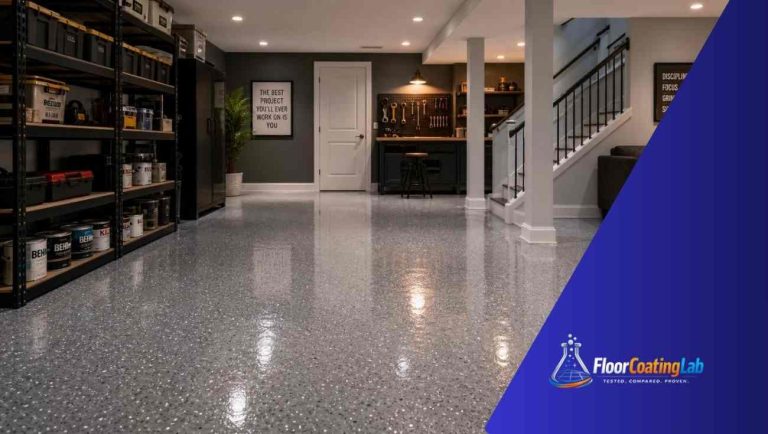
Today’s homeowners also expect more from their garages and basements than ever before. Instead of plain gray concrete, people are creating:
- Modern home gyms
- Workshop spaces
- Finished basements
- Luxury garages
- Commercial-looking utility rooms
- Decorative patios
These projects all have one thing in common:
They start with proper concrete surface preparation.
Skipping preparation often leads to:
- Coating failure
- Visible patch marks
- Air bubbles
- Uneven gloss
- Poor adhesion
- Reduced lifespan
What Is a Skim Coat?
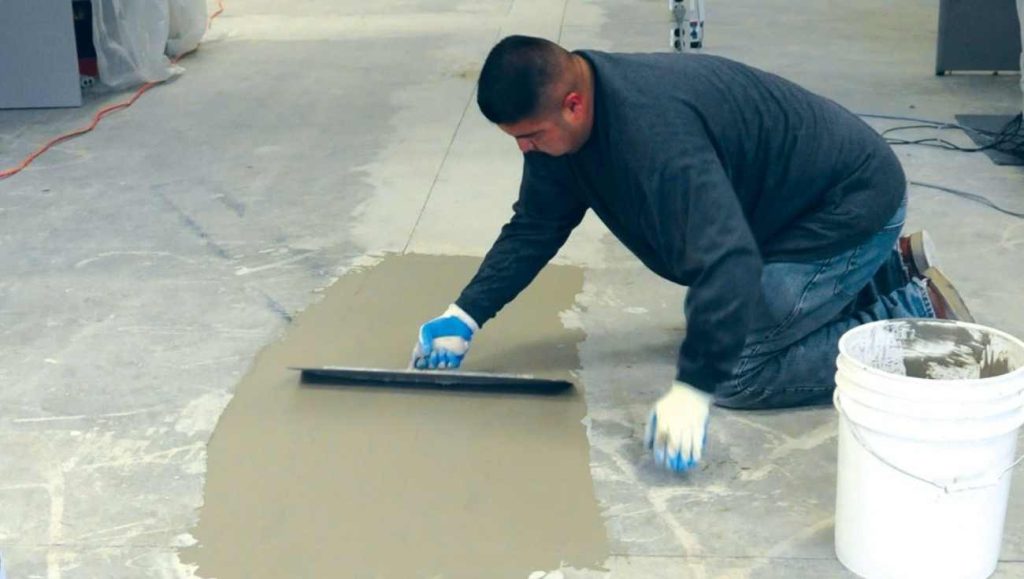
A skim coat is a very thin layer of specialized cementitious material applied over an existing concrete slab.
Learn more from here: https://basc.pnnl.gov/images/right-closed-cell-spray-foam-installed-skim-coat-provide-air-tightness-exterior-wall-cavity
Unlike pouring new concrete, it isn’t meant to increase thickness or structural strength.
Its purpose is much simpler:
Create a clean, smooth, uniform surface.
Most skim coats are only 1/16 to 1/8 inch thick, making them ideal for filling:
- Small pits
- Light surface damage
- Minor scratches
- Trowel marks
- Hairline imperfections
- Old adhesive residue
- Slight texture differences
Modern skim coat products contain fine cement, polymers, and bonding additives that help them adhere to properly prepared concrete while creating a durable surface for the next flooring layer.
Related Article: Epoxy Floor Coating Surface Preparation
What Does a Skim Coat Actually Fix?
Here’s a simple way to think about it.
| Surface Condition | Skim Coat Helps? | Better Solution |
| Small pits | ✅ Yes | — |
| Light scratches | ✅ Yes | — |
| Rough concrete texture | ✅ Yes | — |
| Minor surface scaling | ✅ Yes | — |
| Hairline surface flaws | ✅ Yes | — |
| Deep structural cracks | ❌ No | Concrete repair |
| Major settling | ❌ No | Slab repair |
| Large uneven floors | ❌ No | Self-leveling compound |
One of the biggest misconceptions is that skim coating “repairs” concrete. It doesn’t.
Instead, it creates a new working surface over concrete that’s already structurally sound. Industry guidance consistently distinguishes skim coats from structural repair methods and notes they’re intended for surface refinement rather than correcting major leveling problems.
How Does a Skim Coat Improve Floor Coatings?
Imagine trying to stick tape onto a dusty table.
Now imagine sticking that same tape onto clean glass.
Which holds better?
That’s essentially what happens with concrete coatings.
A properly prepared skim-coated surface helps provide:
- Better adhesion
- More consistent coating thickness
- Improved appearance
- Fewer visible imperfections
- Less risk of peeling
- Longer coating life
Whether you’re installing epoxy, polyaspartic, polyurea, or another protective finish, manufacturers generally emphasize that the substrate must be clean, sound, and properly prepared before coating.
Preparing, Applying, and Perfecting Your Skim Coat
Now that you know what a skim coat is and why it matters, it’s time for the hands-on part.
This is where many DIY projects either succeed-or fail.
Here’s the good news: applying a skim coat isn’t overly complicated. The challenge is getting the preparation right. Most coating failures happen long before the skim coat is mixed.
Dust, grease, moisture, or skipping the primer can all shorten the life of your finished floor. Manufacturers consistently emphasize that substrate preparation is just as important as the product you choose.
Choosing the Right Skim Coat Material
Not every skim coat is built for the same job.
Some products are designed to smooth tiny imperfections before vinyl flooring. Others are engineered to handle garages, workshops, and commercial spaces that will later receive epoxy or polyaspartic coatings.
Before buying anything, ask yourself one simple question:
“Am I fixing the surface-or trying to level the floor?”
If you’re only repairing shallow imperfections, a skim coat is usually the right choice.
If your floor noticeably slopes or has deep depressions, you’ll probably need a self-leveling underlayment instead.
Common Types of Skim Coat Materials
| Material | Best For | Advantages | Limitations |
| Polymer-modified cement | Garages, basements, workshops | Excellent adhesion and durability | Requires proper mixing |
| Feather finish compound | Small repairs and spot patching | Feather-edge application | Not for major leveling |
| Gypsum-based skim coat | Dry interior rooms | Easy sanding and smooth finish | Avoid consistently damp areas |
| Rapid-setting repair mortar | Fast-track projects | Quick return to service | Short working time |
Notice something?
Nearly every professional installer chooses products specifically matched to the final flooring system-not simply the cheapest bag on the shelf.
Surface Preparation Checklist
If I could only give one piece of advice, it’d be this:
Spend twice as much time preparing the floor as applying the skim coat.
It might feel slow, but you’ll thank yourself later.
Before opening the bag, check every item below.
Essential Floor Prep Checklist
- ✅ Remove dust and debris
- ✅ Vacuum thoroughly
- ✅ Remove grease or oil stains
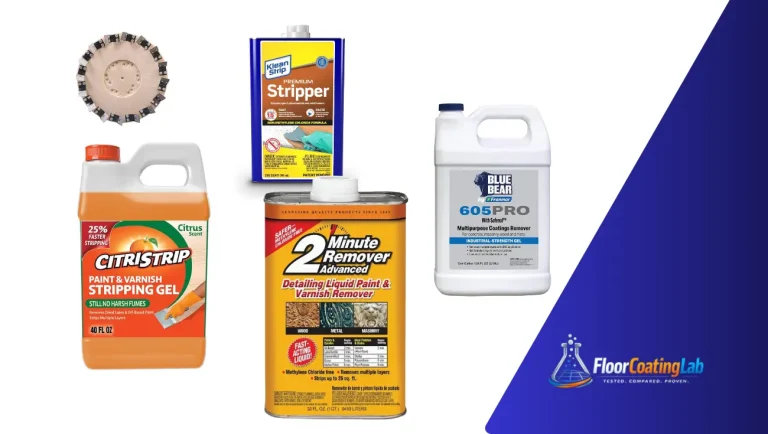
- ✅ Scrape off old paint or adhesive
- ✅ Repair loose concrete
- ✅ Fill larger cracks first
- ✅ Test for moisture if installing epoxy
- ✅ Allow repairs to cure
- ✅ Apply primer if required
Skipping just one step can reduce bond strength or leave visible imperfections beneath your final coating. Product manufacturers commonly require clean, structurally sound substrates and often recommend a compatible primer before applying patches, skim coats, or self-leveling products.
Step-by-Step Guide to Applying a Skim Coat
Take your time. A smooth finish is much easier to achieve when you work methodically instead of rushing.
Step 1: Inspect the Concrete
Walk the entire floor.
Mark:
- Low spots
- Small pits
- Surface scaling
- Hairline cracks
- Old adhesive residue
Don’t assume the floor is flat just because it looks flat.
Step 2: Clean the Surface Thoroughly
A skim coat sticks to concrete-not dirt.
Remove:
- Dust
- Oil
- Wax
- Paint
- Loose concrete
- Construction debris
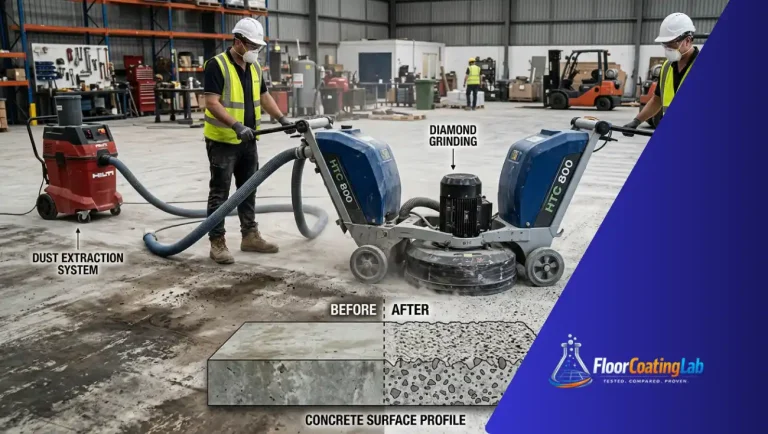
Many professionals use mechanical grinding or scarification for heavily contaminated slabs before resurfacing.
Step 3: Prime When Recommended
Some products bond directly to concrete.
Others require a primer.
Always follow the manufacturer’s instructions rather than assuming one approach works for every product. Primers often improve adhesion and help control substrate absorption.
Step 4: Mix Carefully
Adding extra water doesn’t make application easier.
It usually weakens the material.
Mix only the amount you can place during the product’s working time. Fast-setting compounds can begin hardening within minutes.
Step 5: Spread with a Smooth Trowel
Hold the trowel at a shallow angle.
Apply steady pressure.
Aim for a thin, even layer.
Remember:
You’re smoothing, not pouring a new slab.
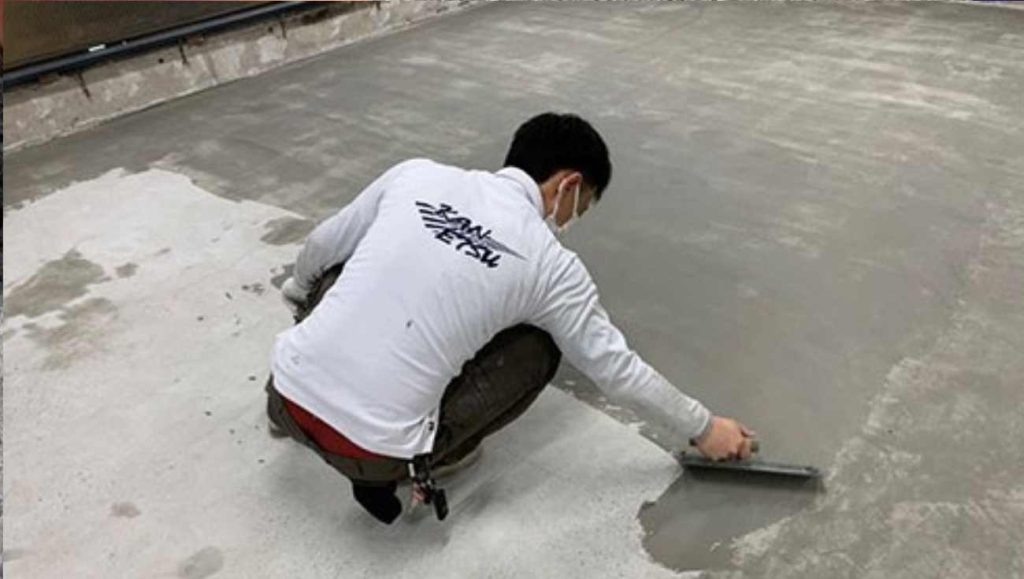
Step 6: Feather the Edges
This step separates an average DIY job from a professional-looking one.
Blend every edge gradually into the surrounding concrete.
The transition should almost disappear.
Experienced flooring installers often note that feathering edges after patching or self-leveling creates a much smoother finished surface.
Related Article: Polyaspartic vs. Epoxy Floor Coatings
How Long Should You Wait Before Applying a Floor Coating?
This is one of the most common questions homeowners ask, how long it takes to prepare coating surface?
The answer depends on:
- Product type
- Temperature
- Humidity
- Thickness
- Manufacturer recommendations
Here’s a general guide.
| Step | Typical Time* |
| Walk on skim coat | 1–4 hours |
| Light sanding | 2–6 hours |
| Install flooring | Same day to 24 hours |
| Apply epoxy or coating | Follow product specifications |
*Actual curing and coating times vary by product. Always follow the manufacturer’s technical data sheet before installing coatings or flooring. Rapid-drying products may accept additional flooring much sooner than conventional compounds.
Common Mistakes That Can Ruin a Perfect Floor
Even experienced DIYers make mistakes.
Fortunately, most are easy to avoid.
1. Skipping Moisture Testing
Concrete can look dry while still containing enough moisture to interfere with some coating systems.
2. Using a Skim Coat to Fix an Uneven Floor
A skim coat smooths.
It doesn’t level.
If your slab has significant dips or slopes, choose a self-leveling underlayment instead.
3. Applying Over Dirt or Oil
No product bonds well to contamination.
Clean first.
Always.
4. Mixing Too Much Material
Fast-setting products don’t wait.
Mix smaller batches that you can comfortably apply before they begin to harden.
5. Ignoring Product Instructions
Every manufacturer specifies:
- Mixing ratios
- Working time
- Primer requirements
- Maximum thickness
- Cure schedule
Reading those instructions might not be exciting—but it’s one of the easiest ways to avoid costly mistakes.
DIY or Hire a Professional?
Should you tackle the project yourself?
That depends on the condition of your floor.
| Situation | DIY-Friendly? |
| Small pits and scratches | ✅ Yes |
| Light garage resurfacing | ✅ Usually |
| Basement floor smoothing | ✅ Yes |
| Large commercial floor | ❌ Usually not |
| Major settling or structural cracks | ❌ Hire a professional |
| Deep floor leveling | ❌ Consider professional installation |
If you’re comfortable using a trowel, patient with preparation, and willing to follow product instructions carefully, many skim coat projects are well within the reach of an experienced DIY homeowner. On the other hand, extensive repairs or large commercial spaces often benefit from professional equipment and expertise.
Choosing the Right Coating, Long-Term Maintenance
You’ve prepared the concrete.
You’ve repaired the imperfections.
You’ve applied a smooth skim coat.
So, what’s next?
Now comes the rewarding part—protecting all that hard work with the right finish. Whether you’re transforming a garage into a showroom, updating a basement, or refreshing a commercial workspace, the coating you choose—and how you maintain it—will determine how your floor performs for years to come.
Where Does a Skim Coat Make the Biggest Difference?
A skim coat isn’t necessary for every concrete floor. But in many projects, it’s the difference between a finish that looks “good enough” and one that looks professionally installed.
Garage Floors
Garages take constant abuse from:
- Hot tires
- Oil drips
- Heavy tools
- Moisture
- Road salt
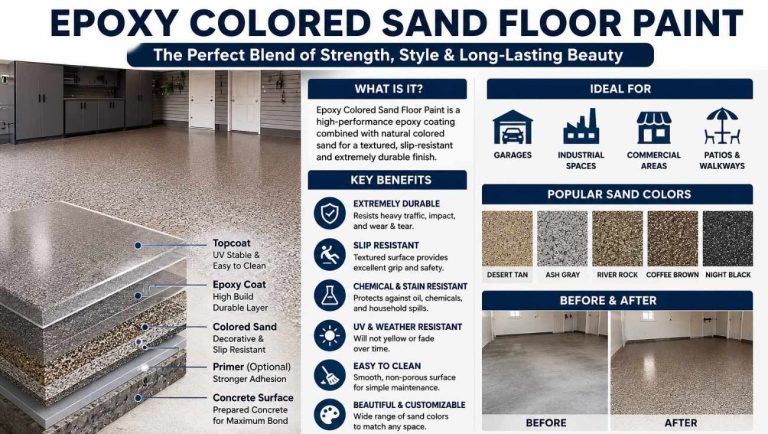
A skim coat helps hide shallow pitting and creates a more uniform surface before applying epoxy or polyaspartic coatings.
Best choice: Epoxy or polyaspartic coating over a properly cured skim coat.
Basement Floors
Older basements often have:
- Minor surface scaling
- Paint residue
- Small chips
- Uneven texture
A skim coat creates a cleaner surface before decorative coatings, luxury vinyl plank (LVP), or tile.
Patios and Covered Outdoor Areas
Exterior concrete must deal with:
- Temperature changes
- Rain
- UV exposure
If you’re resurfacing a covered patio, choose products specifically rated for exterior conditions. Not every skim coat is suitable outdoors.
Commercial Spaces
Retail stores, workshops, warehouses, and light industrial buildings benefit from a smoother substrate because it helps coatings wear more evenly and makes routine cleaning easier.
Is a Skim Coat Compatible with Epoxy and Polyaspartic Coatings?
Yes—but only when it’s fully cured and installed according to the manufacturer’s recommendations.
This is one area where people sometimes make expensive mistakes.
Some homeowners assume they can skim coat the floor in the morning and pour epoxy in the afternoon.
Usually, that’s not a good idea.
Most manufacturers recommend allowing the skim coat to cure properly and ensuring the surface is clean, dry, and structurally sound before applying a coating. Technical guidance from several manufacturers also notes that epoxy and urethane coatings can be applied over suitable skim coat products after proper preparation.
Compatibility Guide
| Floor Finish | Compatible? | Notes |
| Epoxy | ✅ Yes | Allow full cure and follow product instructions |
| Polyaspartic | ✅ Yes | Surface must be dry and properly prepared |
| Polyurea | ✅ Yes | Verify compatibility with manufacturer |
| Concrete Paint | ✅ Usually | Works best on smooth, clean surfaces |
| Tile | ✅ Yes | Improves substrate uniformity |
| Luxury Vinyl Plank (LVP) | ✅ Yes | Ideal for smoothing minor imperfections |
Tip: Always check the technical data sheet for both the skim coat and the coating system. Some manufacturers recommend a primer or specific preparation before applying coatings over repaired surfaces.
Related Article: 12 Breathtaking Garage Epoxy Floor Ideas
How to Keep Your Floor Looking Great
A quality floor coating doesn’t need much attention, but a little routine care goes a long way.
Weekly
- Sweep or vacuum dirt and grit.
- Wipe up spills before they stain.
Monthly
- Mop with a pH-neutral cleaner.
- Check for scratches or impact damage.
Every Few Months
- Inspect expansion joints.
- Look for areas where water collects.
- Touch up minor damage before it spreads.
Avoid:
- Harsh acidic cleaners
- Steel brushes
- Dragging heavy metal equipment
- Letting standing water sit for long periods
A clean floor not only looks better—it also helps preserve the coating’s finish.
Expert Tips Before You Start
After looking at contractor guides and manufacturer recommendations, a few best practices appear again and again.
Do
- ✔ Grind or mechanically prepare contaminated concrete.
- ✔ Repair cracks before skim coating.
- ✔ Read every product’s installation guide.
- ✔ Mix only what you can use within the working time.
- ✔ Test moisture before installing moisture-sensitive coatings.
Don’t
- ✘ Use a skim coat to fix major floor leveling issues.
- ✘ Coat over dirt, oil, or loose concrete.
- ✘ Rush curing times.
- ✘ Assume every skim coat works with every coating system.
Taking an extra day for preparation is usually far less expensive than repairing a failed coating later.
Frequently Asked Questions
Can I apply epoxy directly over a skim coat?
Yes, in many cases you can—but only after the skim coat has cured properly and the manufacturer confirms compatibility. The surface should also be clean, dry, and free of contaminants before coating.
Is a skim coat the same as a self-leveling compound?
No.
A skim coat smooths minor imperfections.
A self-leveling compound is designed to correct larger variations in floor height.
Can I skim coat over old epoxy?
Sometimes.
If the existing epoxy is sound, clean, and properly prepared, some skim coat systems can be applied over it with the appropriate primer. Damaged or poorly bonded epoxy usually needs to be removed first.
How thick should a skim coat be?
Most applications range from a feather edge to about 1/8 inch, although some products allow thicker localized fills. Always follow the product’s specifications.
Can I use a skim coat on a garage floor?
Yes.
It’s a popular way to repair light pitting, scratches, and surface imperfections before applying epoxy or polyaspartic coatings.
How long does a skim coat last?
When applied over a stable concrete slab and protected by a quality floor coating or finished flooring, a skim coat can remain in service for many years. Longevity depends on the condition of the substrate, installation quality, and ongoing maintenance.
What’s the biggest mistake homeowners make?
Skipping surface preparation.
Even the best coating can’t compensate for dirt, oil, moisture, or loose concrete underneath.
Final Thoughts
A beautiful floor doesn’t begin with epoxy.
It begins with preparation.
A skim coat won’t repair structural damage or level a severely uneven slab, but it does create the smooth, consistent foundation that many floor coatings need to perform their best.
If your concrete has shallow pits, scratches, or light surface wear, investing a little extra time in proper preparation can dramatically improve the appearance and longevity of your finished floor.
Think of it this way:
A premium coating deserves a premium foundation.
Get the preparation right, follow the manufacturer’s instructions, and you’ll give your garage, basement, patio, or workspace the best chance of staying attractive and durable for years.

2 Comments
Comments are closed.