
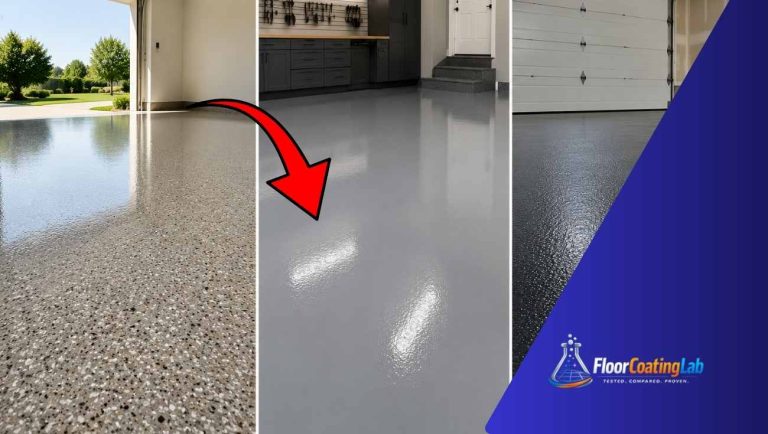
If you are dealing with pitted concrete, stubborn floor stains, or uneven garage surfaces, you have likely heard of self-leveling epoxy floor coating. Unlike standard floor paints that simply color over flaws, self-leveling epoxy flows outward across the room, filling low spots, hairline cracks, and surface imperfections to create a seamless, mirror-like finish.
Whether you are upgrading a commercial showroom, an industrial warehouse, or a residential garage, this guide breaks down everything you need to know about self-leveling epoxy—how it works, how to install it without mistakes, and how to troubleshoot common issues.
1. What is Self-Leveling Epoxy Flooring?
Self-leveling epoxy is a specialized two-part coating consisting of epoxy resin and a hardener. When mixed and poured onto a prepared subfloor, the fluid compound naturally levels itself across the surface, setting into a smooth layer typically 1/16 to 1/8 inch thick (60 to 125 mils).
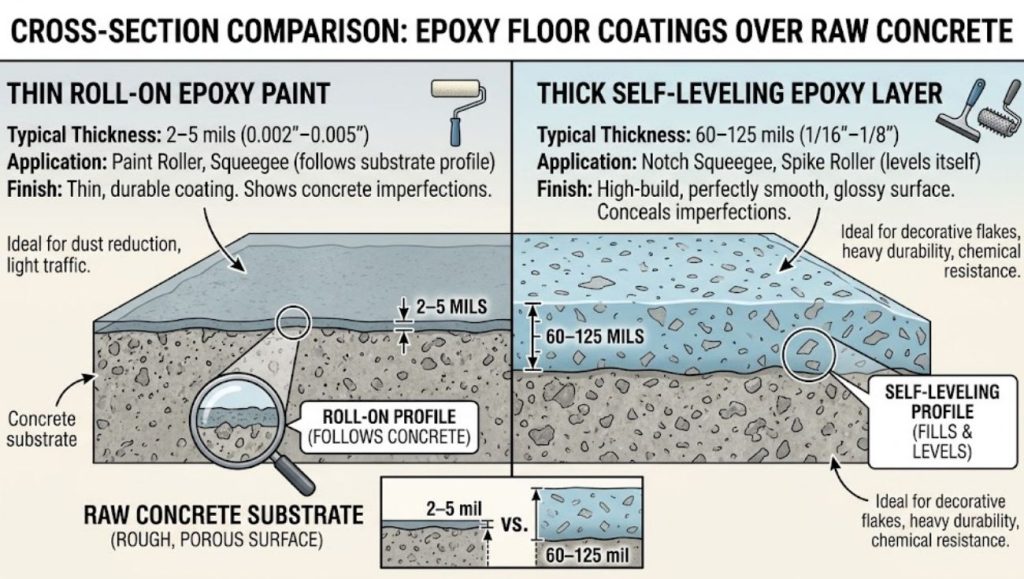
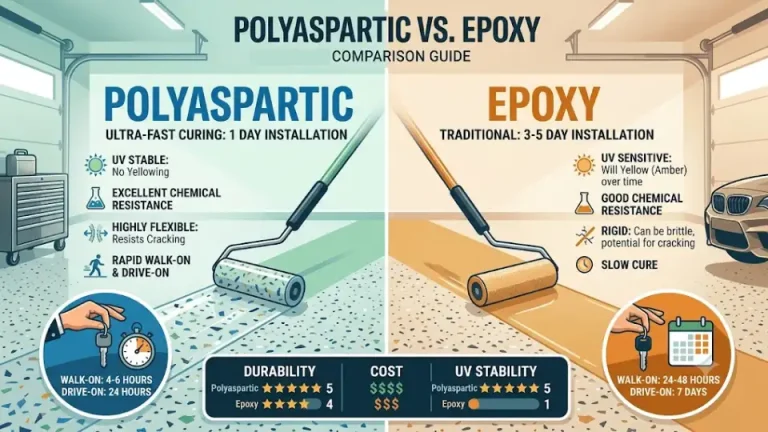
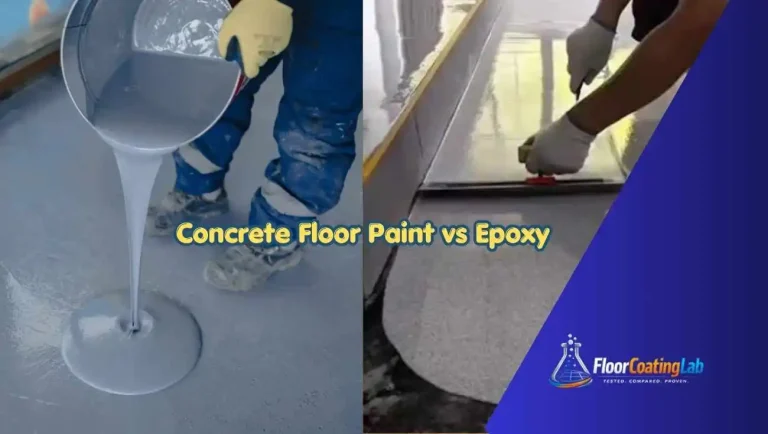
Self-Leveling Epoxy vs. Standard Epoxy Paint
- Standard Epoxy Paint: Applied thin with a roller. It mimics the texture of the concrete underneath and can show every minor bump or dip.
- Self-Leveling Epoxy: Poured onto the floor in a thick body. It flows like syrup into low spots, self-smoothing into a flat, gap-free, highly durable shield.
According to General Industrial Flooring’s Guide to Self-Leveling Epoxy, its seamless nature makes it one of the most hygienic and impact-resistant industrial floor coatings available.
2. Real-World Problems Self-Leveling Epoxy Solves
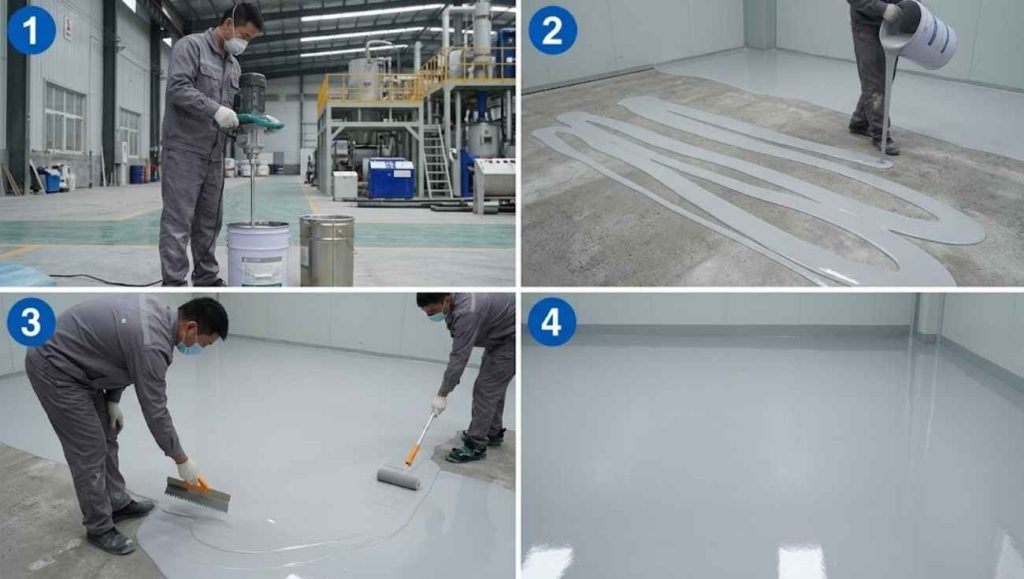
If you are evaluating flooring options, here are the main pain points self-leveling epoxy resolves:
- Rough, Cracking Concrete: Instead of expensive slab replacement, self-leveling epoxy caps worn concrete with a high-strength surface.
- Hygiene & Bacteria Traps: Traditional tile floors have grout lines that trap dirt, oil, and moisture. Epoxy creates a 100% non-porous surface that stops liquid penetration.
- Chemical & Oil Stains: Automotive fluids, harsh cleaning detergents, and industrial chemicals wipe away without staining or eroding the floor.
- Poor Workspace Lighting: The high-gloss finish reflects up to 300% more ambient light, making dark garages and facilities brighter and safer.
Related Article: Remove Tire Marks from Epoxy Without Dulling the Shine
3. Step-by-Step Installation Process
Installing self-leveling epoxy requires careful timing and thorough preparation. Skipping steps is the leading cause of floor failure.
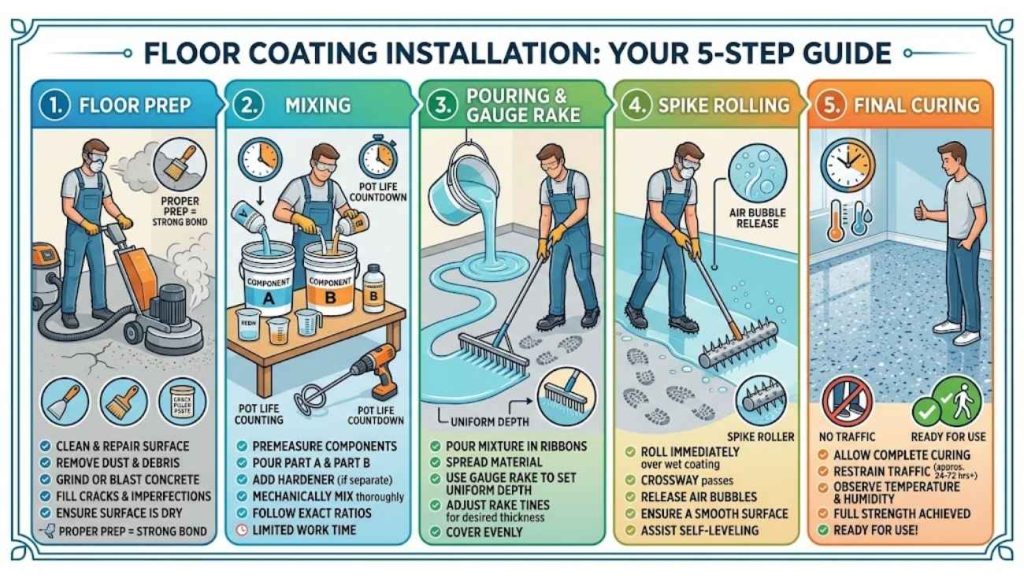
Step 1: Surface Preparation (Crucial Step)
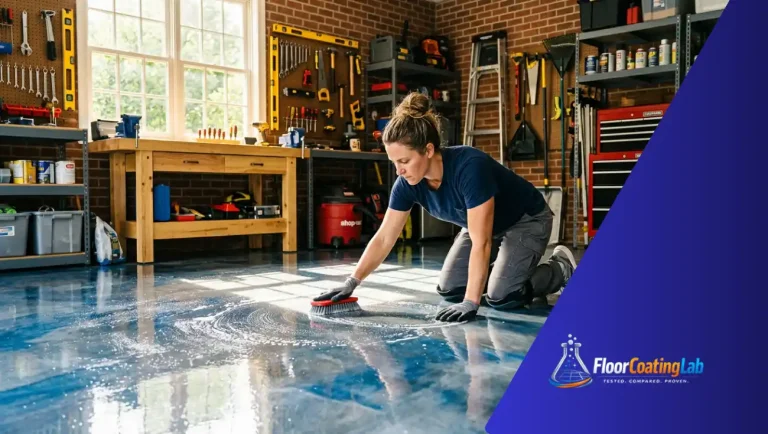
Concrete must be clean, dry, and mechanically roughened.
- Grinding: Use a diamond concrete grinder to open up the concrete pores (creating a profile similar to 60-grit sandpaper).
- Cleaning: Vacuum all dust thoroughly and remove any grease stains using an industrial degreaser. As noted in the Simiron Epoxy Problem Solving Guide, leftover oil or wax causes “fish-eye” craters where the epoxy cannot stick.
Step 2: Apply a Moisture Barrier Primer
Concrete breathes out air and moisture vapor. Applying a specialized 100% solids epoxy primer seals the concrete pores, preventing air bubbles from rising into your fresh topcoat.
Step 3: Mix Parts A and B Thoroughly
Combine the epoxy resin and hardener using a drill with a Jiffy mixing paddle at medium speed for 3 minutes. Avoid lifting the paddle out of the liquid while mixing, as this whips unwanted air into the batch.
Step 4: Pour and Spread
Pour the mixed epoxy in long ribbons across the room. Use a gauge rake (a notched squeegee set to your target thickness) to spread the liquid evenly. The material will start leveling itself out within minutes.
Step 5: Roll with a Spike Roller
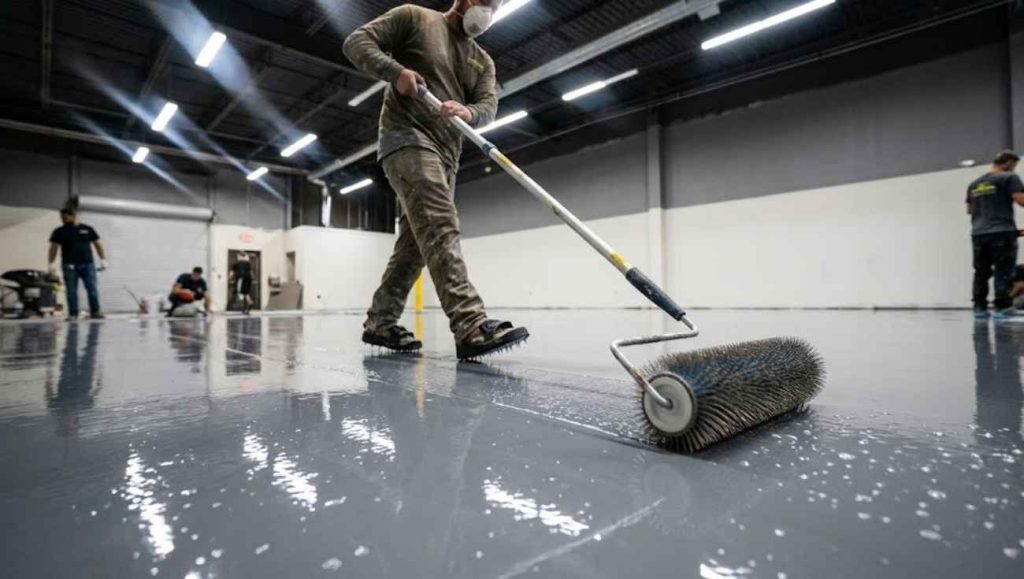
While wearing spiked shoes to walk across the wet epoxy, pass a spike roller back and forth over the floor. The spikes break any trapped air bubbles released during mixing and help blend individual pour lines together.
4. Troubleshooting Common Epoxy Flooring Mistakes
Even experienced DIYers can encounter issues if environmental conditions or mixing ratios are off. Here is how to prevent and fix common problems:
Problem 1: Pinholes & Air Bubbles
- Cause: “Outgassing” occurs when air trapped inside raw concrete expands under warm temperatures and bubbles up through uncured epoxy.
- Fix/Prevention: Always apply a dedicated concrete primer before pouring your self-leveling coat. Roll the wet epoxy with a spike roller within 10–15 minutes of pouring.
Problem 2: “Orange Peel” Rough Texture
- Cause: According to Regal Paint’s Flooring Guide, an uneven, dimpled surface usually happens when the room is too cold (below 50°F / 10°C) or when too little product was poured, preventing full self-flow.
- Fix/Prevention: Maintain ambient temperatures between 65°F and 75°F (18°C–24°C) during application and follow recommended coverage rates per square foot.
Problem 3: Soft, Sticky, or Uncured Spots
- Cause: Inaccurate mixing ratios or failing to scrape the bucket sides while pouring unmixed resin onto the floor.
- Fix/Prevention: Scrape up uncured spots down to bare concrete, clean the area with solvent, and reapply fresh epoxy. Never pour out the last bit of unmixed resin clinging to the bucket walls.
Problem 4: Peeling or Delamination
- Cause: Applying epoxy over dirty, un-ground, or moist concrete.
- Fix/Prevention: Test your slab for hidden moisture using a plastic sheet test or moisture meter prior to installation.
5. Maintenance Tips for Long-Lasting Floors
With basic care, a self-leveling epoxy floor can last 15 to 20 years:
- Daily Care: Sweep or dust-mop regularly to remove grit and dirt that can scratch the glossy surface.
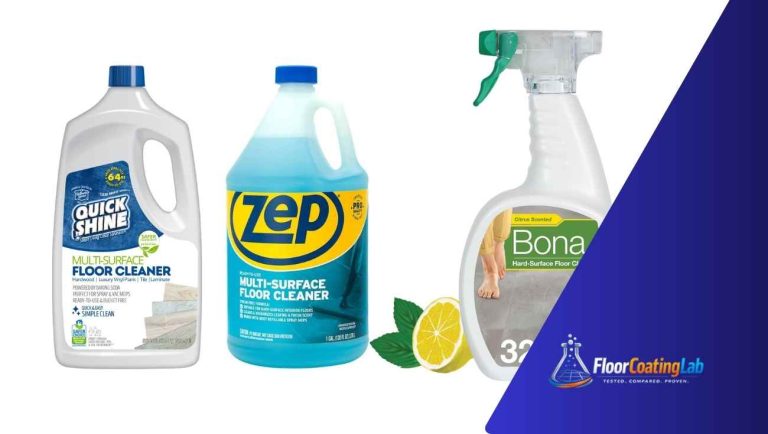
- Washing: Clean weekly using a soft microfiber mop and warm water mixed with a neutral pH cleaner. Avoid harsh acid-based cleaners or bleach.
- Protection: Use felt pads under heavy equipment legs and place entrance mats at exterior doorways to catch loose gravel.
Summary
Self-leveling epoxy floor coating transforms worn, rough concrete into a durable, mirror-smooth surface. By focusing on proper diamond grinding prep, sealing the subfloor with a primer, and maintaining optimal room temperatures during pouring, you can avoid common installation mistakes and enjoy a seamless floor for decades.
One Comment
Comments are closed.