

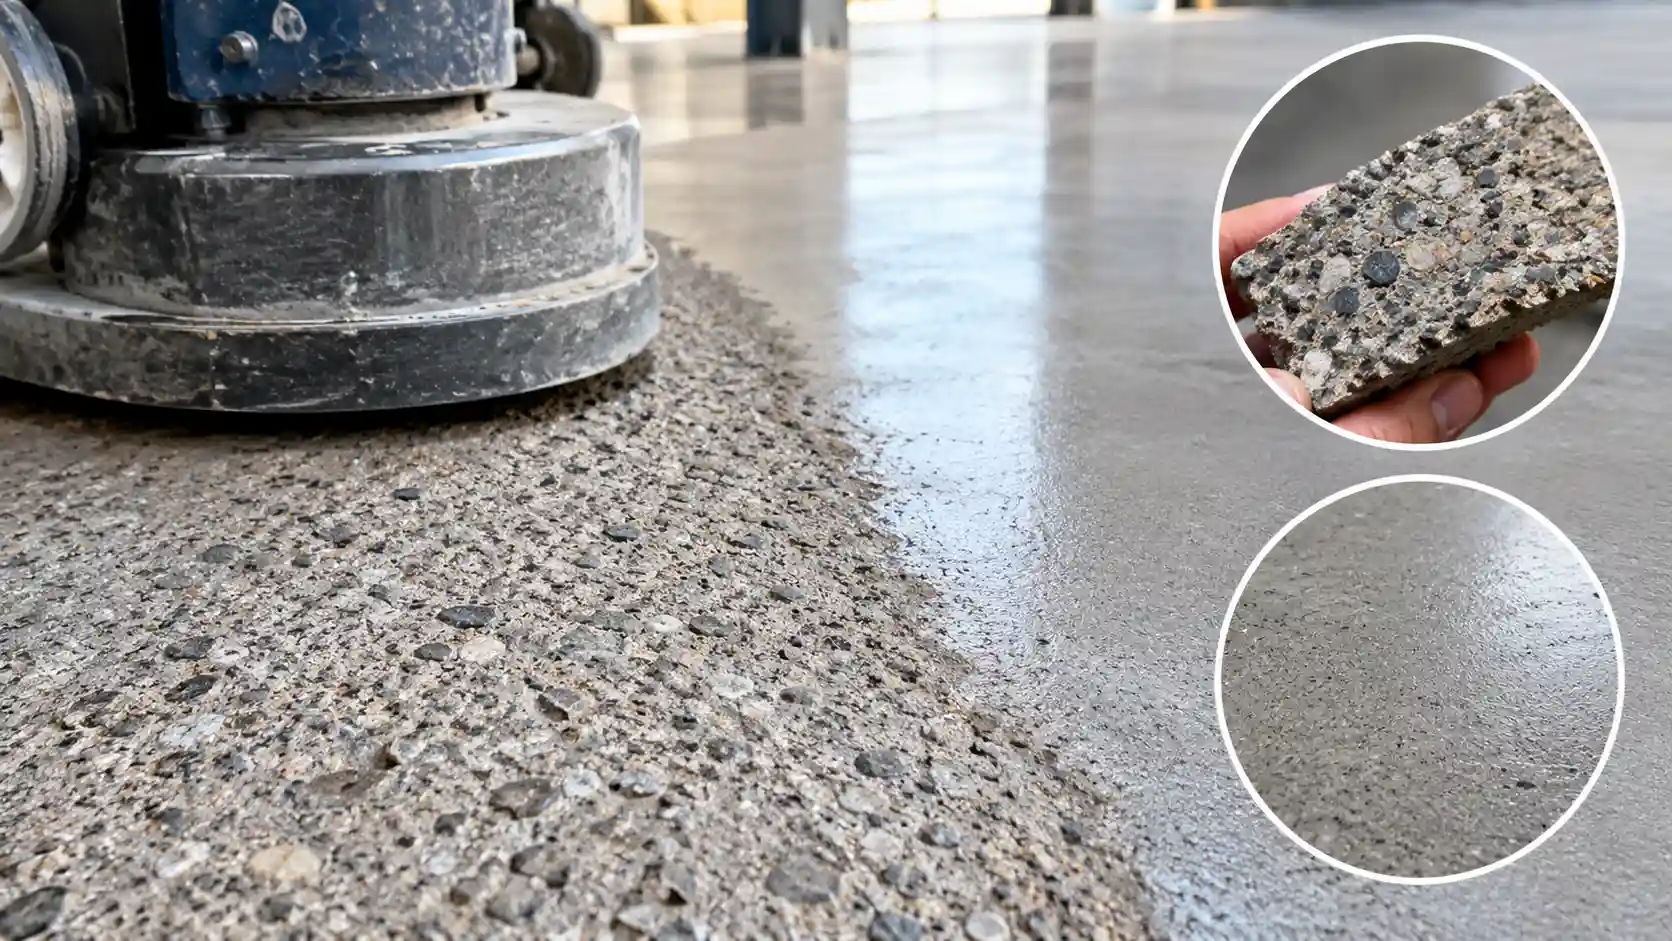
CSP is a 1–10 scale for concrete roughness. Most garage epoxy needs CSP 2–3, thicker systems CSP 3–4, and you check it with ICRI profile chips.
That’s the quick answer. If you’ve ever read “grind the floor to CSP 3” on a product data sheet and wondered what that actually means, this guide is for you. Below you’ll learn what each CSP level looks and feels like, which coatings need which profile, how to measure yours, and what goes wrong when the profile is too smooth or too rough.
What Is CSP (Concrete Surface Profile)?
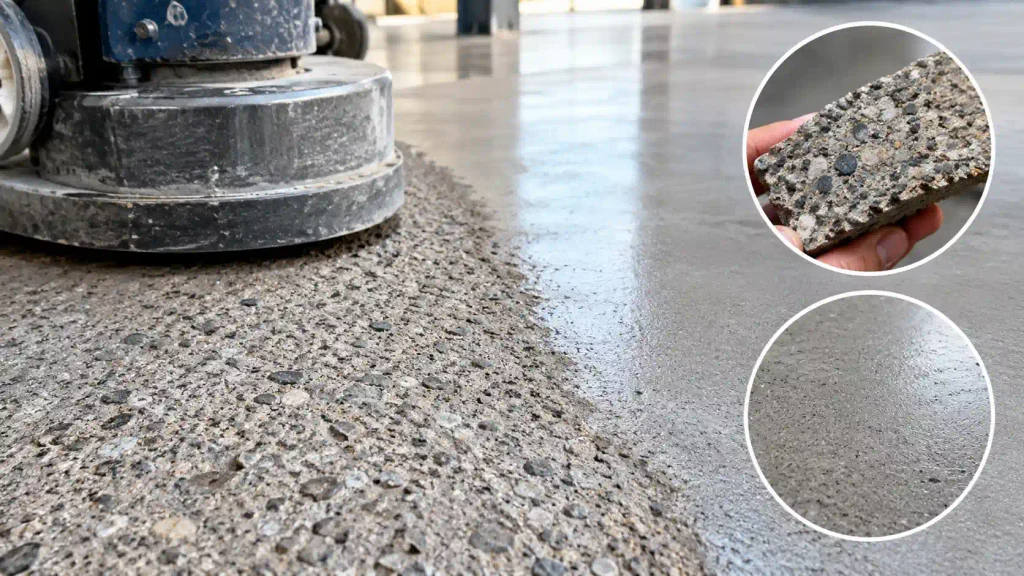
CSP stands for Concrete Surface Profile. It’s a standard scale published by the International Concrete Repair Institute (ICRI) in guideline 310.2R, and it rates how rough a prepared concrete surface is, from CSP 1 (almost flat) to CSP 10 (very rough, deeply exposed).
Why does it matter? A coating bonds to concrete in two ways: chemically, and mechanically by gripping into the tiny peaks and valleys of the surface. Too smooth, and there is nothing for the coating to grip. Too rough, and a thin coating can’t cover the peaks, so they poke through as bumps, pinholes or thin spots.
The profile you need depends mainly on how thick your coating is. Thin coatings need a fine profile, and thick coatings need a deeper one.
The CSP Scale at a Glance
| CSP | Typical prep method | What it feels like | Typical coating use |
|---|---|---|---|
| CSP 1 | Detergent scrub, very light acid etch | Nearly smooth, like a finished slab | Penetrating sealers, very thin films |
| CSP 2 | Light diamond grind, acid etch | Fine sandpaper or a light sandy feel | Thin sealers, thin-film coatings |
| CSP 3 | Diamond grinding, light shot blast | Rougher sandpaper, like 60 to 80 grit paper | Thin to mid-build epoxy, polyaspartic, self-leveling thin coats |
| CSP 4 | Shot blast, heavy grind, light scarify | Distinctly rough, like coarse sandpaper | Mid-build epoxy, broadcast systems, thicker self-leveling |
| CSP 5 | Medium shot blast, scarify | Rough with visible texture | Thick systems, urethane cement, some overlays |
| CSP 6 to 10 | Heavy shot blast, scarify, scabbling, jackhammering | Very rough, exposed aggregate | Overlays and heavy repair mortars |
Prep methods overlap, and results depend on the concrete’s hardness and the equipment, so treat this table as a guide, not a rule. Your coating’s technical data sheet will state the CSP it requires. Always follow that number.
CSP 2, CSP 3 and CSP 4 Compared
These three cover most garage and home projects, and they’re the ones people most often confuse. Here is what separates them.
CSP 2: light profile
What it looks like: a mostly even, matte surface. Some of the original smooth trowel finish may still show. Fine sand-like scratches are visible up close.
How you get there: a light acid etch or a light pass with a diamond grinder.
Best for: thin coatings and sealers. A CSP 2 surface is often enough for a very thin film of sealer or stain, but it’s usually too smooth for a standard epoxy floor.
Risk: if you coat a thicker system on CSP 2, you may get poor mechanical grip and a bond that fails later.
CSP 3: the sweet spot for most garage floors
What it looks like: a uniformly roughened, flat-looking surface with fine texture. The original finish is gone. There is a consistent sandpaper-like feel across the floor.
How you get there: diamond grinding with a medium metal-bond diamond tool, or a light shot blast.
Best for: many epoxy and polyaspartic systems up to about 10 to 20 mils, plus many self-leveling thin coats. It’s the profile most DIY epoxy kits and garage coating products call for.
Risk: if the product asks for CSP 3 and the floor is closer to CSP 2, you may see peeling at the edges or under tires. Our guide on why epoxy peels under car tires covers this failure.
CSP 4: for thicker systems
What it looks like: visibly rougher, with more texture and small peaks. In some places the fine aggregate may show.
How you get there: shot blasting at a moderate setting, a heavy diamond grind with a coarse tool, or a light scarify.
Best for: thicker systems such as broadcast flake floors, self-leveling epoxy at a heavier build, and some urethane systems.
Risk: thin coatings over CSP 4 can leave peaks showing through, with a rough, uneven finish that’s hard to clean.
Which CSP Do You Need?
As a starting point only, the coating thickness usually decides the profile:
- Thin sealers and very thin films (under about 10 mils): CSP 1 to 2
- Standard epoxy or polyaspartic (about 10 to 20 mils): CSP 2 to 3, with CSP 3 the most common requirement
- Self-leveling or mid-build systems (about 1/16 inch): CSP 3 to 4
- Heavier systems and broadcast floors (1/8 inch or more): CSP 4 to 5
- Overlays and heavy repair materials: CSP 5 and up
These are general guidelines. Manufacturers differ, and your product’s data sheet always takes priority over any chart. If you can’t find the CSP, contact the manufacturer’s technical support before you grind.
How to Measure Your CSP

You can’t judge CSP reliably by eye. Photos and memory are very poor at comparing roughness. The standard method is to use ICRI concrete surface profile chips.
- Get a set of CSP chips. They are small molded rubber or plastic replicas of CSP 1 to 10 profiles, sold as a set and relatively inexpensive.
- Clean the area. Vacuum away dust so it doesn’t hide the profile.
- Test in several places. Check near walls, at the center, and in spots that were hard to grind. A floor often varies across the slab.
- Compare by touch and sight. Hold the chips against the concrete in good light, and slide a fingertip across both. Find the chip that feels closest.
- Note the lowest reading. The weakest area is where the coating will fail first, so grind or blast again until every area matches the required CSP.
If you don’t have chips, a useful quick check is to run your hand across the floor. CSP 2 feels like fine sandpaper, CSP 3 like coarse sandpaper, and CSP 4 clearly rough. It’s not exact, and chips are worth buying for any project that matters.
How to Reach the Right Profile
The tool matters as much as the number.
- Diamond grinding is the most common DIY and small-contractor method. It removes the surface layer, old coatings and laitance, and produces a CSP 2 to 3 profile with the right diamond segments. Coarser, softer-bond tooling gives a deeper profile on hard concrete.
- Shot blasting fires steel shot at the surface and produces a more uniform, deeper profile, usually CSP 3 to 5, depending on settings. It’s faster on large floors but needs special equipment.
- Acid etching is often recommended in kit instructions but gives an inconsistent profile, is hard to neutralize fully, and can leave residue. Mechanical prep is generally more reliable.
For a full comparison, read our guide to diamond grinding vs shot blasting. If your slab has paint or an old sealer, see whether you can epoxy over painted concrete before choosing your tool.
What Goes Wrong With the Wrong Profile
Profile too smooth
- The coating peels or lifts, especially at edges, joints and under tires
- Poor bond in high-traffic areas
- Sheets of coating coming up in one piece, as covered in our guide on why garage floor coatings delaminate
Profile too rough
- Peaks poking through a thin coating
- Pinholes and bubbles as air escapes from deep pores, which can be hard to tell apart from moisture problems
- A rough, uneven finish that holds dirt
- Higher material use as the valleys soak up coating
Profile uneven
- Patchy gloss or color
- Coating failures in just a few spots, usually where the slab was harder or you skipped an area
Don’t Forget the Other Prep Steps
A perfect CSP won’t save a floor with other problems. Before coating:
- Test moisture. High moisture vapor will blister a coating regardless of profile. See our guide to concrete moisture test kits.
- Remove contamination. Oil, silicone and sealers can cause fish eyes and craters even on a good profile.
- Repair cracks and pits. Fill them before the final grind so the patches get the same profile.
- Vacuum thoroughly. Dust left in the profile weakens the bond. A dust-rated shop vac makes a real difference.
Frequently Asked Questions
What CSP do I need for garage floor epoxy?
Most garage epoxy and polyaspartic systems call for CSP 2 to 3, and CSP 3 is the most common. Check the data sheet for your product.
Is CSP 3 or CSP 4 better?
Neither is better in general. Choose based on coating thickness. CSP 3 suits thin to mid-build coatings, and CSP 4 suits thicker systems. A deeper profile than the coating can cover causes problems.
Can I use acid etching instead of grinding?
Some thin products allow it, but it tends to produce a light and uneven profile, usually around CSP 1 to 2. Mechanical prep is generally more reliable for epoxy and polyaspartic.
Can I see CSP in a photo?
Not reliably. Lighting, angle and camera quality change how rough a surface appears. Use physical CSP chips for an accurate comparison.
Do I need to measure CSP on a DIY garage floor?
It’s worth the small cost of a chip set. It confirms your grinding was enough before you spend money on coating.
What if my floor is CSP 2 but the product wants CSP 3?
Grind again with a coarser tool or a second pass until the surface matches the CSP 3 chip. Don’t coat early and hope for the best.
Final Thoughts
CSP sounds technical, but it comes down to one rule: match the roughness of the concrete to the thickness of the coating. Check the data sheet for the number, prepare the slab with the right tool, and confirm it with a set of CSP chips. That small step is one of the cheapest ways to prevent a peeling floor.
Not sure what profile your floor has now? Send us a close-up photo with a coin for scale, and we’ll help you work out whether it needs another pass.


