

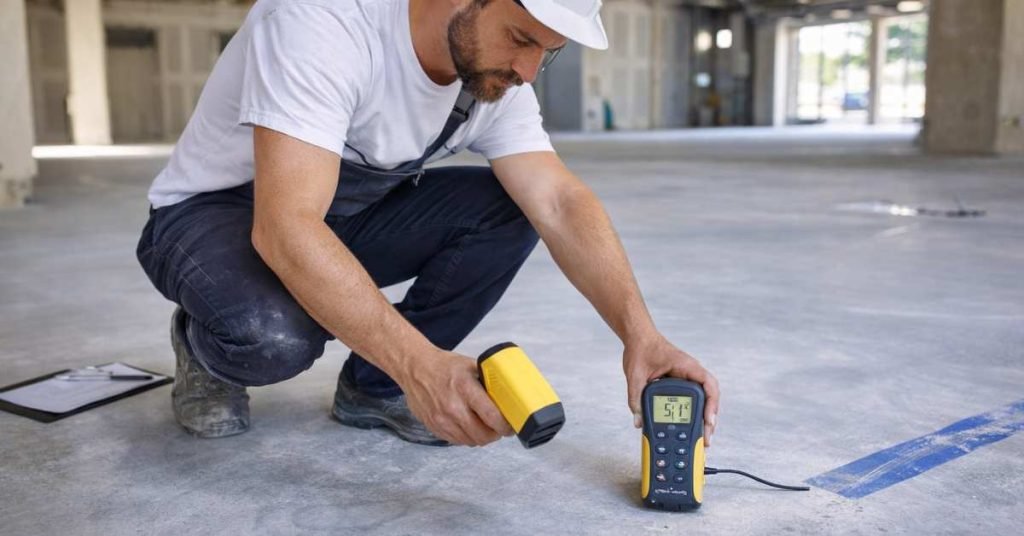
Before you roll out epoxy, you need to know how much moisture is moving through your concrete — and the answer comes from testing, not from how dry the slab looks. A concrete slab that seems bone-dry on the surface can still push enough water vapor upward to blister, cloud, or peel an epoxy coating within months. The fix is simple: run one or more moisture tests, compare the numbers to the epoxy manufacturer’s limits, and only then decide whether to coat, wait, or install a vapor barrier first.
Key Takeaways
- Three tests cover most jobs: the plastic sheet test (free, rough), a calcium chloride test (quantitative, ASTM F1869), and an in-situ relative humidity probe test (ASTM F2170, the most reliable).
- The in-situ RH probe is the method most resin manufacturers now accept because it measures moisture deep inside the slab, not just at the surface.
- Most epoxy makers cap RH at 75–80% and calcium chloride vapor emission at 3–5 lbs per 1,000 sq ft per 24 hours — always check your specific product’s data sheet.
- Test before you prep, because grinding and cleaning change the surface and can skew a sheet or calcium chloride test.
- One test isn’t enough on a large slab — you need multiple test locations, and the slab should be at least 28 days old.
- If the numbers are too high, you can still coat, but you’ll need a moisture-mitigation primer or vapor barrier, not just more epoxy.
Why Moisture Matters Under Epoxy
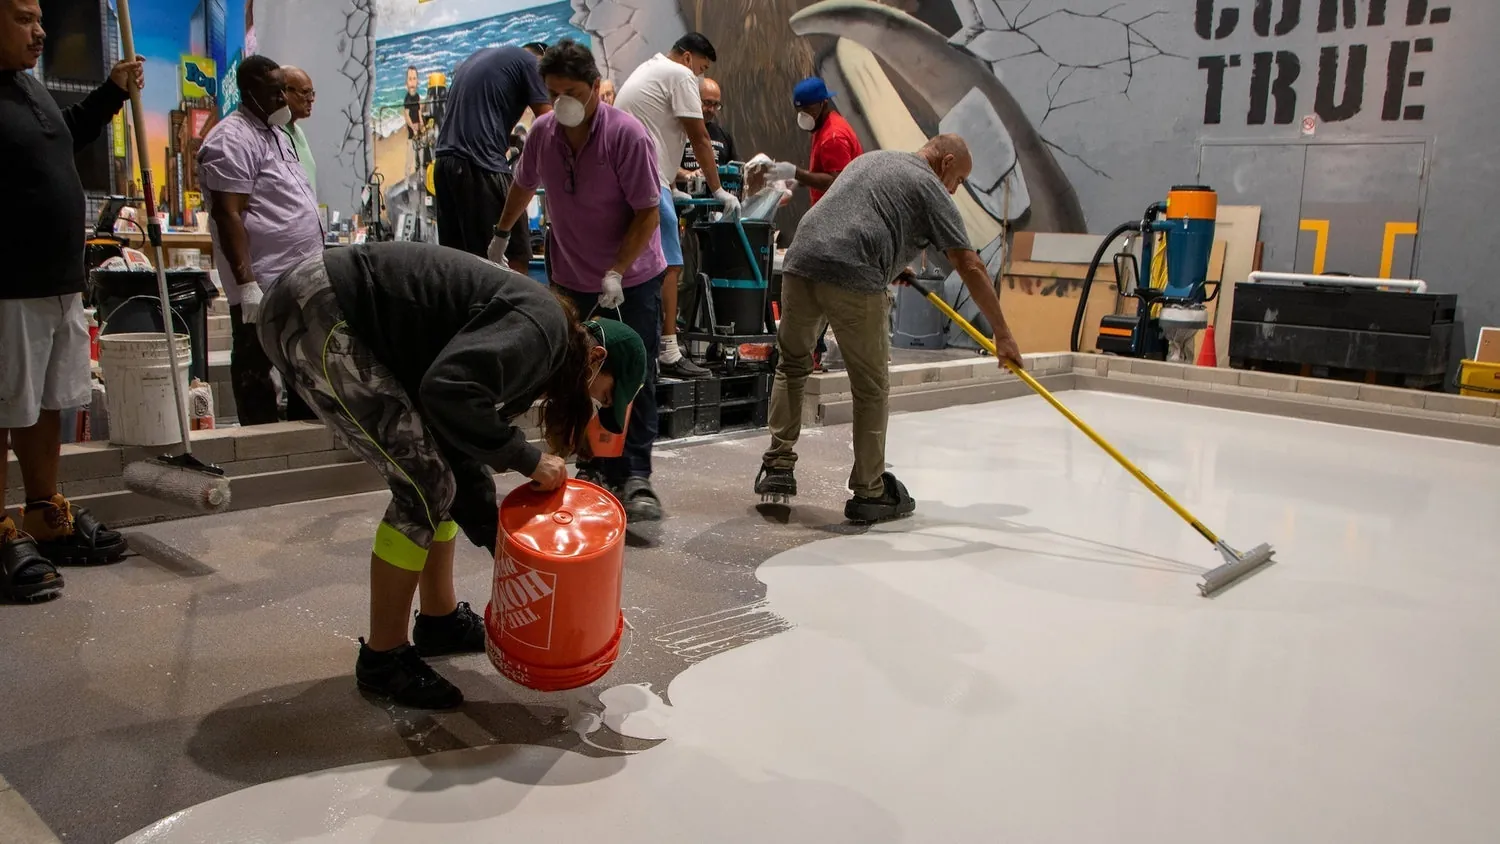
Epoxy is a vapor-impermeable coating. Once it cures, water vapor rising from the soil below or from a fresh slab can’t escape through it. That vapor builds pressure at the bond line and attacks the adhesive bond from underneath.
The result is a set of failures that look like application mistakes but aren’t: osmotic blisters (bubbles filled with water), cloudy or whitened patches, delamination where the epoxy peels off in sheets, and efflorescence — the white, powdery mineral deposits that show up when moisture carries salts to the surface. None of these are fixed by recoating. You have to solve the moisture first.
Concrete is also never truly “dry.” Even a slab that’s been in place for years holds moisture and exchanges it with the air and soil around it. That’s why the question isn’t “is there moisture?” — there always is. The question is “how much, and will my epoxy tolerate it?”
The Three Main Test Methods
There’s no single test that fits every situation. Here’s how the common methods compare.
| Test | What It Measures | Cost | Time | Best For |
|---|---|---|---|---|
| Plastic sheet (ASTM D4263) | Presence of vapor at surface | Free–$10 | 16–24 hrs | Quick screening, small jobs |
| Calcium chloride (ASTM F1869) | Vapor emission rate | $30–$80 per kit | 60–72 hrs | Traditional spec compliance |
| In-situ RH probe (ASTM F2170) | Relative humidity inside slab | $150–$400 per meter | 24 hrs after drilling | Modern specs, critical jobs |
The Plastic Sheet Test
Tape a 2 ft × 2 ft square of clear polyethylene sheeting to the slab with duct tape on all four sides, sealing it tight. Wait 16 to 24 hours, then lift a corner and look. If you see condensation on the underside of the plastic or a dark, damp patch on the concrete, moisture is present.
This test only tells you yes or no — it won’t give you a number, so you can’t compare it to a manufacturer’s limit. It’s useful for a quick gut check before you spend money on a lab-grade test, or on a small garage floor where you just want to know if you have a problem.
The Calcium Chloride Test
This is the traditional quantitative method, governed by ASTM F1869. You clean a small area, weigh a dish of calcium chloride, seal it under a plastic dome for 60 to 72 hours, then weigh it again. The dish absorbs water vapor, and the weight gain tells you the vapor emission rate in pounds per 1,000 square feet per 24 hours.
Most epoxy manufacturers want that number at or below 3 lbs, with some allowing up to 5 lbs. The catch: this test measures vapor at the surface only, and it’s sensitive to room temperature and humidity during the test window.
The In-Situ RH Probe Test
This is the method most coatings manufacturers now prefer. Governed by ASTM F2170, it works by drilling holes into the slab, inserting relative humidity probes, and letting them equilibrate for 24 hours. The probe reads the moisture inside the concrete at a specified depth — typically 40% of the slab’s thickness.
Because it measures the slab’s internal condition rather than just the surface, it gives a more stable, repeatable number. Most epoxy systems specify a maximum 75% to 80% RH. If your reading is above that, you need mitigation.
When to Test and How Many Spots
Timing matters as much as method. Test after the slab is at least 28 days old — fresh concrete is still curing and releasing water, so early readings are meaningless. Test before you grind, shot-blast, or acid-etch, because surface prep changes the top layer and throws off sheet and calcium chloride results.
For the number of test locations, a common rule of thumb is one test per 1,000 square feet, with a minimum of three on any slab. Put them in the areas most likely to be wet: near exterior walls, over crawl spaces, near floor drains, and anywhere you’ve seen efflorescence or previous coating failures.
Pro Tip: Mark each test location on a simple sketch of the floor and write the reading next to it. If one spot reads high and the rest are fine, that tells you something specific — a plumbing leak, a missing vapor barrier section, or a drainage issue — that a single averaged number would hide.
Reading Your Results
Once you have numbers, compare them to two things: the epoxy manufacturer’s published limits and the industry baseline for your slab type.
| Reading (RH) | Reading (CaCl) | What It Means |
|---|---|---|
| Under 75% | Under 3 lbs | Usually fine for standard epoxy |
| 75–85% | 3–5 lbs | Marginal — use a moisture-tolerant primer |
| Over 85% | Over 5 lbs | High — needs mitigation or a vapor barrier |
The manufacturer’s data sheet always wins over a general rule. Some modern epoxy systems are rated for higher moisture, and some are strict. Pull the technical data sheet for your exact product and find the moisture section before you assume anything.
What to Do If Moisture Is Too High
You have four realistic options, and the right one depends on how far over the limit you are.
- Moisture-mitigation primer: a specialized epoxy or urethane primer engineered to tolerate higher vapor. Brands like Sika, Rust-Oleum, and Sherwin-Williams make products in this category — check the data sheet for the RH ceiling.
- Vapor barrier / moisture vapor retarder: a separate membrane installed under the slab, or a topical system applied before the epoxy. This is the heavy-duty fix for slabs reading well over 85% RH.
- Wait it out: for a new slab, more curing time can bring RH down. This works for slabs only slightly over the limit, not for chronically wet ones.
- Choose a different floor: in a basement or on-grade slab with persistent high moisture, a breathable floor like tile or a floating system may be the smarter call than fighting the slab.
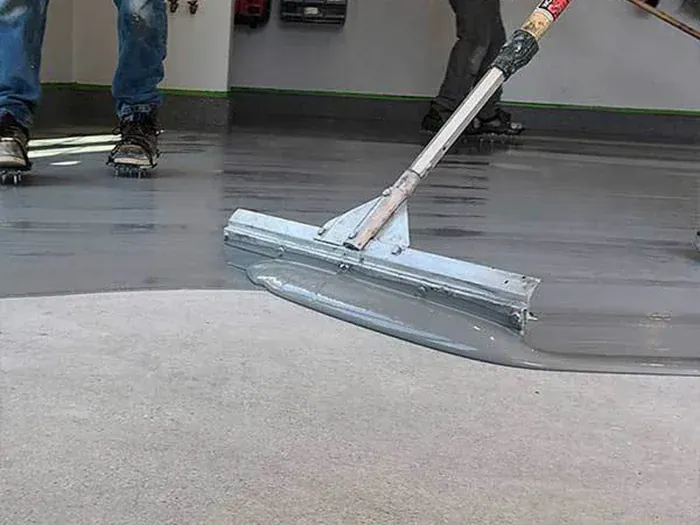
Warning: Never try to “seal in” moisture with extra coats of standard epoxy. The vapor pressure will find a way through, and you’ll get blisters and delamination — usually within the first heating season, when the slab warms and drives moisture upward faster.
Common Testing Mistakes
Even people who test often get these wrong.
- Testing too soon after a pour. Concrete needs 28 days minimum, and longer in cool, humid weather.
- Testing only one spot on a large slab, then treating that number as the whole floor.
- Testing after surface prep, which changes the top layer and skews sheet and calcium chloride results.
- Ignoring temperature and humidity during the test window — both affect calcium chloride readings.
- Skipping the manufacturer’s data sheet and going off a generic number instead.
Frequently Asked Questions
Can I test concrete moisture myself?
Yes. The plastic sheet test is a free DIY option, and calcium chloride kits and RH probe meters are available for purchase or rent. For a critical or commercial job, hire a testing firm that follows ASTM procedures and provides written results.
What is an acceptable moisture reading for epoxy?
Most epoxy manufacturers cap relative humidity at 75% to 80% and calcium chloride vapor emission at 3 to 5 lbs per 1,000 sq ft per 24 hours. Always confirm the exact limit in your product’s technical data sheet, because it varies by brand and formula.
How long does a moisture test take?
The plastic sheet test takes 16 to 24 hours. Calcium chloride takes 60 to 72 hours. In-situ RH probes need 24 hours to equilibrate after drilling. Plan for at least a few days if you’re using a quantitative method.
Do I need to test an old concrete floor?
Yes. Old slabs can still transmit moisture, especially on grade or below grade. Age doesn’t guarantee dryness, and a previous coating failure is a strong hint that moisture testing is overdue.
What if my slab is only slightly over the limit?
A moisture-mitigation primer is usually the answer. These products are formulated to tolerate higher vapor emission than standard epoxy and can bridge a modest gap between your reading and the manufacturer’s limit.
Does a vapor barrier under the slab solve everything?
It helps a lot, but it isn’t a guarantee. Barriers can be damaged, missing sections, or installed incorrectly. Testing the slab itself is still the only way to know what’s actually happening at the surface.
Conclusion
The single most useful thing you can do now is pull the technical data sheet for the exact epoxy you plan to use, find its moisture limit, and then pick the test that gives you a number you can compare against it.
If your slab is under 28 days old, mark your calendar and test after it cures — measuring too early wastes the test and tells you nothing about the floor you’ll actually be coating.


